If your sink unit is jammed or leaking, performing proper evergrind e202 troubleshooting is the best way to restore normal operation without needing a specialist. The most common cause for a sudden stop is a physical obstruction inside the grinding chamber, such as a piece of cutlery or a hard vegetable scrap. Before you try anything else, ensure the power switch is in the off position. If you still can’t clear the blockage, contact a professional plumber to avoid damaging the internal seals or the motor housing.
Evergrind troubleshooting for stopped units
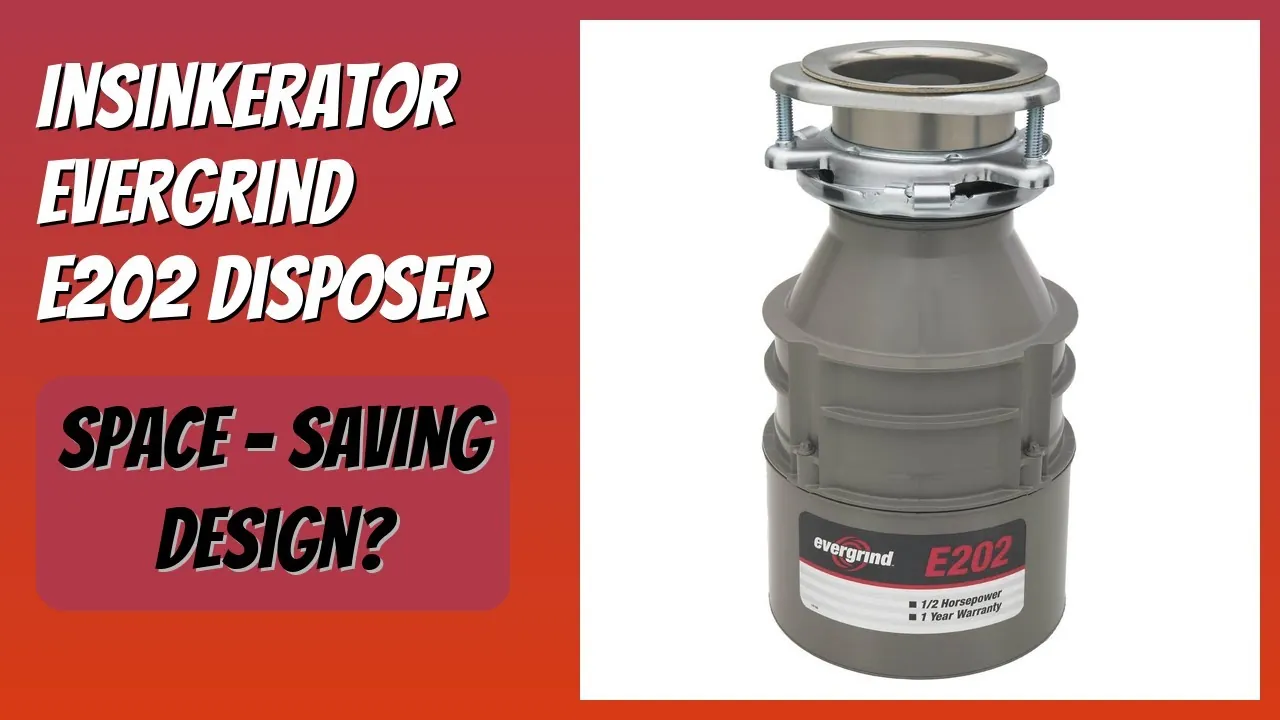
The most frequent reason for a disposal unit to stop is a mechanical jam caused by food debris or foreign objects. When the stainless steel impellers can’t move, the internal circuit breaker usually trips to prevent the motor from overheating. This is a safety feature built into the system to protect the electrical components from burning out during a stall.
Another possibility is an electrical fault, often caused by a loose connection or a tripped switch in your home’s electrical panel. If the unit makes a humming sound but doesn’t turn, the motor is likely receiving power but is physically stuck. If the unit is completely silent, check your wall outlet or the circuit breaker in your home.
Finally, leaks often occur because of loose mounting bolts or worn-out gaskets at the sink flange. Over time, the vibration from daily use can loosen the connection between the disposal and the sink. If you notice water pooling under the unit, check the mounting ring and the discharge pipe connections before assuming the internal casing has failed.
Safety: Inside a mains-powered machine, the parts behind the outer cover can hold a dangerous electrical charge even after it has been unplugged — that’s why they sit behind a cover. Opening the housing, or testing or replacing anything behind it, is a job for a qualified technician, never a home repair.
Clear a mechanical blockage
If your unit is jammed, you must first ensure the power is completely disconnected at the wall switch or the breaker box. Never put your hands inside the grinding chamber, as the impellers are sharp and can cause serious injury. The safest way to dislodge a stuck object is by using the specialized wrench that came with the unit.
Insert the wrench into the hole at the center of the underside of the disposal. Gently turn the wrench back and forth to rotate the motor shaft manually. If you feel resistance, apply firm but steady pressure to move the debris. Once the shaft turns freely in both directions, remove the wrench and run cold water through the sink to flush out the loosened particles.
If you don’t have the original wrench, some models allow you to use a wooden broom handle to push against the impellers from above. Always be gentle, as forcing the mechanism too hard can damage the internal components. If the unit remains stuck after several attempts, stop immediately. It’s better to call a qualified plumber than to risk breaking the motor’s internal drive train through excessive force.
Restore electrical power
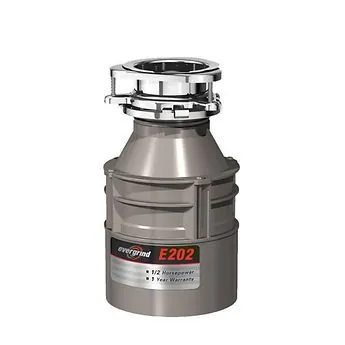
When the unit is silent, the issue is often a tripped overload protector located on the bottom of the disposal itself. This small reset button is usually red or black and pops out when the motor draws too much current. Before pressing it, wait at least 5 minutes to allow the motor to cool down, as attempting a reset while the unit is hot can damage the internal windings.
After the cooling period, push the reset button until you feel it click into place. If it doesn’t stay in, the motor may still be too hot or there might be an internal failure that requires professional repair. Once reset, turn on the cold water and briefly flip the wall switch to see if the motor engages. If it starts, let it run for 10 seconds to ensure it isn’t still obstructed.
If the unit still doesn’t run, check your kitchen’s GFCI outlet or the main electrical panel. If the breaker in your home has tripped, switch it back to the “on” position. If the breaker trips again immediately, don’t force it to stay on. This indicates a short circuit within the wiring, and you must call a licensed electrician to inspect the circuit for safety.
Tighten mounting connections
Leaks at the base of the unit are often simple to fix by tightening the mounting assembly. Use a screwdriver to ensure all three mounting screws on the flange ring are tightened evenly. If one screw is looser than the others, the unit will tilt and break the seal, causing water to drip down the sides of the casing.
If tightening the screws doesn’t stop the leak, the rubber gasket between the sink and the flange might be damaged or dried out. Replacing this gasket requires removing the disposal from the sink entirely. If you aren’t comfortable disconnecting plumbing pipes, this is the point where you should hire a professional plumber. Improper installation can lead to significant water damage under your cabinets or mold growth.
Be aware that these units are heavy, and attempting to remove them alone can cause back strain or damage to your sink basin. Always place a bucket under the unit before loosening any pipes to catch residual water. If the leak is coming from the internal body of the unit rather than the connections, the housing has failed and the entire disposal must be replaced.
Common repair mistakes
Using chemical drain cleaners: These caustic agents corrode metal components and degrade rubber seals. You risk permanent leaks that necessitate a full unit replacement. If you have a slow drain, use a plunger or a plumber’s snake instead.
Forcing the motor while jammed: Repeatedly flipping the wall switch when the unit is stuck causes the motor to overheat. This leads to internal winding failure. If the unit hums but doesn’t spin, stop immediately and clear the mechanical obstruction using the hex wrench before attempting to reset the unit.
Putting hands inside the chamber: Never reach into the disposal to clear an object. You can’t see the sharp impellers, and a sudden shift in debris could cause deep lacerations. Always use long-handled tongs to retrieve items.
Ignoring unusual noises: Grinding or rattling sounds often indicate a loose screw or a broken impeller. These small parts will destroy the internal grinding chamber if not addressed. If you hear metal-on-metal contact, cut the power at the breaker before investigating.
Prevent future problems
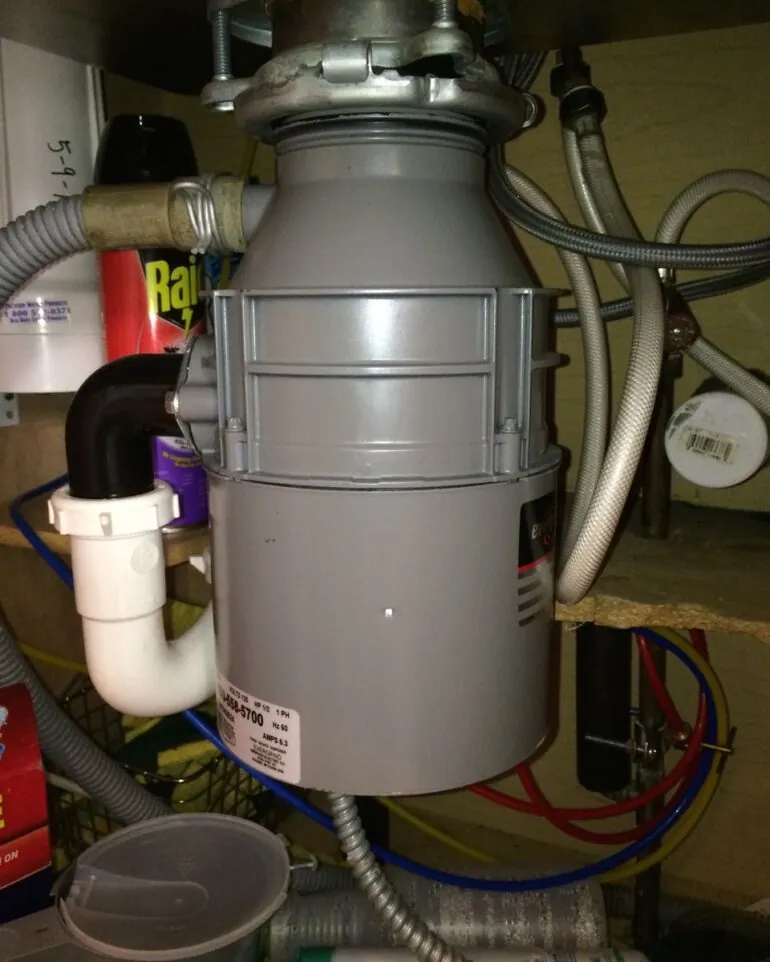
The best way to keep your unit running is to manage what goes down the drain and how you maintain the system. Follow this table to adjust your habits and ensure a longer life for your appliance.
| If you’re doing this | Do this instead | Why |
|---|---|---|
| Using hot water | Use cold water | Cold water keeps grease solid so it flushes away. |
| Grinding large bones | Dispose of bones in trash | Hard objects break the internal grinding teeth. |
| Pouring grease down | Wipe grease into trash | Grease coats the pipes and causes blockages. |
| Letting it sit unused | Run it weekly | Regular use prevents internal corrosion and rust. |
Most owners mistake the disposal for a trash can. Avoid feeding it fibrous materials like celery stalks, corn husks, or onion skins. These items create long, stringy fibers that wrap around the impellers, forcing the motor to work harder until it burns out.
If you notice a foul odor, avoid harsh chemical cleaners. These caustic liquids eat through the rubber seals and metal housing. Instead, grind a handful of ice cubes once a month to help dislodge debris. This abrasive mixture scrubs the chamber walls clean without damaging the delicate components. If the unit hums but doesn’t spin, check the reset button on the bottom before calling a plumber. This simple fix saves you a service fee.
Frequently asked questions
How long does a disposal unit usually last?
Most units last between 8 and 12 years when maintained properly and used only for soft food waste. Lifespan depends on usage frequency and local water hardness, which causes mineral buildup. If your unit is over 10 years old and leaks, replacing the system is more cost-effective than repair.
Why does my unit make a humming noise?
A humming sound indicates the grinding plate is blocked by an object. Turn off the wall switch immediately to prevent motor burnout, then use a hex wrench to manually rotate the impellers. If the motor hums but the wrench won’t turn, the internal bearings are likely seized.
Is it safe to use drain cleaner?
No, you should never use chemical drain cleaners in a disposal unit because they’re designed for pipes, not for the delicate seals and metal surfaces of a grinder. These chemicals can melt the rubber gaskets and corrode the aluminum or steel housing, leading to leaks that can’t be repaired. If you have a clog that water can’t flush, use a plunger or contact a professional plumber to clear the line safely.
How often should I clean the unit?
You should clean your unit periodically by grinding a few ice cubes to help dislodge food residue. This process helps to scrub away food residue and odors from the walls of the grinding chamber without damaging the blades. Avoid putting abrasive chemicals or strong detergents into the unit, as these can strip away the protective coating on the internal parts and accelerate the onset of rust.
What happens if I lose the wrench?
You can purchase a universal disposal wrench at most hardware stores if you lose the original. Ensure you use a standard 1/4-inch hex wrench. Avoid using makeshift tools like pliers, as they may strip the bolt and prevent future maintenance.
Can I put eggshells in the unit?
These membranes create a sticky paste that leads to slow drainage over time. It’s better to place eggshells in your compost bin or trash to keep plumbing clear.
Proper maintenance and clearing jams quickly will keep your unit in good condition for years. If you follow these steps and the unit still fails, it’s time to look for a replacement model.
Conclusion
Keeping your unit clean is the best way to prevent future issues. Try running cold water for a few seconds after every use to flush away leftover debris. If you’re still having trouble despite your best efforts, don’t hesitate to reach out to the manufacturer’s support team for additional help.