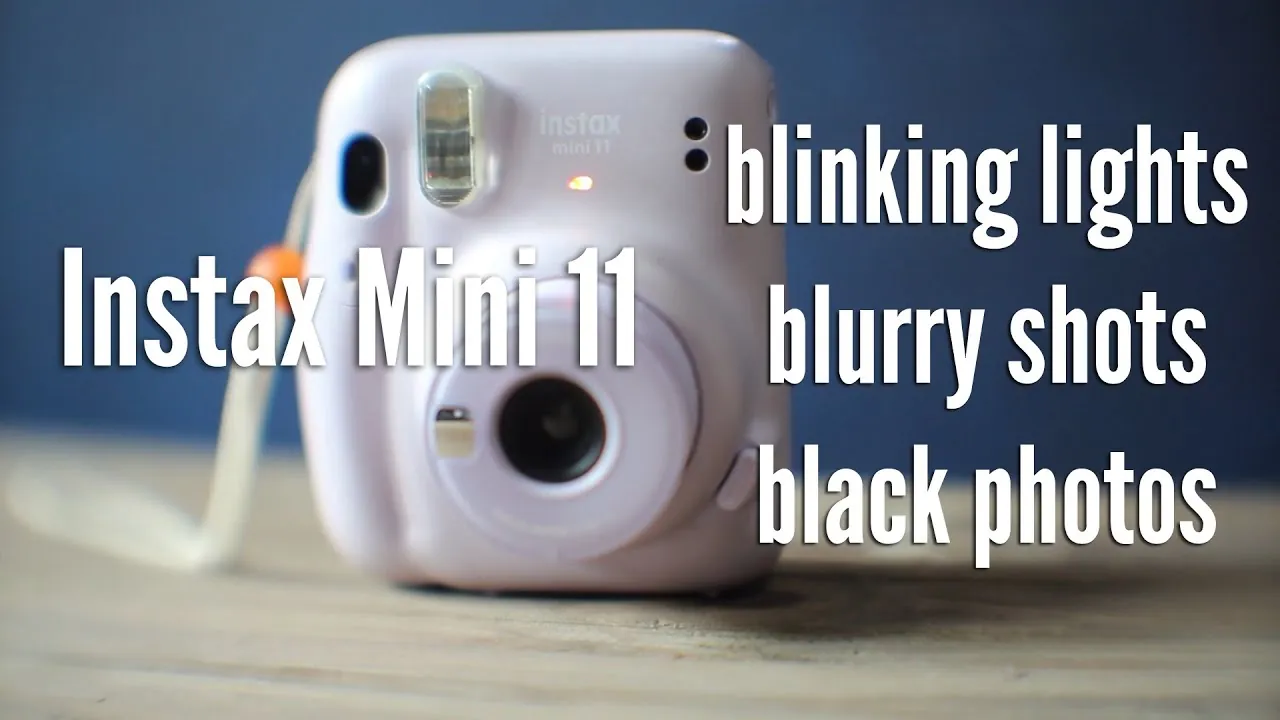
To fix your camera, you should check the battery levels and the film counter first, as most fujifilm instax mini troubleshooting starts with these two simple power and supply issues. If your camera doesn’t turn on or the film won’t eject, the most common cause is a depleted battery or an empty film pack. Before you try anything else, replace the batteries with fresh alkaline ones and confirm that the yellow indicator mark on the film cartridge aligns with the yellow line inside the camera film chamber.
Troubleshoot your Fujifilm Instax Mini malfunctions
Most issues happen because of incorrect battery installation or accidental exposure of the film to bright light. If you force the film door open while a pack is still inside, you’ll likely fog the film, which results in white or black patches on your photos. This happens because the light-sensitive chemicals inside the film react immediately when exposed to sunlight before the development process is complete.
Another frequent problem involves the camera’s internal rollers. If the rollers are dirty or have dried chemical residue on them, the film can’t pass through smoothly. This prevents the chemicals from spreading evenly across the image area, often leading to vertical lines or blurry sections on your prints.
You can inspect these rollers by opening the back of the camera when no film is empty. If you see white crust, clean the rollers with a soft, lint-free cloth dampened only with water.
Environmental conditions play a large role in how well your camera functions. Fujifilm notes that extreme temperatures can affect the chemical development process. You must operate these cameras within the recommended range of 41°F to 104°F.
If you’re shooting in cold weather, keep the camera inside your jacket between shots. The warmth of your body prevents the battery voltage from dropping, which is the primary cause of “dead” cameras in winter.
If you try to use the device in freezing or extremely hot weather, the camera may trigger a warning light or produce blank prints. If your prints come out solid black, the camera was likely too cold for the chemicals to activate; if they’re solid white, the camera was likely exposed to excessive heat or light.
Clean the internal rollers
If your photos come out with repeating spots or streaks, you need to clean the rollers to restore image quality. This fix is for users who see physical marks on their developed film that appear in the same position on every shot. To start, ensure the camera is turned off and remove any film pack currently in the chamber.
Use a clean, dry, lint-free cloth to gently wipe the two rubber rollers located inside the back of the camera. If the residue is stubborn, you can slightly dampen the cloth with water, but never use alcohol, harsh chemicals, or abrasive pads. These materials can damage the rubber surface and permanently ruin the film transport mechanism.
After wiping the rollers, rotate them slowly with your finger to ensure you clean the entire surface area. A common mistake is scrubbing too hard, which can knock the rollers out of alignment. If you feel resistance while turning, stop immediately. Forceful rotation often snaps the internal drive gear, a repair that usually exceeds the cost of a replacement unit.
Once finished, let the chamber air dry for at least 15 minutes before inserting a new film pack. If you see deep cracks in the rubber or the rollers don’t spin freely, you have reached a hardware limit.
At this point, don’t attempt to disassemble the plastic housing yourself, as this will void your warranty and may damage the internal springs; contact an authorized service center instead. If the rollers spin but still leave marks, check for dried chemical buildup on the edges, which requires a professional cleaning tool.
Replace the power source
When your camera refuses to power on or the flash takes too long to recharge, a weak battery is almost always the culprit. This fix is for users who notice the red light on the back blinking or the camera simply staying silent when they press the shutter button. You must use two high-quality, non-rechargeable AA alkaline batteries to ensure the motor has enough voltage to eject the film.
Remove the old batteries from the compartment on the side of the camera. Check the terminals for any signs of corrosion or leakage, which can look like white or blue powder. If you see this, use a dry cotton swab to gently remove the debris before inserting the new batteries. Always replace both batteries at the same time; mixing old and new ones will cause the camera to malfunction because of uneven voltage.
After inserting the fresh batteries, hold the power button for three seconds. If the lens extends and the indicator light glows steady, the camera is ready. If it still doesn’t respond, ensure the battery door is snapped shut completely. If the camera still fails to power on after these steps, the internal circuit board may be faulty. Professional repair is required for internal electronic failures, as these components carry a risk of electric shock.
Reset the film counter
If your camera shows an “S” or an unexpected number on the display even after you have loaded a fresh pack, the internal counter needs a reset. This fix is for when the camera thinks it’s empty or full when it’s not. First, confirm that the yellow tab on your film cartridge matches the yellow line inside the camera body perfectly.
If the alignment is correct but the counter still doesn’t advance, gently remove the film pack in a dark room. Inspect the small plastic tab on the back of the film cartridge to ensure it isn’t bent or obstructed. Reinsert the pack carefully, ensuring it clicks into place without being forced. When you close the door, the camera should automatically eject the black protective cover.
If you have already ejected the black cover but the counter doesn’t move from “0” to “10,” the sensor inside the camera might be blocked by dust. Use a can of compressed air to gently blow out the interior of the film chamber. If you continue to see errors after this, the internal mechanical counter is likely broken. This is a permanent hardware failure that requires professional inspection, as it involves delicate gears that can’t be adjusted by hand.
Common mistakes to avoid
Opening the back door while film is inside ruins the entire pack, as incoming light instantly fogs the undeveloped emulsion. If you suspect the door has popped open, don’t open it further; however, the entire film pack is likely ruined by light exposure.
Pulling the film out while it’s ejecting jams the internal gears and bends the rollers. If a jam occurs, don’t force the film. Wait for the motor to stop completely before attempting a gentle removal.
Using rechargeable batteries often leads to failure because their lower voltage prevents the flash from cycling. Stick to high-amperage alkaline cells to ensure consistent exposure.
Storing film in a hot car causes chemical pods to leak or dry out. Always keep your film in a climate-controlled environment below 70 degrees.
Finally, never touch the surface of a developing print. Skin oils create permanent spots that ruin the image chemistry.
Prevent future camera issues
To keep your camera running well, you must store it in a dry, cool place away from direct sunlight. High humidity and extreme heat are the biggest enemies of the chemical-based film used in these devices. By following a standard maintenance routine, you can prevent the most common mechanical failures that lead to wasted film packs.
Most users ignore the internal rollers, but these accumulate chemical residue that streaks your photos. Clean them periodically if you notice residue buildup using a cotton swab dipped in distilled water. If you notice white spots appearing on your prints, this is a sign of oxidation, meaning your storage area is too humid. Move the camera to a climate-controlled room immediately.
| If you’re doing this | Do this instead | Why |
|---|---|---|
| Leaving batteries inside | Remove them after use | Prevents acid leaks |
| Carrying it unprotected | Use a padded case | Stops lens damage |
| Forcing the film door | Check the yellow line | Avoids light leaks |
| Wiping with paper towels | Use a microfiber cloth | Paper scratches the lens |
If you live in a coastal region, store the device inside a sealed plastic bag with a silica gel packet. This simple barrier prevents salt air from corroding the delicate internal gears.
Frequently asked questions
Can I use expired film in my camera?
Yes, you can use expired film, though the colors will likely be faded or shifted. The chemical reaction required for development becomes less effective as the film ages past its expiration date. Avoid using old film for important pictures, as results are unpredictable.
Why is my photo coming out black?
A black photo usually means the room was too dark or the flash failed to fire. The light-sensitive film requires a strong burst of light to create an image in indoor conditions. If the flash doesn’t charge, it indicates a hardware failure requiring professional repair.
How long does a photo take to develop?
A photo takes about 90 seconds to fully develop at room temperature. Leave the print on a flat surface and avoid shaking it, as this can cause the chemicals to smear. If the room is very cold, it may take several minutes for the image to appear.
Is it safe to open the camera door?
No, you should never open the back door after loading a film pack. Doing so exposes the remaining film to light, which will instantly ruin the entire pack. You can only safely open the door once the film counter shows “S” or all 10 shots are used.
What happens if I drop my camera?
Dropping the camera often causes the internal rollers to misalign or the lens mechanism to jam. Check the lens barrel to see if it extends and retracts smoothly when you turn the power on. If it makes a grinding noise, the internal gears are likely damaged.
Conclusion
If these quick fixes don’t get your camera working, don’t worry. Sometimes internal hardware needs a professional eye to function properly again. You should reach out to the manufacturer’s support team or visit a local repair shop. They’ll help you get back to snapping photos in no time at all.