If your Hoover ONEPWR won’t start, the fix is almost always the battery: reseat it until it clicks, then charge it in the charger it came with until the light shows full. A battery that’s warm, wet, or stored in a cold garage is the most common cause of a tool that looks dead. Hoover’s support pages may list charger light codes for your ONEPWR model.
Why your ONEPWR cordless hoover fails
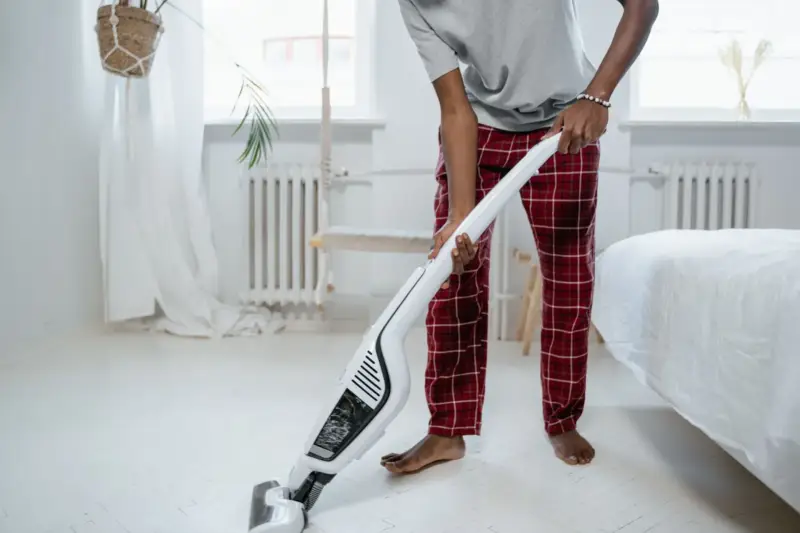
Three things cause most ONEPWR problems, and none of them need a screwdriver. The first is contact. The battery slides onto a rail and locks with a click. Dust, grass clippings, and sawdust pack into that rail, so the battery sits a millimeter high and never makes a clean connection. The tool then acts dead even though the battery is full.
The second is heat. Lithium-ion cells don’t like being charged hot or cold. If you run a vacuum until the battery is warm and drop it straight into the charger, the charger may hold off or blink a fault code instead of charging. Hoover’s manuals tell you to let the pack cool before charging. The same applies to a battery left in a freezing garage overnight.
The third is the charger itself. ONEPWR chargers have a status light, and a steady or flashing pattern tells you what’s happening. A blinking light isn’t always a broken battery — it can mean the pack is too hot, too cold, or not seated right. Check your model’s light guide before you assume the worst.
One more cause sits outside the battery: a blocked hose or filter. A vacuum with no airflow can shut down or sound weak, and that’s not an electrical fault at all.
Clean the battery contacts and rail first
Start here if your tool cuts out, won’t start, or dies after a few seconds. It costs nothing and takes two minutes. Take the battery off the tool. Look at the metal contacts on the battery and inside the tool’s slot. You’re checking for dust, grit, or a dark film on the metal.
Wipe the contacts with a dry cloth or a soft toothbrush. Don’t use water, and don’t spray contact cleaner into the tool. Brush out the rail grooves where the battery slides, then push the battery back on until you hear and feel the click. Give it a gentle tug — it shouldn’t move.
Then test it. If the tool now runs at full speed, the contacts were the problem. If it still won’t start, move to the next check. This fix is for anyone with a tool that’s been used outdoors or in a workshop. It’s not for a battery that’s visibly cracked, swollen, or leaking — stop and contact Hoover support about that one.
One pass is usually enough, but if the cloth comes away dark, clean again and let the parts air-dry before you refit the battery. A damp or dirty contact can fault again.
Watch for a battery that clicks in but still feels loose when you tug it. That points to a worn rail, not dirt, and cleaning won’t fix it. In that case the battery needs replacing rather than more brushing.
If the tool runs fine off the charger but dies the moment you squeeze the trigger, the contacts are rarely the cause. Go to the next check instead of cleaning a third time.
Charge the pack in the right conditions
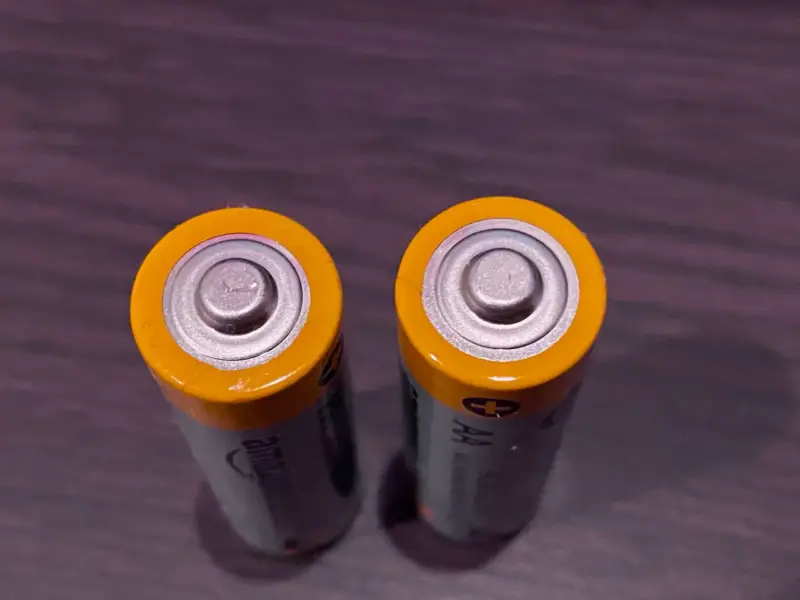
This is the fix for a battery that won’t charge or a charger light that blinks. Take the battery off the tool and let it sit at room temperature for about 30 minutes before charging. That’s the condition that matters — a pack straight off a hot vacuum, or one from a cold garage, may refuse to charge until it settles.
Use the ONEPWR charger that came with your kit. Put the battery in, check the light, and leave it alone. A full charge on a standard ONEPWR pack takes a few hours depending on the model and charger — your manual states the exact time for your kit, so check there rather than guessing.
You’ll know it worked when the light goes steady or turns to the full-charge color and the tool runs for a normal stretch. If the light stays on a fault pattern after the pack has warmed or cooled to room temperature, the battery or charger has a real fault. Hoover’s support site may have a light-code guide for your charger.
Test the battery on a second ONEPWR tool
This is the check for the harder cases, and it’s worth the effort because it tells you which part to replace. If you own another ONEPWR tool — a trimmer, blower, or second vacuum — put the suspect battery in it. If that tool runs fine, your battery is good and the fault is in the first tool. If it also fails, the battery is the problem.
Run the swap both ways before you decide. A battery that works in the trimmer but not in the vacuum points at the vacuum’s contacts or motor, not the pack. Clean the battery terminals and the tool’s contact pins with a dry cloth, then reseat the pack until it clicks. A loose seat can mimic a dead battery.
No second tool? Borrow a neighbor’s ONEPWR battery, or buy the smallest ONEPWR kit you can find and use its battery as a tester. That’s only worth it if you already plan to stay in the ONEPWR line.
If you own one tool and one battery and both seem dead, don’t buy parts one at a time — call Hoover support first and describe the light pattern. Their number and contact form are on the Hoover website. Have the tool’s model number and the battery’s label ready.
ONEPWR advice that makes it worse
“Leave it on the charger all the time.” Constant topping up keeps cells warm, and heat is what shortens lithium-ion life. Charge it, then take it off. If you use the tool daily, charge it and take it off once the light shows full. For a spare you reach for once a month, top it to about half and leave it there.
“Store the battery in the garage or shed.” Cold and damp are hard on packs. Keep it indoors, dry, at room temperature. An unheated garage in a hard freeze is the worst spot in most homes. Bring the pack inside before winter and it will hold up far better.
“Tap the battery on the floor to wake it up.” This can crack the case or damage the cells inside. It doesn’t fix a real fault. If the pack shows nothing on the charger, reseat it once and check the contacts are clean. Still dead means a call to Hoover, not a firmer tap.
“Open the tool and check the motor.” You’ll void the warranty and risk a shock. That work belongs with Hoover service. If the tool is still under warranty, opening it can cost you the repair you would otherwise get free.
“Buy a cheap third-party battery.” It may not fit the rail properly or talk to the charger. Stick with genuine ONEPWR packs.
Stop the same ONEPWR fault coming back

Most repeat failures come from small habits, not bad luck. The table below sets what people do against what works better.
| If you’re doing this | Do this instead | Why |
|---|---|---|
| Charging right after a long vacuum session | Let the pack cool about 30 minutes first | A hot pack may not charge, and heat wears cells |
| Storing the battery in a cold garage | Keep it indoors, dry, at room temperature | Cold packs can refuse to charge and lose performance |
| Leaving the battery on the charger for days | Take it off once it’s full | Constant topping up keeps cells warm |
| Never cleaning the battery rail | Brush out dust after outdoor or workshop use | Grit stops the battery seating fully |
| Running the vacuum with a full bin or clogged filter | Empty the bin and rinse the filter regularly | No airflow makes the tool overheat and cut out |
A battery that sat unused for months is the case people misread. If the charger blinks and refuses it, reseat the pack once and check the contacts, then contact Hoover support before you decide it’s dead.
If it still won’t take a charge after that, stop. Repeatedly forcing a pack that won’t accept current is how people turn a cheap replacement into a swollen battery.
Keep one spare ONEPWR pack charged and rotate the two. A pack that never runs flat lasts longer than one that gets drained to nothing every week.
Write the date on each pack with a marker. When a fault returns, you’ll know whether you’re fighting a habit or a battery near the end of its run.
Related guides
- Eioeir Cordless Stick Vacuum Troubleshooting
- Dyson Cordless Vacuum Troubleshooting: Quick Fixes
- Shark Cordless Vacuum Troubleshooting: Quick Fixes
Frequently asked questions
Why won’t my Hoover ONEPWR turn on?
The most likely cause is the battery not seated fully or not charged. Push it on until it clicks, then charge it at room temperature. If the charger light shows a fault pattern, the pack may be too hot or too cold. Let it settle for about 30 minutes and try again before assuming the tool is broken.
How long does an ONEPWR battery take to charge?
It depends on your pack and charger — a standard ONEPWR pack takes a few hours on the charger that came with your kit. Check the charge time printed in your model’s manual, because the larger packs and faster chargers differ. The charger light tells you when it’s done, so trust that over the clock.
Can I use any charger with my ONEPWR battery?
No. Third-party or older chargers may not fit the contacts properly or may not read the battery’s temperature. If you’ve lost your charger, buy a genuine ONEPWR replacement rather than a generic one.
Why is my ONEPWR charger light blinking?
A blinking light usually means the charger is waiting, not broken. Common reasons are a pack that’s too warm or too cold, or a battery not seated right. Take the battery out, let it reach room temperature, reseat it, and watch the light again. Hoover’s support pages may list the codes for your charger.
Is it safe to keep using a battery that feels hot?
No. A pack that’s hot to the touch after charging, swollen, or leaking should come off the charger and stay off. Don’t open it or try to repair it. Contact Hoover support and ask about a replacement — a damaged lithium-ion pack isn’t a home repair job.
What happens if I open the vacuum to fix it myself?
You’ll likely void your warranty, and there’s a shock risk inside. The motor and wiring aren’t user-serviceable parts. If cleaning the contacts, charging properly, and testing on another tool don’t fix it, send it to Hoover service or an approved repairer instead.
How often should I clean the ONEPWR battery contacts?
Clean them whenever the tool starts cutting out or after heavy outdoor use — how often depends on how much you use it, so check the owner’s manual for guidance. A quick dry brush of the rail and contacts takes a minute and prevents most connection faults. Don’t use water or sprays on the contacts.
Conclusion
If the battery checks out and the tool still won’t run, it’s worth contacting Hoover support or a repair shop before you buy a replacement—they can often spot a worn switch or connection you’d miss. Keep your receipt handy, and you’ll have this sorted without much fuss.