Is your RV’s air conditioner thermostat acting up just when you need it most? You’re not alone—and fixing it might be easier than you think.
Whether your thermostat isn’t responding, the AC won’t turn on, or the temperature swings wildly, these issues can quickly turn a cozy trip into a frustrating experience. But don’t worry; with a few simple troubleshooting steps, you can get your RV’s AC thermostat back on track and enjoy cool comfort on the road.
Keep reading to discover clear, easy-to-follow tips that will help you diagnose and solve your RV AC thermostat problems fast.
Common Thermostat Issues
Thermostat issues in an RV AC system can cause discomfort and frustration. Identifying common problems helps in quick fixes. These issues affect the cooling performance and user control. Simple troubleshooting steps can restore proper function.
No Power At Thermostat
No power means the thermostat display stays blank. Check the RV’s main power supply first. A blown fuse or tripped breaker often causes power loss. Loose or damaged wiring can also interrupt power. Testing voltage at the thermostat terminals helps locate the issue. Replacing faulty fuses or repairing wiring restores power.
Unresponsive Display Or Controls
The thermostat may power on but not respond to button presses. Dirt, dust, or moisture can affect the controls. A reset might clear temporary glitches in the system. Sometimes, internal circuit damage prevents control signals. In this case, replacing the thermostat might be necessary. Regular cleaning and gentle use prevent control issues.
Inconsistent Temperature Readings
Temperature readings that jump or don’t match the room temperature confuse the system. Poor sensor placement or damage causes false readings. Thermostat sensors near heat sources give wrong data. Faulty sensors must be tested and replaced if needed. Correct sensor location ensures accurate temperature control.
Ac Not Turning On Or Off
The thermostat may fail to start or stop the AC unit. This problem can arise from wiring issues or faulty relays. Incorrect thermostat settings can also cause this behavior. Testing the thermostat output signals helps find the cause. Fixing wiring or replacing damaged parts restores normal function.
Basic Checks Before Repair
Resetting the thermostat is a common and effective step in fixing RV AC issues. This process can clear minor glitches that stop your thermostat from working properly. Sometimes, a reset restores normal function without needing complex repairs.
There are two main types of resets: soft and hard. Soft resets are quick and simple. Hard resets take a bit more effort but can fix deeper problems. Knowing when to reset helps save time and effort during troubleshooting.
Soft Reset Methods
To perform a soft reset, start by turning off the thermostat. Wait for about 30 seconds. Turn it back on and check if it responds correctly. This method often fixes minor software bugs.
Another soft reset option is removing the thermostat batteries for a minute. Replace them and power the device on. This refreshes the thermostat’s internal settings without losing your programmed schedule.
Hard Reset Procedures
Hard resets clear all saved settings, returning the thermostat to factory defaults. To do this, locate the reset button or pinhole on your thermostat. Press and hold it for 5 to 10 seconds.
If your thermostat has no reset button, remove the batteries and disconnect power. Wait for several minutes before reconnecting. This forces a full system restart, which can fix stubborn errors.
When To Reset Your Thermostat
Reset your thermostat if it stops responding or shows incorrect temperatures. Also, reset after changing batteries or installing a new thermostat. If your AC cycles oddly or won’t turn on, a reset might help.
Try a reset before calling for professional help. Many thermostat problems resolve with this simple step. Resetting saves time and often restores comfort quickly during your RV trips.
Resetting The Thermostat
Testing the thermostat functionality is a key step in RV AC thermostat troubleshooting. It helps identify if the thermostat controls the air conditioner properly. This process involves checking electrical signals and mechanical parts inside the thermostat. Careful testing prevents unnecessary replacements and saves time. Below are simple methods to test your RV AC thermostat.
Using A Multimeter For Voltage Tests
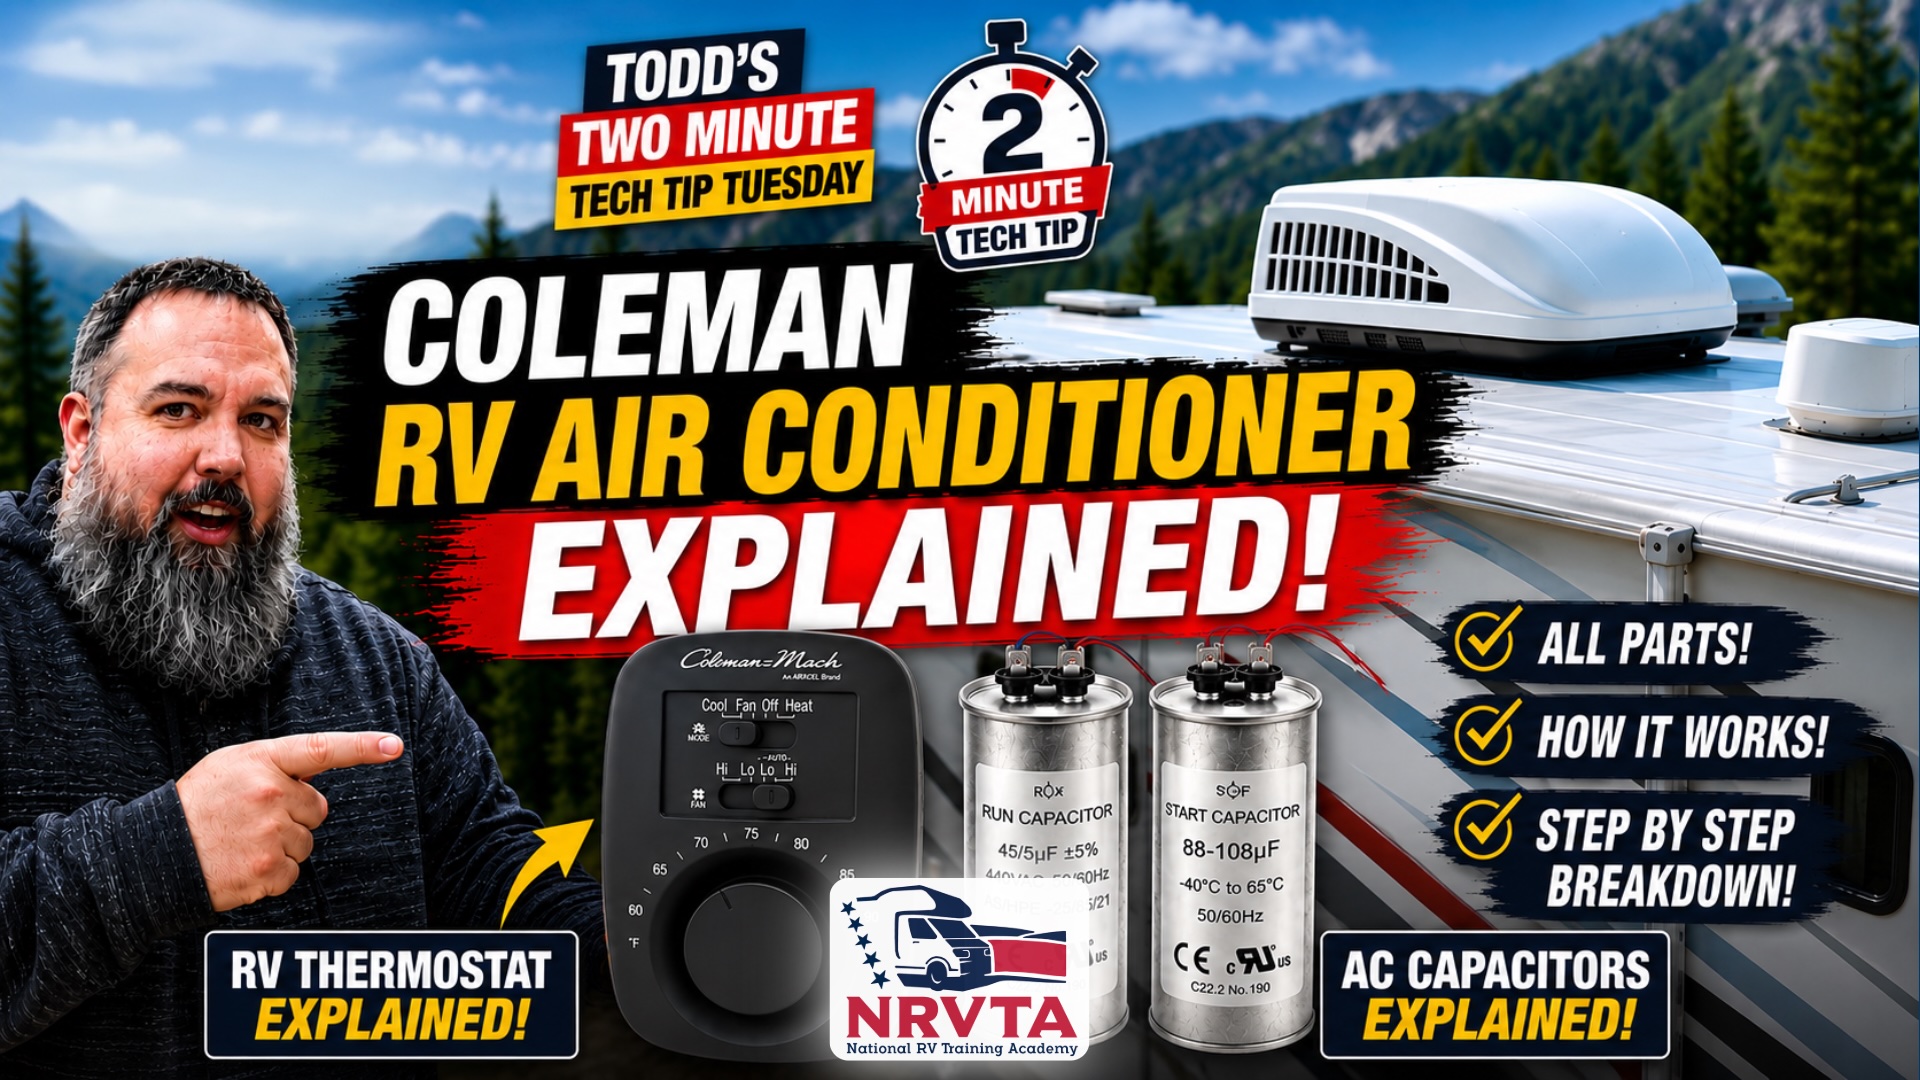
A multimeter measures electrical voltage in the thermostat wires. First, set the multimeter to the correct voltage range. Then, disconnect the thermostat from its wiring. Touch the multimeter probes to the thermostat terminals. The display shows if power flows through the thermostat. No voltage or a wrong reading means a problem. This test verifies if the thermostat gets power from the RV system.
Identifying Faulty Thermostat Components
Check the thermostat for broken parts like switches or sensors. Look for loose wires or corrosion on terminals. Listen for clicking sounds when adjusting temperature settings. No clicks can indicate a stuck switch or bad relay. Some thermostats have internal fuses to protect circuits. A blown fuse stops the thermostat from working. Replace damaged parts or the whole thermostat if needed.
Distinguishing Thermostat Vs. Ac Unit Problems
Sometimes the AC unit itself causes cooling issues, not the thermostat. Test the thermostat by turning the AC on and off manually. If the AC does not respond, the problem may lie in the AC system. Check the AC unit’s power supply and compressor. If the AC works but the temperature is wrong, the thermostat may be faulty. Narrowing down the source avoids replacing the wrong part.

Testing Thermostat Functionality
Troubleshooting an RV AC thermostat can seem tough. Many common problems have simple fixes. Understanding these fixes saves time and money. Small issues often cause major discomfort in your RV. Addressing them quickly keeps your AC running smoothly.
Below are common fixes that help restore your RV AC thermostat’s function. Each fix targets a specific issue.
Replacing Blown Fuses Or Batteries
Check the thermostat’s fuse or batteries first. A blown fuse cuts power to the thermostat. Replace it with a fuse of the same rating. Weak or dead batteries cause the thermostat to fail. Remove old batteries and insert fresh ones carefully. This often restores power and control to the AC.
Repairing Or Replacing Wiring
Loose or damaged wires disrupt thermostat signals. Inspect wiring connections for breaks or corrosion. Tighten any loose wires and clean corroded terminals. If wires are damaged, replace them using proper gauge wire. Good wiring ensures steady communication between thermostat and AC unit.
Calibrating Temperature Sensors
Faulty temperature sensors cause inaccurate readings. This leads to poor temperature control. Use a thermometer to check room temperature. Compare it with the thermostat’s reading. Adjust the sensor calibration if readings differ significantly. Proper calibration helps the AC maintain a comfortable temperature.
Fixing Common Problems
Preventive maintenance plays a key role in keeping your RV AC thermostat working well. Simple care steps help avoid common problems. This saves you time and money on repairs. Regular attention keeps your RV comfortable and cool during trips.
Regular Cleaning And Inspection
Dust and dirt can build up on the thermostat. This causes wrong temperature readings. Clean the thermostat gently with a soft cloth. Avoid using water or harsh cleaners. Check the mounting and wiring for any signs of wear. Look for loose connections or corrosion. Inspecting the thermostat monthly helps catch issues early.
Protecting Thermostat From Power Surges
Power surges can damage sensitive thermostat parts. Use a surge protector designed for RV electrical systems. This prevents sudden voltage spikes from harming your device. Avoid plugging too many appliances into one outlet. Proper grounding of your RV’s electrical system also reduces risk. Protecting the thermostat extends its life and reliability.
Upgrading To Reliable Thermostat Models
Older thermostats may fail more often and lack modern features. Consider upgrading to a newer, reliable model made for RV use. New models offer better accuracy and easier controls. Choose thermostats with built-in surge protection and clear displays. Upgrading reduces troubleshooting and improves your comfort on the road.
Frequently Asked Questions
How Do I Know If My Rv Ac Thermostat Is Bad?
A bad RV AC thermostat shows these signs: AC won’t turn on, runs nonstop, displays erratic temperatures, or has no display. Check wiring, fuses, and power supply.
How To Reset Rv Air Conditioner Thermostat?
To reset your RV air conditioner thermostat, turn off the AC and power supply. Wait 5 minutes, then restore power and turn the thermostat on. This resets the system and clears minor errors.
How Do I Know If My Ac Thermostat Is Bad?
A bad AC thermostat shows these signs: no display, erratic temperature, AC won’t turn on or off, or constant running. Check wiring and power.
How To Fix An Unresponsive Thermostat?
Reset the thermostat by turning it off and on. Check batteries and wiring connections. Replace faulty fuses or the thermostat if needed.
How Do I Know If My Rv Ac Thermostat Is Bad?
A bad thermostat often causes the AC to not cool or respond. Check if the display is blank or unresponsive. Also, uneven temperature or constant running can signal a faulty thermostat.
Conclusion
Troubleshooting your RV AC thermostat can save time and money. Start with simple checks like fuses and batteries. Make sure wiring connections are secure and undamaged. Resetting the thermostat often fixes minor glitches. Watch for signs like no cooling or unresponsive controls.
Regular maintenance helps prevent future problems. Stay calm and follow step-by-step fixes carefully. With patience, you can keep your RV cool and comfortable. Don’t ignore small issues before they become bigger. Understanding your thermostat improves your camping experience.