To troubleshoot the Vevor Heat Press, reset the machine using the reset button on the side or check if there’s a tripped circuit breaker by plugging something else into the wall outlet. If the heat press is not pressing properly, check for consistent pressure with the “Dollar Bill Test.”
Additionally, inspect the wiring for any damage or faults. Always use a dedicated and heavy-duty outlet for the heat press. It’s important to maintain the correct temperature, pressure, and pressing time for quality transfers. When it comes to troubleshooting Vevor Heat Press issues, there are a few common problems that you might encounter.
From temperature inconsistencies to inadequate pressure, these problems can affect the quality of your heat press transfers. In this guide, we will discuss some simple troubleshooting steps you can take to address these issues and ensure the smooth operation of your Vevor Heat Press. By following these tips, you can optimize the performance of your heat press machine and achieve professional-quality results.

Checking The Temperature
Accurate temperature measurement is crucial for achieving high-quality heat press transfers. Whether you’re using a Vevor heat press or an EasyPress, ensuring that the temperature is set correctly is key to obtaining professional results. In this section, we will dive into the process of checking the temperature, discussing the importance of accurate measurement, common errors to avoid, proper measurement techniques, and more.
Introduction To Temperature Troubleshooting
When it comes to heat press troubleshooting, one of the first areas to focus on is temperature. Improper temperature can result in incomplete transfers, scorching, or even ruining your materials. Understanding the basics of temperature troubleshooting is essential for any heat press operator.
Importance Of Accurate Temperature Measurement
Accurate temperature measurement is vital because different materials require different heat settings. Printing at the wrong temperature can lead to subpar results and wasted time and material. To achieve professional-grade transfers, it is crucial to have precise control over the temperature.
Common Errors In Temperature Measurement
Before we dive into the proper measurement techniques, let’s take a look at some common errors that can lead to inaccurate temperature readings. These errors include using an incorrect thermometer, improper positioning during measurement, and not accounting for heat platen hot spots, among others.
Proper Measurement Technique
To ensure accurate temperature measurement, it is crucial to follow the proper technique. Here are some steps to keep in mind:
- Use a reliable and accurate thermometer specifically designed for heat press applications. Avoid using a regular household thermometer, as it may not provide accurate readings.
- Position the thermometer at the exact spot where the heat transfer will take place. This ensures that you are measuring the temperature at the correct location.
- Allow the heat press to stabilize at the desired temperature before taking the measurement.
- Take multiple readings at various spots on the heat platen to account for any hot or cold spots.
Testing The Heat Platen
It’s essential to test your heat platen periodically to ensure that it is functioning correctly. Heat platen issues can result in inconsistent temperature readings and poor transfers. Follow the manufacturer’s guidelines for testing the heat platen, which may involve using a special heat testing device or a heat-sensitive strip.
Measuring Temperature On A Heat Press
Measuring the temperature on a traditional heat press involves placing the thermometer on the heat platen. Ensure that the thermometer makes direct contact with the platen surface for accurate readings. Repeat the measurement process at different temperature settings to ensure consistency.
Measuring Temperature On An Easypress
If you’re using an EasyPress, the process for measuring the temperature may differ slightly. Check the user manual or guidelines provided by the manufacturer for specific instructions on how to measure the temperature accurately on an EasyPress.
Ideal Temperature Range
The ideal temperature range will vary depending on the materials you are working with and the transfer method used. Consult the temperature recommendations provided by the material manufacturer or refer to heat transfer guides for optimal results. It is crucial to stay within the specified temperature range to achieve long-lasting, vibrant transfers.
Causes Of Inconsistent Temperature
Inconsistent temperature readings can lead to frustrating results and wasted materials. Several factors can contribute to inconsistent temperature on a heat press, including faulty thermostats, uneven pressure, worn-out heating elements, or even external factors like ambient temperature. Identifying and addressing these issues can help achieve consistent temperature control.
By understanding the importance of accurate temperature measurement, avoiding common errors, and following proper measurement techniques, you can ensure that your heat press is set at the optimal temperature for successful transfers. Remember to regularly test the heat platen and maintain consistency by measuring temperature before each use. By doing so, you’ll be on your way to achieving professional-quality heat press results every time.
Heat Press Not Turning On Or Faulty Fuse
If your heat press is not turning on, it can be frustrating, but don’t worry! There are a few troubleshooting steps you can take to resolve the issue and get your heat press up and running again. In this section, we will cover some common solutions for when your heat press is not turning on or if you suspect a faulty fuse.
Using The Reset Button To Reset The Machine
If your heat press is not turning on, the first thing you should try is using the reset button. The reset button is located on the side of the heat press machine. Simply press and hold the reset button for a few seconds, then release it. This will reset the machine and may fix any minor issues causing it not to turn on.
Checking The Power Outlet And Circuit Breaker
If the heat press still doesn’t turn on after using the reset button, you should check the power outlet and circuit breaker. Plug another device into the same outlet to ensure it is working properly. If the device works, then the issue might be with the heat press itself.
Next, check the circuit breaker. If it has tripped, switch it off and then back on. This can sometimes reset the breaker and allow the heat press to turn on again. If the circuit breaker continues to trip, it’s recommended to consult a professional electrician.
Replacing A Faulty Fuse
If the reset button and power outlet/circuit breaker checks didn’t resolve the issue, the problem might be a faulty fuse. Heat presses, like the Elite Tumbler Heat Press, often have a fuse that can be replaced.
To replace the fuse, follow these steps:
- Unplug the heat press from the power source.
- Locate the fuse holder. On the Elite Tumbler Heat Press, it is typically located near the power socket.
- Remove the fuse holder by gently pulling it out.
- Inspect the fuse to see if it is blown. A blown fuse will have a broken filament inside.
- If the fuse is blown, replace it with a new one of the same rating. Consult the heat press manual or manufacturer’s website for the correct fuse type and rating.
- Insert the new fuse into the fuse holder.
- Push the fuse holder back into place.
- Plug the heat press back into the power source and test if it turns on.
By following these troubleshooting steps, you can determine the cause of your heat press not turning on and hopefully fix the issue. However, if these steps do not resolve the problem, it is recommended to contact the heat press manufacturer or seek professional assistance.
Heat Press Not Applying Enough Pressure
Understanding The Issue Of Insufficient Pressure
If you’re facing the problem of your heat press not applying enough pressure, there could be two possible reasons. First, your heat press might have a cold spot, which means there is an area that isn’t receiving adequate pressure from the top platen. Second, there might be an inconsistency in pressure across the entire platen. To identify the root cause, it is essential to conduct a thorough troubleshooting process.
Conducting The “dollar Bill Test” To Check For Consistent Pressure
The “Dollar Bill Test” is a simple yet effective way to determine if your heat press has consistent pressure across the platen. Although you can use any paper, using dollar bills is recommended as they are the perfect size. To perform this test, place a dollar bill between the top and bottom platen of your heat press. Apply pressure and close the machine. If the bill pulls out easily without any resistance, it indicates that your heat press is not applying sufficient pressure.
Adjusting The Pressure Settings On The Heat Press
Once you have identified the issue of insufficient pressure, the next step is to adjust the pressure settings on your heat press. Refer to the user manual that came with your heat press to locate the pressure adjustment knob or dial. Every heat press model might have a different mechanism for adjusting pressure, so understanding your specific heat press model is crucial. Increase the pressure gradually and perform the “Dollar Bill Test” after each adjustment until you achieve the desired result.
Troubleshooting Tips For Maintaining Even Pressure Across The Platen
Ensuring even pressure across the platen of your heat press is essential for consistent and high-quality results. Here are some troubleshooting tips to maintain even pressure:
- Regularly clean the platen surface to remove any dirt or debris that may cause uneven pressure.
- Inspect the heat press for any damaged or worn-out parts, such as springs or cables, that could affect the pressure.
- Check the alignment of the top and bottom platens to ensure they are parallel.
- If necessary, replace any worn-out or damaged parts to restore optimal pressure distribution.
By following these troubleshooting tips and conducting regular maintenance on your heat press, you can ensure that it consistently applies sufficient pressure, resulting in excellent heat transfers.
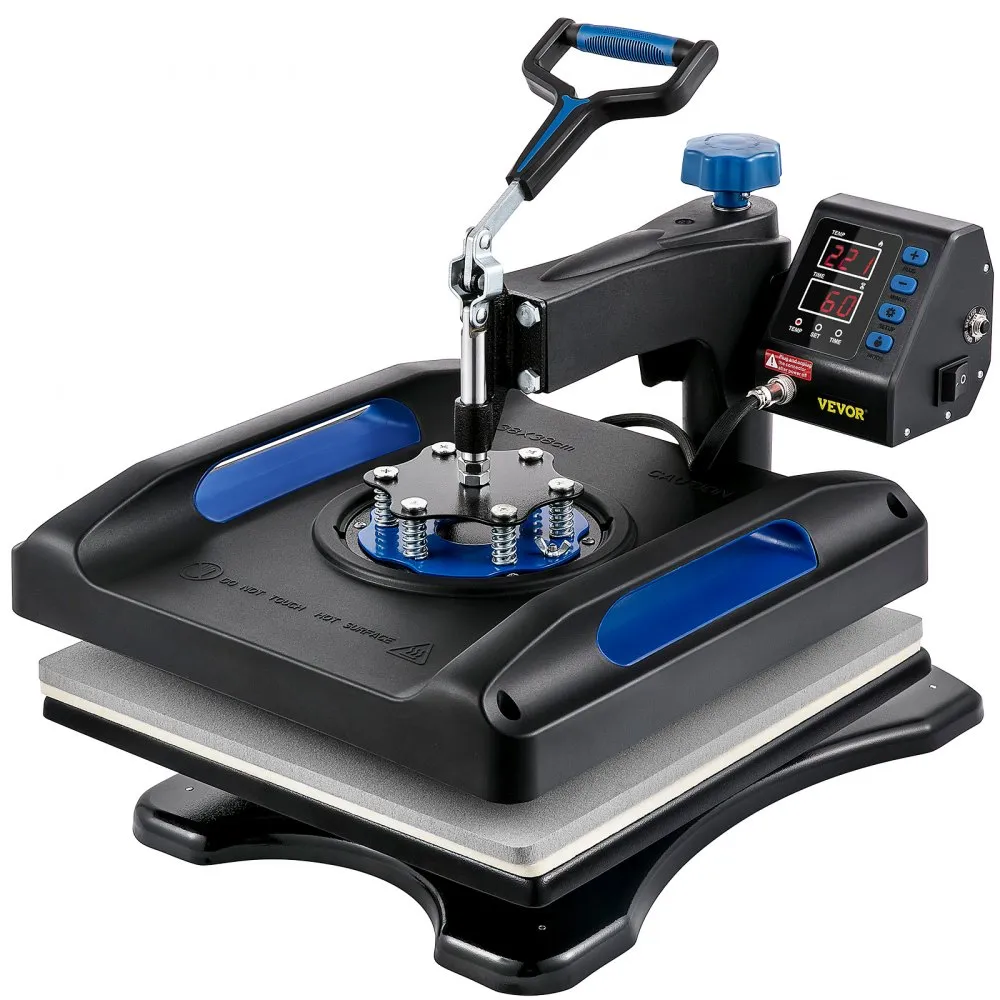
Credit: www.vevor.com
Common Issues With Heat Press Fuses
When it comes to troubleshooting a heat press, one common issue that can arise is problems with the fuse. Fuses play a crucial role in the operation of heat presses, as they protect the machine’s electrical components from potential damage caused by power surges or other electrical issues. In this section, we will explore the importance of fuses in heat presses, the location of the fuse on a heat press, and the steps to replace a fuse in a heat press.
Importance Of Fuses In Heat Presses
Fuses are an integral part of heat presses as they act as the first line of defense against electrical failures. They are designed to break the circuit and prevent excessive current from flowing through the machine. This helps protect the internal components of the heat press, such as the heating element and control panel, from damage caused by power surges or electrical faults.
In addition to protecting the machine, fuses also provide safety benefits for users. In the event of an electrical issue, a blown fuse will cut off the power supply, preventing any potential harm to the operator. Therefore, it is important to ensure that the heat press is equipped with a functioning fuse at all times.
Location Of The Fuse On A Heat Press
The location of the fuse can vary depending on the model and manufacturer of the heat press. In most cases, the fuse is situated near the power supply or control panel of the machine. It is often housed in a fuse holder, which can be accessed by removing a panel or cover.
If you are unsure about the location of the fuse in your heat press, refer to the user manual or contact the manufacturer for specific instructions. It is crucial to identify the fuse’s location before attempting to replace it.
Steps To Replace A Fuse In A Heat Press
Replacing a fuse in a heat press is a relatively simple process that can be done by following these steps:
- Ensure that the heat press is disconnected from the power supply.
- Locate the fuse holder, which is usually near the power supply or control panel of the machine.
- Using a screwdriver or similar tool, gently remove the fuse holder cover to access the blown fuse.
- Carefully remove the blown fuse from the holder by pulling it out.
- Insert a new fuse of the same rating into the fuse holder.
- Replace the fuse holder cover, ensuring it is securely fastened.
- Plug the heat press back into the power supply.
- Test the heat press to ensure it is functioning properly.
It is essential to use a fuse with the same rating as the original fuse to avoid damaging the machine. If you are uncertain about the appropriate fuse rating for your heat press, consult the user manual or contact the manufacturer for guidance.
| Model | Fuse Rating | Fuse Type |
|---|---|---|
| Digital Knight 12″ x 15″ | 8A | GMA |
| Digital Knight 16″ x 20″ | 10A | GMA |
| Digital Knight 20″ x 25″ | 12A | GMA |
Refer to the table above for the fuse rating and type required for specific Digital Knight heat press models. Always double-check the fuse rating to ensure compatibility.
By following these troubleshooting tips and guidelines, you can address common issues with heat press fuses effectively. Remember to prioritize safety when working with electrical components and consult professionals or the manufacturer’s support team if you encounter any difficulties or uncertainties.
Purchasing A New Heat Press
Start of HTML response
Purchasing a new heat press is an important decision for any business or individual involved in heat transfer printing. Over time, heat presses may start to show signs of wear and tear, affecting the quality and efficiency of your prints. If you have been experiencing issues with your current heat press, it may be time to consider investing in a new one. In this section, we will explore the signs that indicate the need for a new heat press, factors to consider when buying a new heat press, reviews and recommendations for reliable heat presses, and tips for selecting the right heat press for your needs.
Signs That Indicate The Need For A New Heat Press
Recognizing the signs that your heat press is no longer functioning optimally is crucial in determining whether it’s time to make a new purchase. Here are some common signs to look out for:
- Inconsistent temperature readings
- Uneven pressure distribution
- Malfunctioning timer or control panel
- Excessive noise or vibrations
- Worn out or damaged heating elements
Factors To Consider When Buying A New Heat Press
When purchasing a new heat press, there are several factors to consider to ensure you make the right choice for your specific needs:
- Heat platen size: Determine the ideal size of the heat platen based on the items you will be printing.
- Temperature control: Look for a heat press with accurate and consistent temperature control to achieve high-quality prints.
- Pressure adjustment: Opt for a heat press that allows easy and precise pressure adjustments to accommodate different materials.
- Additional features: Consider features such as digital displays, automatic timers, and interchangeable platens that can enhance your printing experience.
- Durability and warranty: Look for a heat press that is built to last and comes with a reliable warranty to protect your investment.
Reviews And Recommendations For Reliable Heat Presses
It’s always helpful to hear from other users about their experiences with different heat press models. Here are some popular and reliable heat press options that have received positive reviews:
| Heat Press Model | Reviews |
|---|---|
| Vevor Pro Heat Press | Rated 4.5 stars on Amazon with praise for its durability and even heat distribution. |
| HPN Black Series Heat Press | Highly recommended by professional screen printers for its precise temperature control and heavy-duty construction. |
| TransPro Select Heat Press | Known for its user-friendly interface and consistent performance. |
Tips For Selecting The Right Heat Press For Your Needs
Choosing the perfect heat press for your specific needs can be overwhelming. To help you make an informed decision, consider these tips:
- Define your printing goals and requirements.
- Read customer reviews and ratings to gauge product performance.
- Compare prices and features of different models to find the best value for your budget.
- Consider the availability of replacement parts and customer support.
- Seek recommendations from professionals or fellow heat transfer printers.
Troubleshooting Considerations For Future Heat Press Purchases
When troubleshooting issues with your heat press, there are a few considerations you should keep in mind to avoid similar problems in the future:
- Inspect the build quality and components of the heat press.
- Ensure easy access to repair or replace heating elements, fuses, and control panels.
- Familiarize yourself with maintenance routines and cleaning procedures.
- Keep the user manual and manufacturer’s contact details for quick reference.
End of HTML response
Frequently Asked Questions On Vevor Heat Press Troubleshooting
How Do I Reset My Heat Press Machine?
To reset your heat press machine, use the reset button on the side. If that doesn’t work, check if you’ve tripped a circuit breaker by plugging something else into the same outlet. If so, turn the machine off and back on.
Make sure the power cord is plugged in securely.
Why Is My Heat Press Not Pressing?
If your heat press is not pressing, it could be due to a cold spot or insufficient pressure from the top platen. To check for consistent pressure, perform the “Dollar Bill Test” using any type of paper. If the issue persists, ensure that the machine is plugged into a working outlet and try resetting it using the reset button.
If these troubleshooting steps don’t work, consult the machine’s manual or consider purchasing a new heat press.
Where Is The Fuse On A Heat Press?
The fuse on a heat press is usually located inside the power socket. To replace the fuse, make sure the power cord is unplugged and remove the fuse holder from the socket.
Do Heat Presses Have Fuses?
Yes, heat presses have fuses. The fuse holder can be removed when the power cord is unplugged.
How Can I Troubleshoot Temperature Inconsistency With My Vevor Heat Press?
Make sure to check the temperature using a thermometer and measure the platen’s distance for accurate readings.
Conclusion
To troubleshoot Vevor heat press issues, first, make sure the temperature is accurate by using a thermometer. Additionally, check the pressure consistency by performing the “Dollar Bill Test”. If the heat press isn’t turning on, try resetting it or checking the fuse.
For optimal performance, always use a dedicated power outlet. And if all else fails, consider purchasing a new heat press. With these troubleshooting tips, you’ll be able to resolve common heat press problems efficiently. Happy printing!
")


