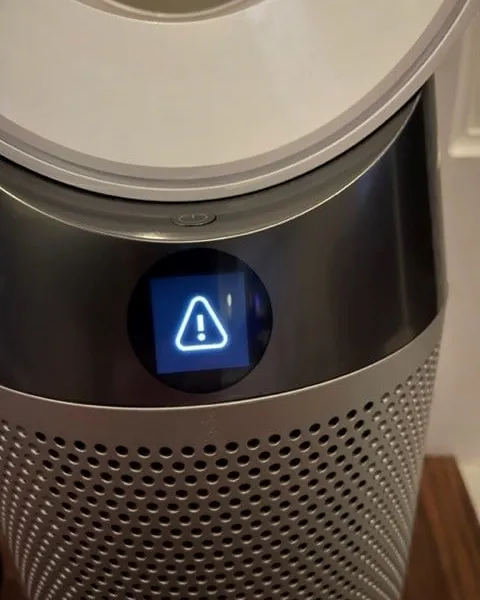
You can solve most issues with your machine by performing basic dyson air purifier troubleshooting that focuses on filter resets and sensor cleaning. If your device displays a warning light or fails to turn on, the most frequent cause is a filter that has reached the end of its life or a sensor blocked by dust buildup. These simple steps often restore full functionality without needing professional repair.
Fixing a Dyson purifier that stops working
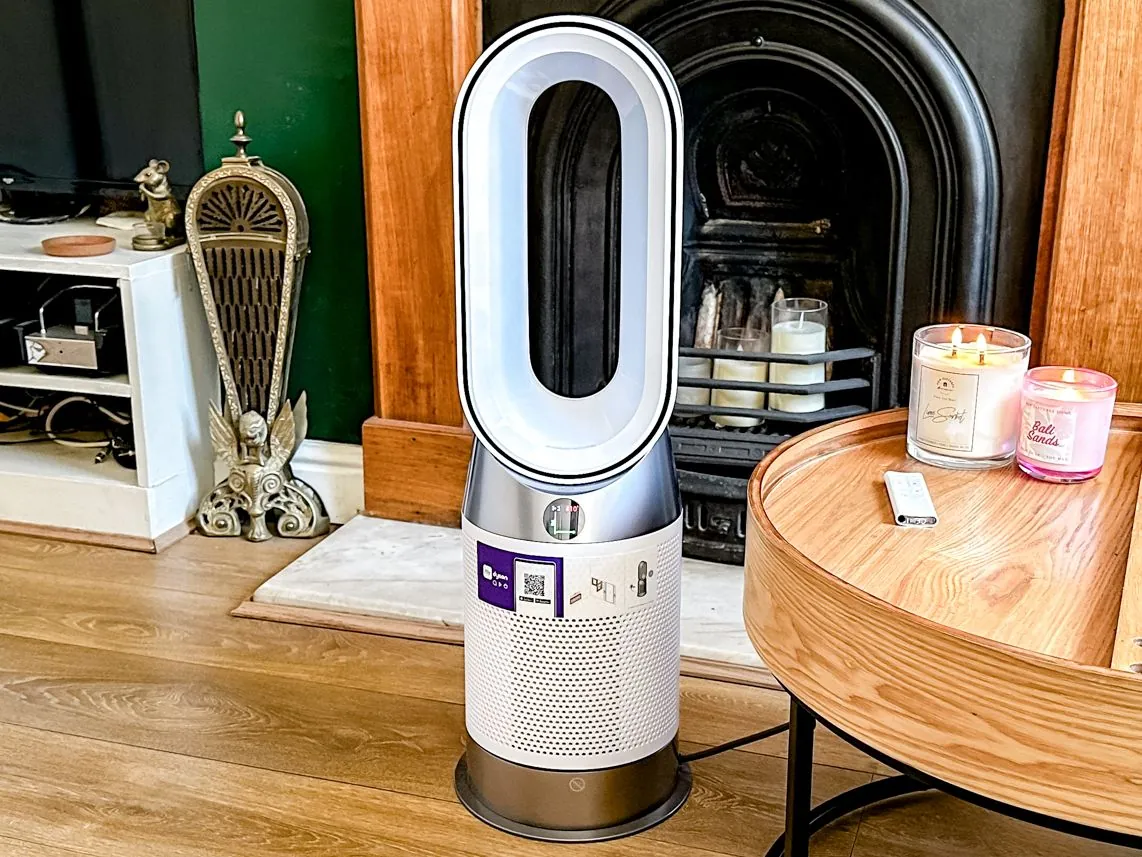
The most common reason for a unit to stop working is a saturated filter. These devices use sensors to track the lifespan of the HEPA and carbon layers. Once the calculated limit is reached, the machine will often restrict airflow or show an error code to signal that it can no longer filter the air efficiently. You must replace the filter to clear this status.
Another frequent issue involves the air quality sensors becoming obscured by household dust. The machine uses a laser to measure particulate matter in the room. If the small intake holes for this sensor become blocked, the unit might display false air quality readings or run at maximum speed constantly because it thinks the air is heavily polluted. This is usually a simple case of blocked optics rather than a mechanical failure.
Finally, power delivery issues often stem from loose cable connections or a tripped internal safety switch. If your device was moved recently, the base might not be sitting perfectly flush with the main body.
Many Dyson air purifier models include safety sensors that cut power if the unit is tilted or if the shroud isn’t locked into the correct position. Always verify that the machine is on a flat surface and that all latches are fully engaged before assuming a hardware defect.
Reset the filter status
If your machine shows a red light or a filter icon, you must reset the counter after installing a new unit. This process tells the software that the air purification capacity has been restored. To perform this, ensure the machine is plugged in and in standby mode. Press and hold the “Night mode” button on the remote for five seconds. The display should count down and then return to normal operation.
If you’re using a model with an LCD screen, go to the settings menu using the remote and select the filter reset option. Follow the on-screen prompts to confirm the change. If you don’t reset this after installing a new filter, the machine will continue to report that the filter is exhausted, which prevents the unit from operating at its full potential.
This fix is intended for users who have just replaced their HEPA or carbon filters. If you haven’t changed the filter, resetting the counter is a mistake that hides the fact that your air isn’t being cleaned.
If the light remains red after a successful reset, turn the power off at the wall for sixty seconds. This clears the temporary memory and forces the system to re-check the sensor status. If the error code persists, contact the manufacturer for further guidance.
Clean the air quality sensors
When your device runs at full speed even when the room air is clean, the sensor intake is likely clogged with dust. Locate the small, perforated panel on the side of the main housing. Use a clean, dry microfiber cloth to wipe the exterior of the perforations. If dust is clearly visible inside the holes, use a can of compressed air held at least six inches away to blow the debris out.
Don’t use liquids or cleaning sprays near these openings. Moisture can damage the sensitive laser and infrared components inside the sensor housing. If you can’t remove the dust through the exterior mesh, don’t attempt to unscrew the casing or open the internal housing. Opening the device beyond the filter shroud voids your warranty and risks damaging the delicate electronic components inside.
After cleaning, allow the machine to run for ten minutes in a room with stable air. The sensors require this time to calibrate to the current environment. If the readings don’t stabilize or if the machine continues to cycle through high-speed modes, the internal sensor may have reached the end of its service life. At this point, it’s a professional repair task rather than a do-it-yourself job.
Check the power and base alignment
If the unit is completely dead, check the power cord and the connection to the base. It’s common for the power cable to become slightly loose at the wall outlet or the machine input. Ensure the plug is pushed in firmly and that the outlet has power by testing it with another small appliance.
If the power is fine, check the base alignment. The machine is designed to cut power if it detects it has been tipped over. If the unit is sitting on a thick rug or an uneven floor, the base might not be making proper contact with the internal safety switch. Move the unit to a hard, level floor surface. Once the base is perfectly level, the machine should detect the stable position and allow you to power it on.
This fix isn’t for units that have been dropped or exposed to water. If the machine has suffered a physical impact or liquid spill, don’t attempt to turn it on. Unplug the device immediately and keep it disconnected to prevent short circuits. Contact a qualified service center to evaluate the internal damage, as these incidents can compromise the safety of the electrical system and the motor.
Mistakes that cause more damage
Using water to clean sensors: Moisture causes immediate short-circuits within the laser assembly. Once water touches the delicate internal optics, the sensor will likely provide false readings or fail entirely, requiring a full replacement of the monitoring module.
Forcing the filter cover: If the shroud doesn’t click into place, stop pushing. Applying extra pressure often snaps the plastic locking tabs. Once these tabs break, the cover will lose its airtight seal, causing the machine to vibrate loudly or shut down due to a safety sensor trigger.
Running without a filter: Operating the machine without a filter pulls debris directly into the internal motor. This causes rapid dust buildup on the bearings, which leads to overheating and permanent motor seizure within weeks of daily use.
Using non-original filters: Third-party filters often lack precise seals. This allows air to bypass the media, meaning dust passes straight back into your room. If the filter is too dense, it forces the motor to work against high resistance, leading to premature burnout.
Blocking the airflow: Placing the unit inside a cabinet restricts intake. If you can’t fit a hand between the unit and the wall, the motor will overheat. Always maintain a six-inch clearance on all sides to ensure the internal cooling system functions correctly.
Prevent future performance issues
A consistent maintenance routine prevents most performance issues from recurring. If you notice the air quality reading is consistently poor, check the environment around the machine for sources of dust or smoke.
| If you’re doing this | Do this instead | Why |
|---|---|---|
| Leaving the unit on the floor | Place it on a hard, flat surface | Improves airflow and sensor accuracy |
| Vacuuming the filter | Replace the filter as scheduled | Vacuuming damages the fine fibers |
| Ignoring the filter light | Replace the filter immediately | Prevents motor strain and bad air |
| Cleaning with wet cloths | Use a dry microfiber cloth | Protects sensitive internal electronics |
Most users mistakenly assume that a filter’s lifespan is fixed. In reality, high-traffic rooms with pets or heavy cooking require filter changes 25% sooner than the standard schedule. If your unit begins to hum loudly or emits a faint ozone scent, replace the filter immediately. These aren’t signs of a mechanical failure but clear warnings that the motor is working against a clogged intake.
Use this simple decision rule to maintain peak efficiency. If the intake grille feels warm to the touch, move the unit at least six inches away from walls or curtains.
Frequently asked questions
How long does a filter last?
Filters typically last twelve months based on twelve hours of daily usage. You can monitor the remaining life through the device settings or the mobile app. Filter longevity may decrease in environments with high pollution or pets.
Why is my machine making a clicking noise?
A clicking noise usually means the filter is misaligned or debris is trapped in the impeller. Check that the filter is seated correctly and remove any loose objects. If the sound persists, contact a professional to avoid damaging the motor.
Is it safe to leave the air purifier on overnight?
Yes, you can safely run the machine overnight as it’s designed for continuous operation. Many models feature a night mode to dim lights and reduce fan noise. Ensure the unit has three feet of clearance for proper airflow.
Why does the air quality light stay red?
A red light indicates high pollutant levels or a blocked sensor intake. Clean the sensor intake with a dry cloth to resolve the issue. If the light remains red in a clean room, the sensor may require professional recalibration.
How do I know if the machine is working?
You can confirm the machine is working by feeling for airflow at the top of the loop and checking the display. The sensor is active if the air quality readings change. Ensure the power cord is connected if the unit remains silent.
Conclusion
If your machine still isn’t working properly after these checks, don’t worry. You should reach out to the customer support team through the official website to explore your warranty options. They’ll help you figure out if you need a replacement part so you can get back to breathing clean air soon.
Related guides