If your landscape lights are dark, you can start ecoscapes lights troubleshooting by checking the power source and the connection points along the wire. The most common cause of failure is a loose or oxidized connection between the fixture and the main cable, which prevents the low-voltage current from reaching the bulb. If the entire system is out, the issue is usually at the transformer or the power outlet rather than individual lamps.
Troubleshooting common ecoscapes light failures
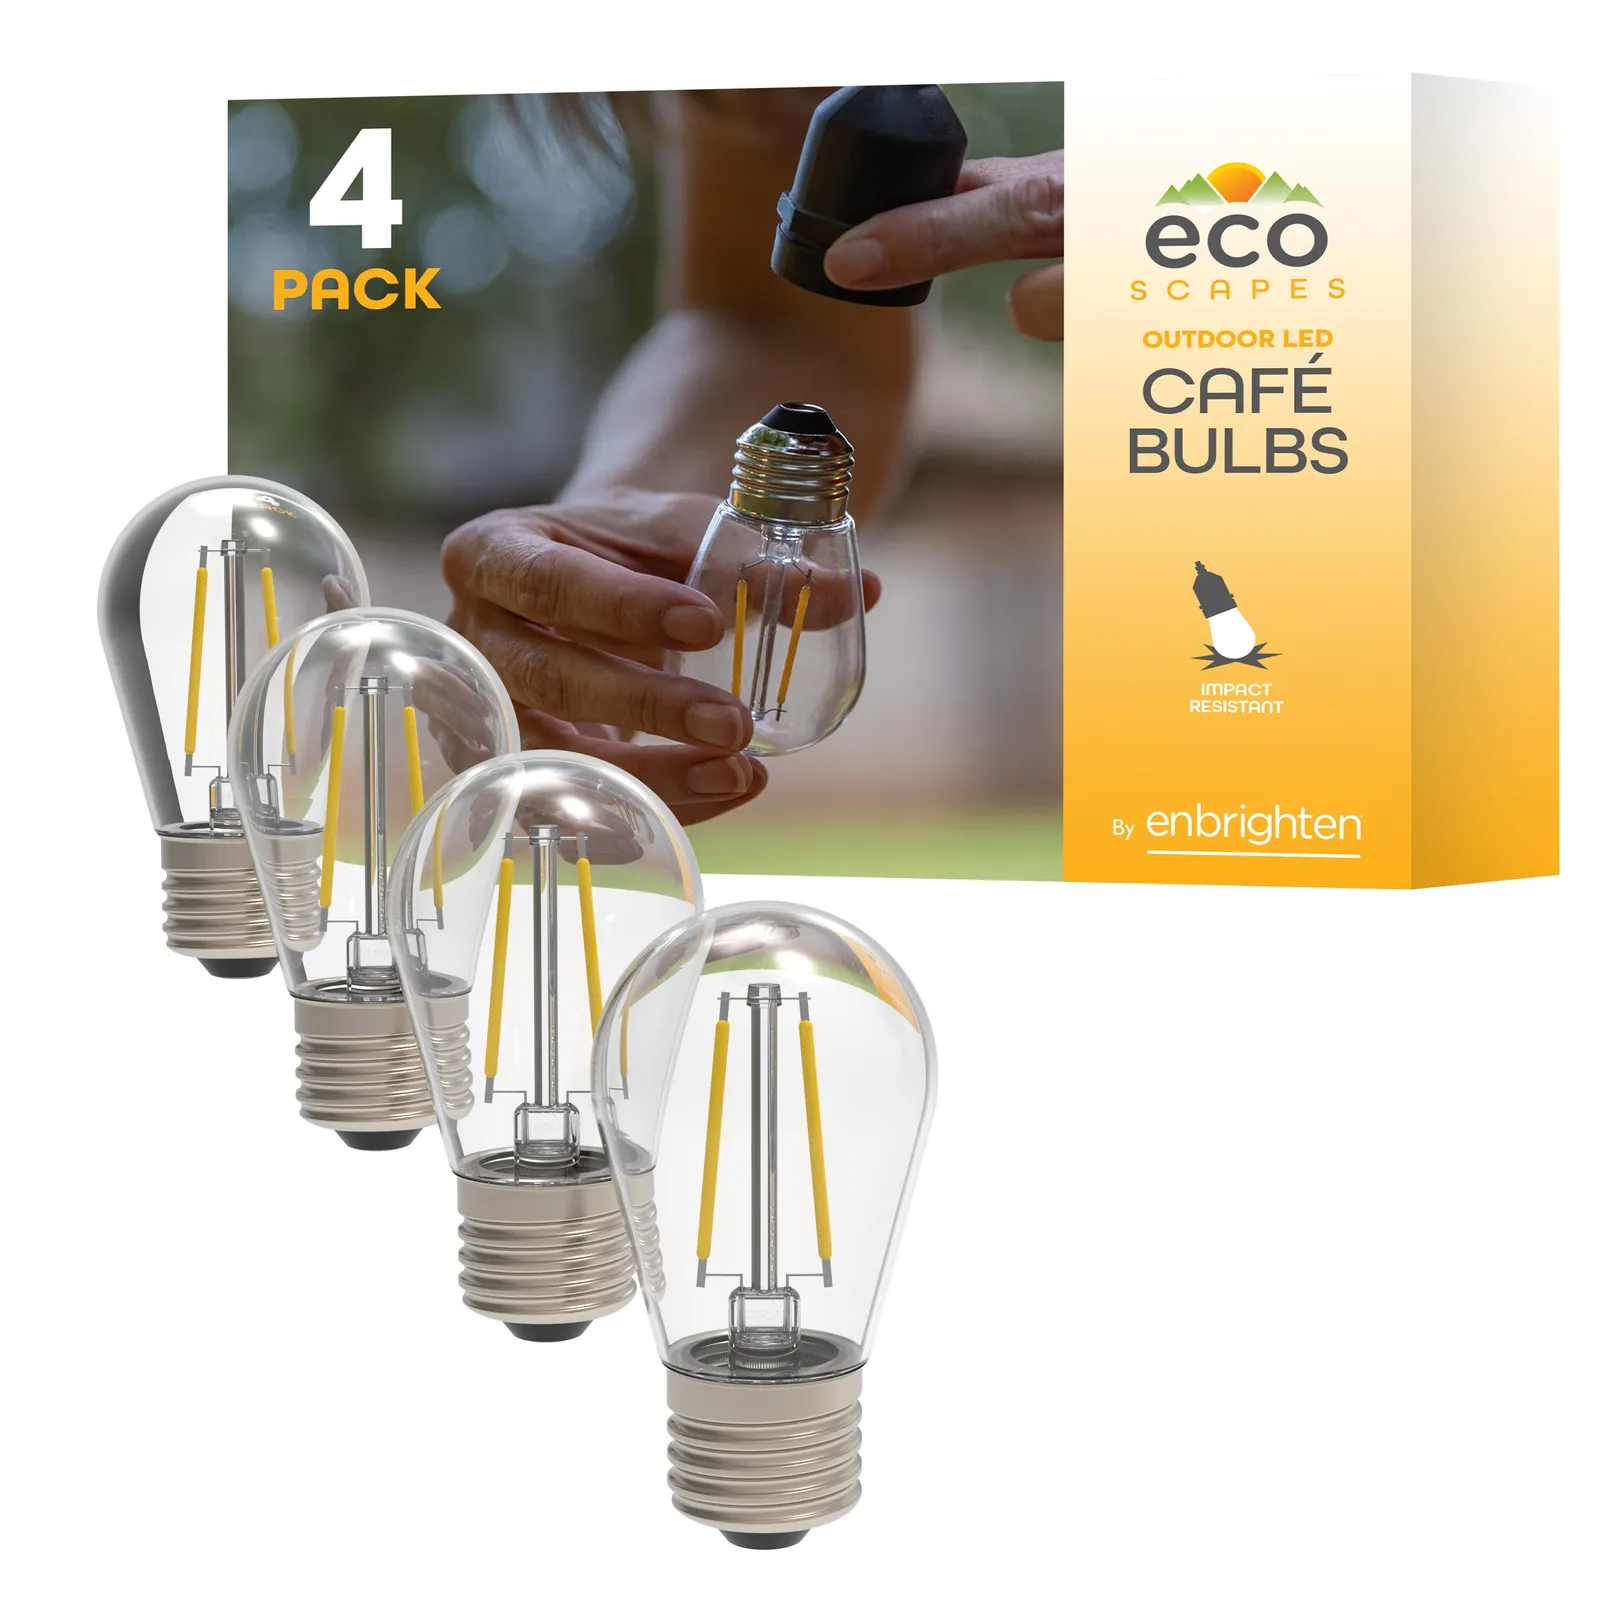
Most lighting failures happen because of environmental factors rather than internal defects in the lamps themselves. Because these systems sit outside, they’re constantly exposed to moisture, soil movement, and temperature changes that can wear down electrical seals.
You should look at the transformer first, as this is the “brain” of your system. If the GFCI outlet has tripped, the entire line will lose power instantly. You can verify if your power source is active by pressing the “reset” button on the outlet.
Another frequent cause is the physical degradation of the wire connectors. Over time, the metal pins inside the connector can corrode due to damp soil or acidic conditions. This creates high resistance, which stops the flow of electricity to the LED. In some cases, the wire itself may be severed by gardening tools, such as a shovel or lawn edger. This is a common issue that often goes unnoticed until you perform a visual inspection of the cable path.
Finally, consider the age of the LED modules. While these are rated for many thousands of hours, they can fail if they’re frequently exposed to water pooling in the fixture housing. If you notice a flickering light, it’s often a sign that moisture has entered the seal and is causing a short circuit. For specific safety standards regarding outdoor electrical installations, you can consult the National Electrical Code guidelines provided by the National Fire Protection Association.
Safety: Inside a mains-powered machine, the parts behind the outer cover can hold a dangerous electrical charge even after it has been unplugged — that’s why they sit behind a cover. Opening the housing, or testing or replacing anything behind it, is a job for a qualified technician, never a home repair.
Tighten all wire and cable connections
If your lights are dim or flickering, the first fix is to inspect the connection points where the fixture meets the main power line. Many outdoor systems use a piercing connector that creates a small hole in the cable.
If this connector has shifted or loosened, it won’t make solid contact. You should gently push the connector to see if the light flickers or turns on. If it does, remove the connector, clean off any dirt or rust, and reattach it to a fresh section of the wire.
This fix is for homeowners who can safely access the wire path without using power tools. If you find that the wire is brittle or the insulation is cracked, you must replace that section of the cable entirely. Never attempt to splice high-voltage lines or modify the transformer internals yourself. If you aren’t comfortable working with electrical components, or if the main transformer is humming or smells like burning plastic, stop immediately and contact a licensed electrician.
To tell if this worked, wait until dusk to observe the light levels. If the light remains steady and matches the brightness of your other fixtures, the connection is secure. If the light still fails to illuminate, you likely have a faulty LED module that needs a full replacement. Keep in mind that some fixtures require specific proprietary connectors, so check the manufacturer’s documentation before trying to swap parts from a different brand.
Reset the transformer and power settings
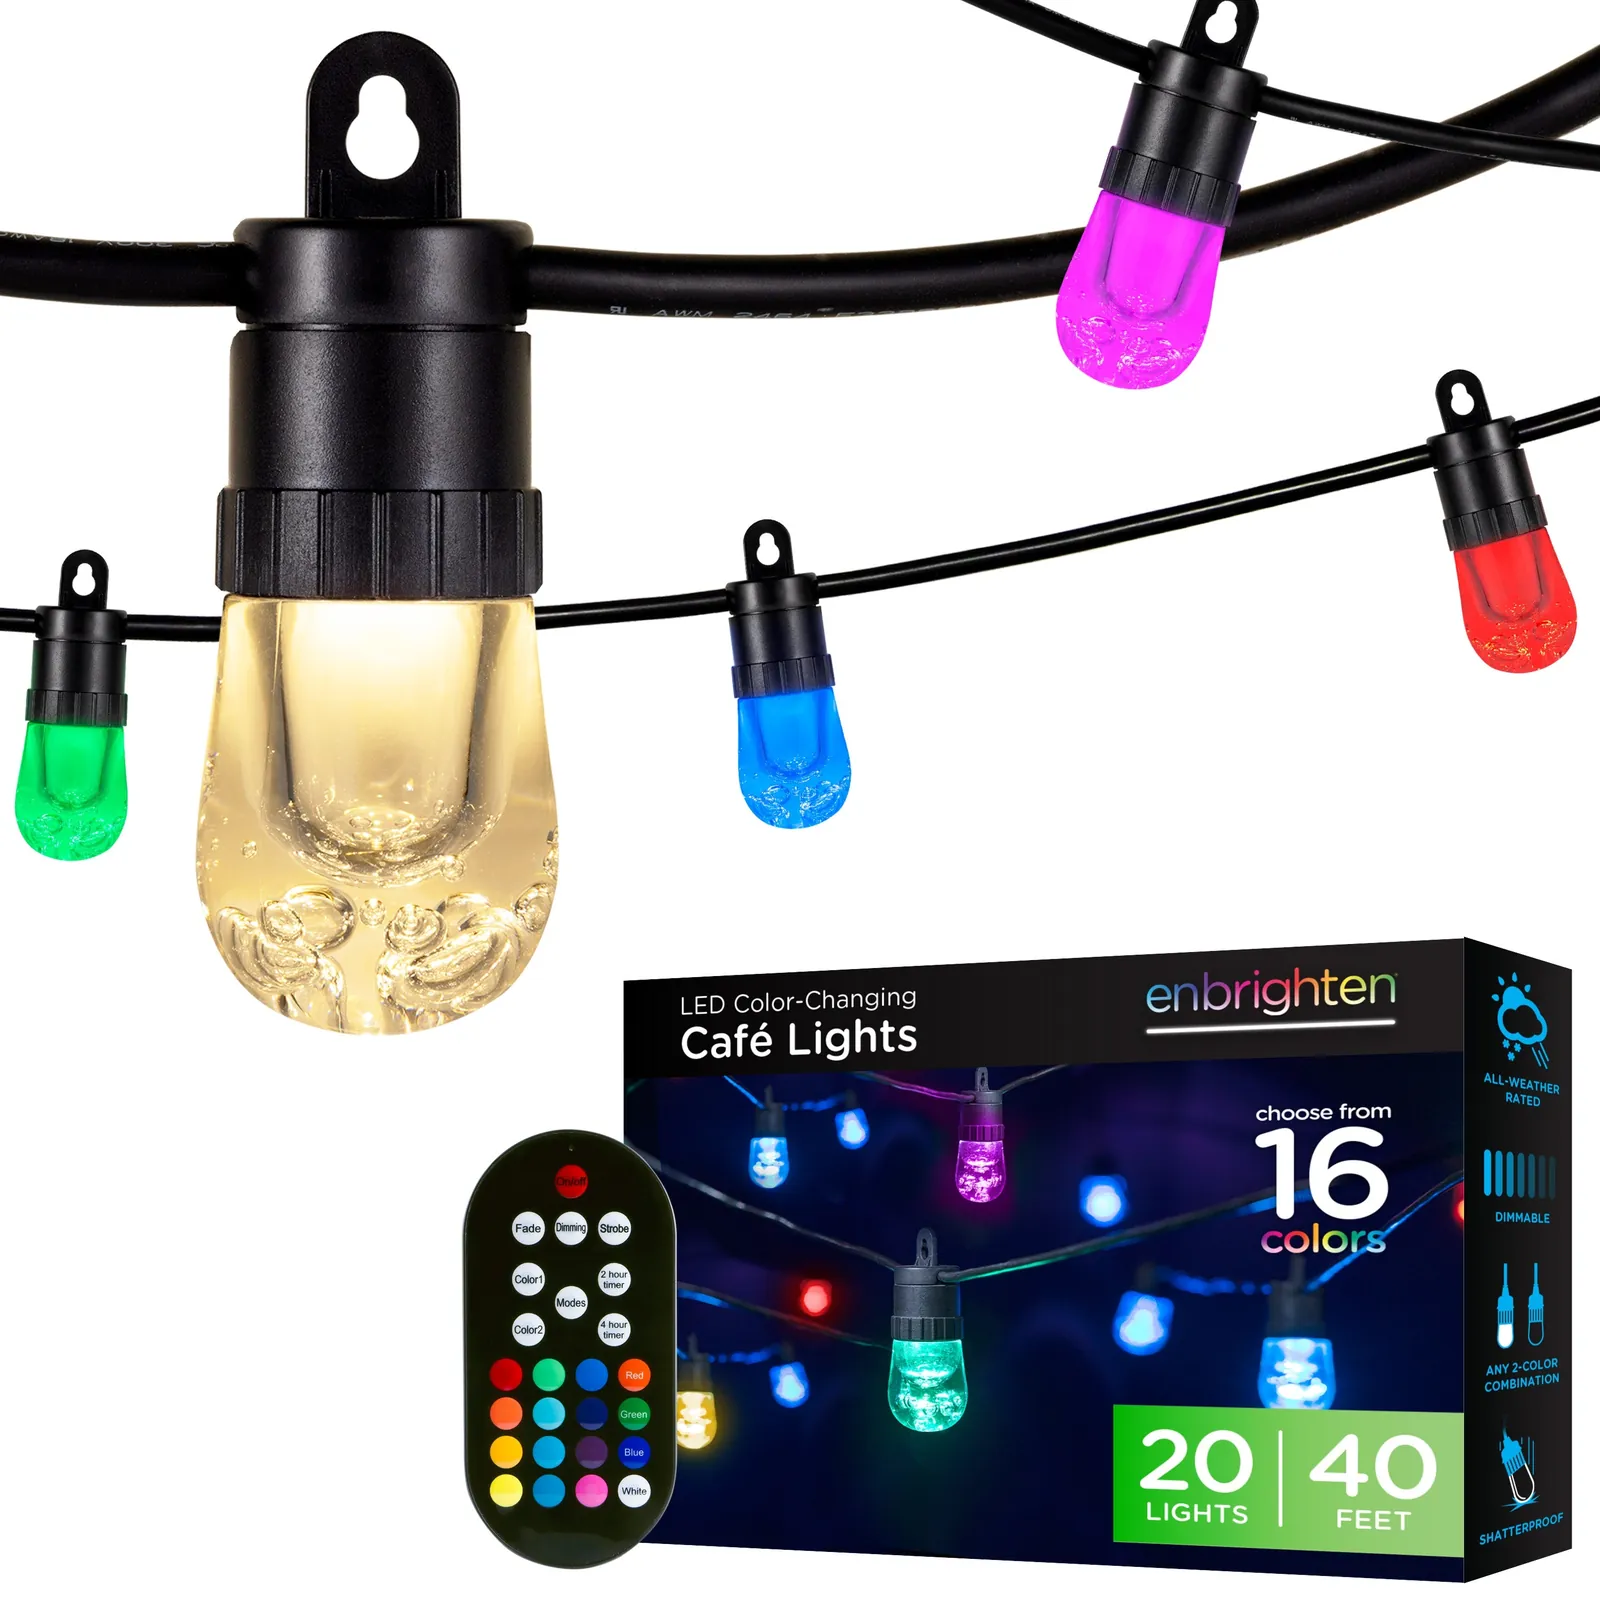
The transformer is the most important component for managing your system’s power load and timing. If your lights aren’t turning on at the set time, the internal timer or the photocell sensor may be blocked or malfunctioning. The first step is to perform a hard reset by unplugging the transformer from the wall outlet for at least 30 seconds. This clears the digital memory and forces the unit to restart its cycle.
After plugging it back in, check the mode settings on the face of the unit. Ensure the system is set to “Auto” or “On” rather than a manual “Off” setting. If your transformer uses a light-sensing photocell, make sure the lens isn’t covered by leaves, spider webs, or thick garden debris. A blocked sensor will think it’s still daytime and will keep the lights off even when the sun goes down.
If you have added new lights to the system, you might have exceeded the wattage capacity of your transformer. This often causes the unit to shut down as a safety precaution.
If the unit feels extremely hot to the touch, you have likely overloaded it. In this case, you must disconnect the extra fixtures until you’re within the rated capacity of your specific model. You can find the maximum wattage load printed on the manufacturer’s label located on the side of the transformer housing.
Replace individual faulty light fixtures
For cases where only one or two lights are dead despite having power at the main line, replacing the specific fixture is often the most reliable solution. This is worth the effort if the housing is corroded or the internal LED module is sealed. If your system is quite old, it’s usually more cost-effective to replace the whole unit.
This path isn’t for those who are worried about damaging their garden beds during the removal process. You’ll need to dig up the stake and pull the wire through the soil. If the fixture is fixed to a stone or concrete surface, you may need specialized tools to remove the mounting screws safely. If you don’t have experience with basic yard work or low-voltage wiring, it’s safer to hire a professional landscaper to handle the installation of new hardware.
Always buy the exact replacement model recommended by the manufacturer to ensure the finish and light color match your existing setup. Before you start, turn off the main power at the transformer to prevent any accidental shorts while you work with the wires. Once the new fixture is connected, test it during the day by covering the photocell sensor with your hand to simulate darkness.
Mistakes to avoid during maintenance
- Don’t use electrical tape to “fix” a broken main wire, as it won’t keep water out and will eventually cause a system-wide short.
- Avoid burying the transformer in the dirt or covering it with mulch, as these units need air circulation to prevent overheating and failure.
- Never try to open the sealed transformer box, because doing so creates a risk of electric shock and voids any remaining factory warranty.
- Don’t replace a blown fuse with one that has a higher amperage rating, as this can lead to melted wires and a potential fire hazard.
- Avoid using non-outdoor-rated extension cords to power your system, because they aren’t designed to withstand moisture and will degrade in the sun.
Prevent future lighting system issues
You can ensure your system lasts by performing a seasonal check of the wire paths and the transformer housing. If you’re doing this now, compare your current habits with the suggested maintenance steps in the table below.
| If you’re doing this | Do this instead | Why |
|---|---|---|
| Leaving wires exposed | Bury wires 6 inches deep | Protects cable from garden tools |
| Using standard tape | Use waterproof silicone connectors | Prevents moisture-induced corrosion |
| Ignoring the transformer | Clean the photocell lens monthly | Ensures accurate dusk-to-dawn cycles |
| Overloading the system | Check total wattage vs rating | Prevents transformer overheating |
| Forcing tight connections | Use dielectric grease on pins | Improves contact and slows oxidation |
Frequently asked questions
Can I fix a cut landscape wire myself?
You can fix a cut wire by using a waterproof direct-burial splice kit. First, ensure the power is completely disconnected at the transformer. Strip the cable ends, insert them into the gel-filled connector, and crimp firmly to create a watertight seal. Note that replacing the entire length is better if the cut is near the transformer.
Why do my landscape lights blink on and off?
Flickering lights are usually caused by a loose connection or a failing photocell sensor. Check the wire connector at the base of the fixture for oxidation or looseness. If the connection is clean and tight, the LED module itself is likely nearing the end of its life.
How long should outdoor light wires last?
High-quality outdoor wires can last for many years if they’re rated for direct burial and installed correctly. Soil acidity or frequent flooding can cause the copper to degrade faster than in dry, sandy soil. You should replace the wire if the insulation feels brittle or cracks when bent.
Is it safe to leave landscape lights on all night?
Yes, it’s safe to leave low-voltage LED landscape lights on all night if your transformer is in a dry, ventilated area. Modern LED systems use very little power and don’t generate significant heat. You can use a timer if you’re concerned about energy use or light pollution.
What happens if water gets inside the fixture?
If water enters the fixture, it can cause the LED to short circuit or fail. Turn off the power, remove the fixture, and let it dry out completely for 24 hours. If the internal seal is compromised, the fixture will continue to collect moisture and must be replaced.
How often should I check my transformer?
You should check your transformer at least twice a year, specifically during the spring and fall. Look for signs of overheating, verify timer settings, and clear away any plants growing over the unit. If the casing is cracked or the cord is damaged, replace the unit to ensure electrical safety.
How many lights can I put on one transformer?
You can add lights until your total wattage reaches 80% of your transformer’s maximum capacity. This 20% safety buffer prevents the system from overloading. Always check the label on each fixture and compare the sum against the capacity printed on your transformer to ensure you remain within safe limits.
Conclusion
Proper maintenance of your lighting system is the best way to keep your garden looking great year-round. By keeping connections clean and checking the transformer for signs of wear, you avoid the most common causes of failure. If you ever see signs of melted plastic or frayed wires, prioritize your safety by disconnecting the system and seeking professional help before attempting any further troubleshooting or repairs.
Related guides