If you have no hot water, you should first check your home’s electrical panel to see if the breaker for the tank has tripped, as this is the most common reason for a sudden loss of power. When you need an electric water heater troubleshooting guide to help you identify why your unit is failing, look for signs like lukewarm water, no water at all, or water leaking from the base. Most simple issues involve the power supply or the thermostat settings, which you can often verify without needing special tools.
Electric water heater troubleshooting steps
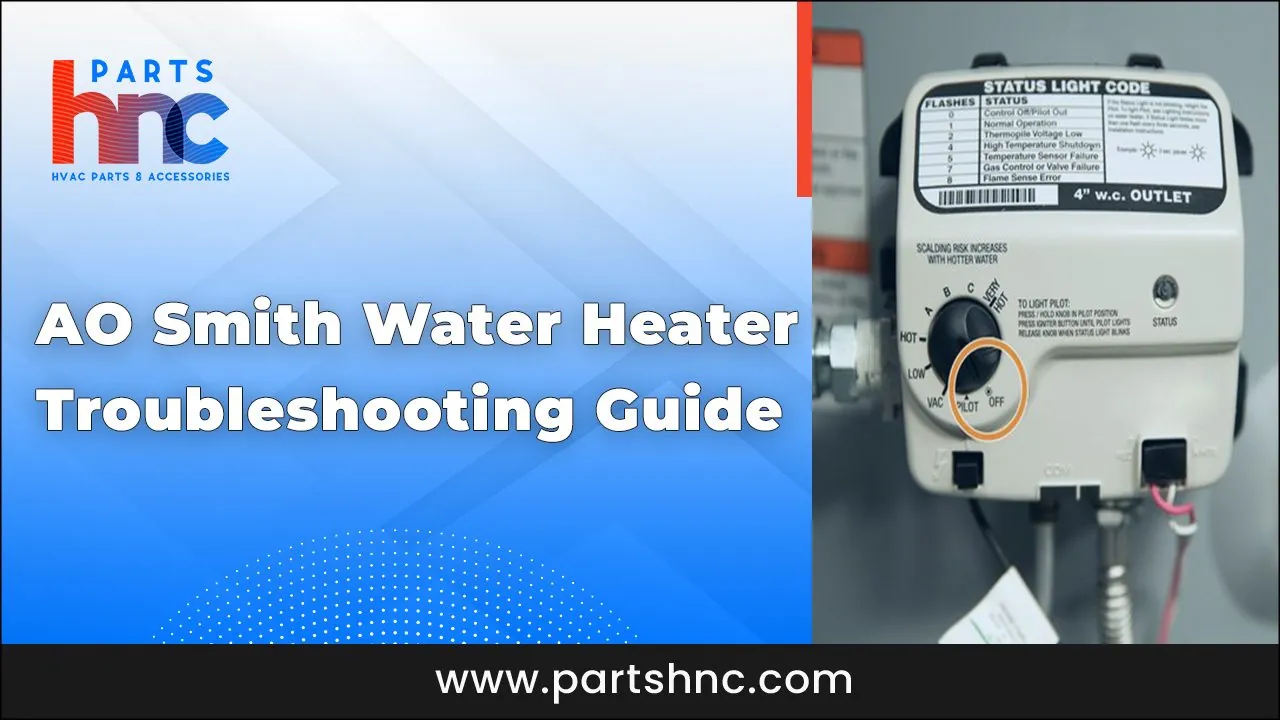
The most common reason for a lack of hot water is a tripped circuit breaker in your main electrical panel. If the breaker is in the “off” or “middle” position, it has cut power to the tank, preventing the heating elements from warming the water.
You can usually reset this by flipping the breaker fully to “off” and then back to “on.” If it trips again immediately, don’t force it to stay on, as this points to a deeper electrical fault that requires a professional.
Another frequent cause is a faulty upper or lower thermostat. These devices act as sensors that tell the heating elements when to turn on; if one fails, the water stays cold or never reaches the right temperature.
Over time, sediment buildup at the bottom of the tank can also insulate the lower heating element, making it work much harder and eventually causing it to fail. You can check the manufacturer’s manual for your specific model to see the recommended schedule for flushing out this mineral sediment.
Finally, the high-limit switch—a safety device designed to shut off power if the water becomes dangerously hot—may have triggered. This often happens if the thermostat is set too high or if there’s a wiring issue. If you notice signs of corrosion or persistent leaks around the tank, the Department of Energy suggests that it may be time to consider a replacement rather than a repair, especially if the unit is aging.
Reset the high-limit safety switch
If your water is cold but the breaker is on, the high-limit safety switch may have tripped. This switch is a small red button located behind the access panel on the side of the tank.
To check it, ensure the power is off at the breaker, then remove the outer metal cover to reveal the insulation and the thermostat housing. If the red button is popped out, press it firmly to reset it. If it clicks into place, the unit should begin heating again once you restore the power.
This fix is only for users comfortable working near electrical components. If you see any melted wires, charred plastic, or signs of burning near the terminals, leave the power off and call a licensed electrician immediately. Never touch any electrical connections or attempt to bypass the safety switch, as this creates a significant fire and shock risk. You’ll know this worked if you hear the unit begin to hum or if the water temperature rises within about 60 minutes.
Adjust your thermostat temperature settings
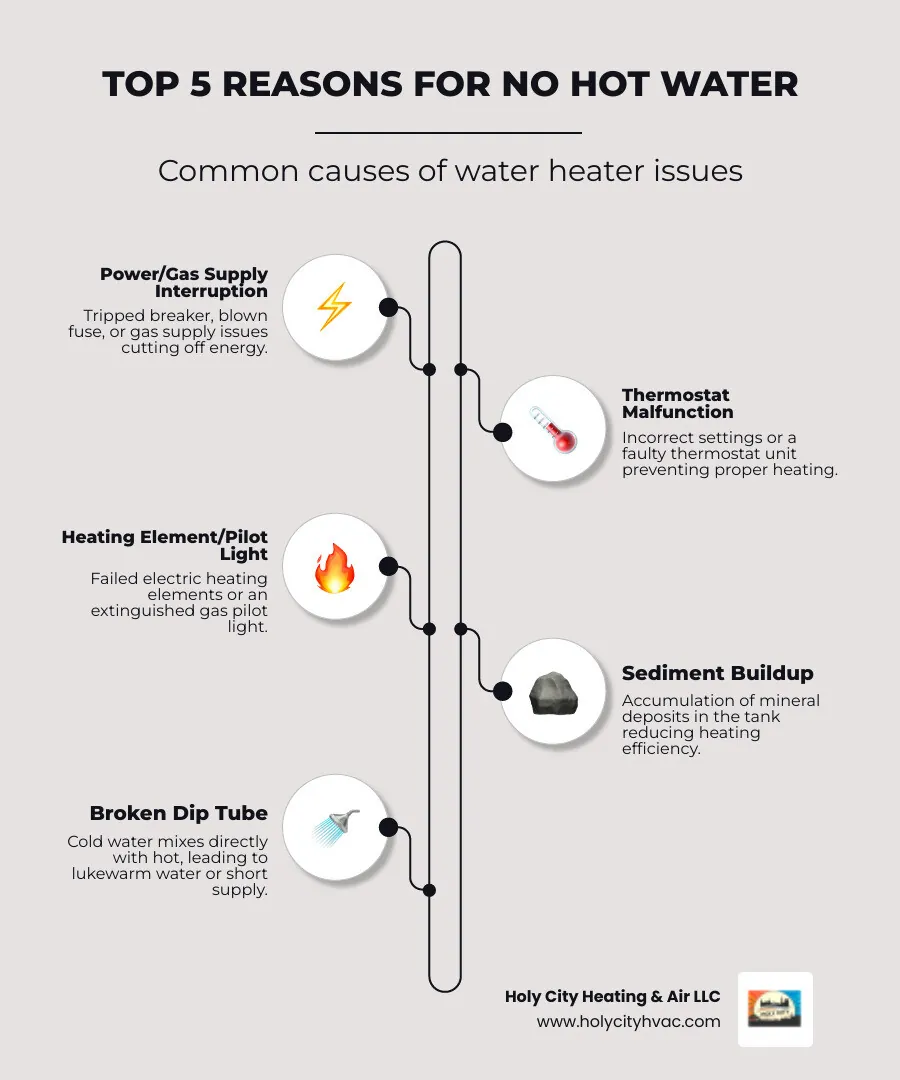
Sometimes the water isn’t as hot as you want because the thermostat is set too low for your needs. Most residential water heaters are factory-set to 120 degrees Fahrenheit, which is the standard to prevent scalding while maintaining enough heat for daily tasks. If you live in a cold climate, the incoming water is naturally colder, so you might need to adjust the dial slightly higher to compensate for the lower starting temperature.
To adjust this, you must turn off the power at the breaker first. Remove the access panel and the protective insulation to find the thermostat dial. Use a flat-head screwdriver to turn the dial to your desired setting, usually in small increments.
If you aren’t sure where to set it, consult the label on your tank, as it often lists the ideal range for your specific model. Avoid setting it above 140 degrees Fahrenheit, as this significantly increases the risk of serious burns in the home.
If your household includes elderly residents or young children, keep the setting at 120 degrees. The risk of third-degree burns increases exponentially above this threshold. A common mistake is cranking the heat to compensate for a failing heating element. If the water remains lukewarm even after a setting adjustment, the lower element is likely burnt out rather than miscalibrated. In that case, increasing the temperature only wastes electricity without solving the underlying mechanical failure.
Replace the sacrificial anode rod
If your water smells like rotten eggs or looks discolored, the anode rod inside your tank may have fully corroded away. This rod is designed to rust so that the steel tank itself does not, protecting the interior from leaks.
When the rod is gone, the tank begins to corrode, which can lead to leaks and poor water quality. This is an advanced maintenance task that requires specialized tools and a drain hose, so it’s often better handled by a professional plumber.
If you decide to do this yourself, you’ll need a long socket wrench to unscrew the old rod from the top of the tank. Before you start, turn off the water supply and drain at least half of the tank to prevent flooding.
If the rod is stuck or the threads are rusted, stop immediately to avoid damaging the tank, which would require a full replacement. You can determine if your rod needs replacing by pulling it out and checking if the core wire is exposed; if more than six inches of the core wire are visible, it’s time for a new one.
Common mistakes to avoid
Replacing parts while the power is on: This is the most dangerous error, as it carries a high risk of electric shock. Always flip the dedicated circuit breaker at the main panel and use a non-contact voltage tester on the wires before touching any internal components.
Ignoring a leaking tank: A leak at the base often means the inner tank has rusted through, which can’t be patched or repaired. If you see water pooling around the bottom, check the temperature and pressure relief valve first; if that valve is dry, the tank itself has failed and must be replaced immediately to prevent catastrophic flooding.
Turning the thermostat to the maximum setting: This doesn’t heat the water faster and can cause the high-limit switch to trip repeatedly. Set your dial to 120 degrees Fahrenheit. This prevents scalding and keeps the heating elements from cycling too frequently, which extends their lifespan.
Using generic parts: Always use the manufacturer-specified thermostat or heating elements to ensure the safety features work as intended. Generic components often lack the correct wattage rating, which can lead to wiring insulation melting or premature element burnout.
Flushing the tank while it’s hot: Hot water can cause severe burns, so always let the tank cool for several hours before opening the drain valve. Never attempt to flush if the water temperature exceeds 100 degrees Fahrenheit.
Maintaining your water heater correctly
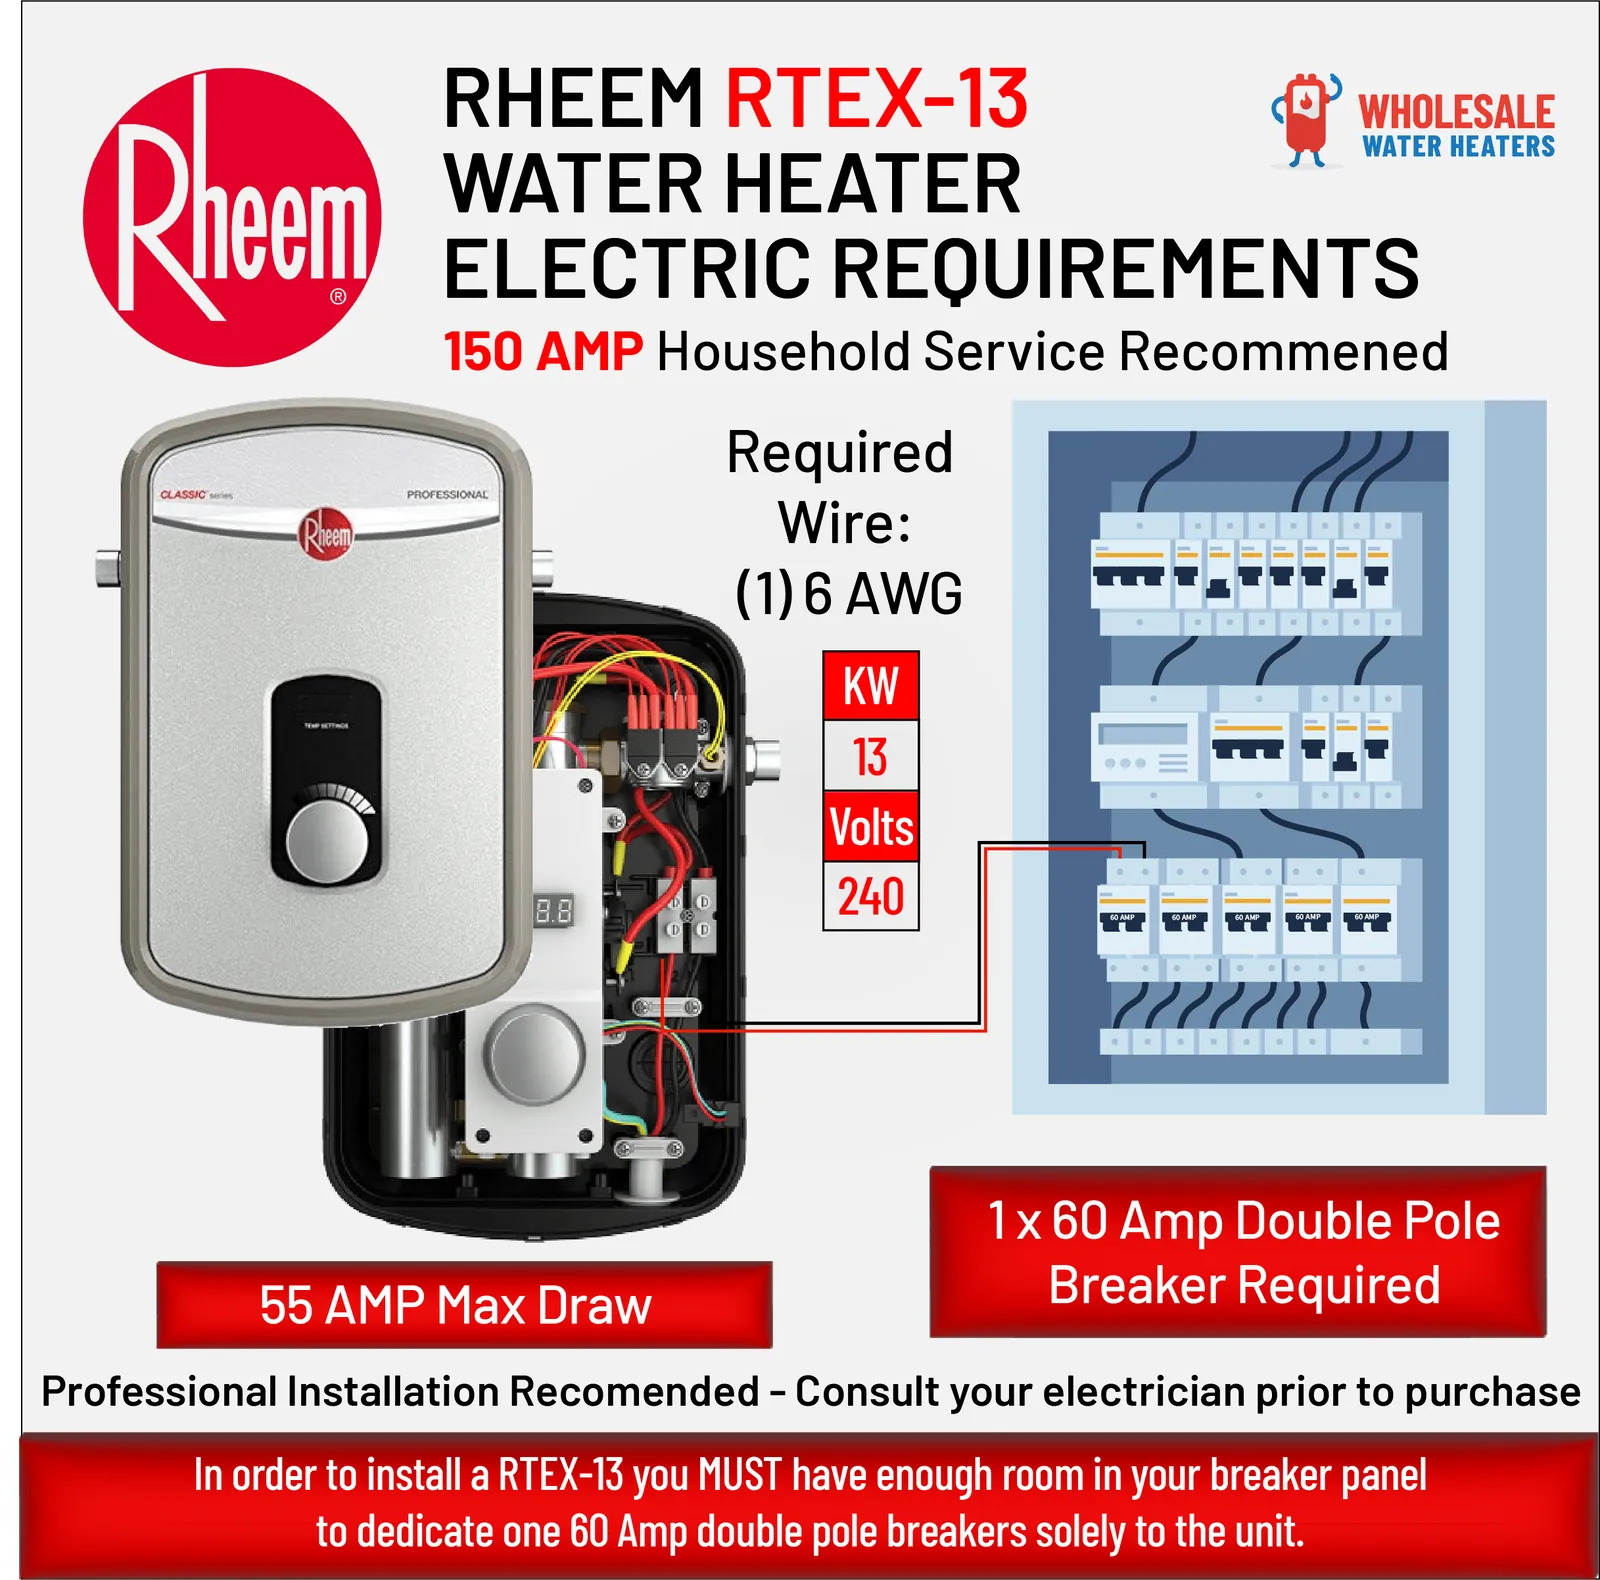
To keep your system running efficiently, perform a routine check of your tank’s settings and physical condition. This prevents common failures caused by sediment buildup or loose electrical contacts. The frequency of these checks depends on your usage, and the owner’s manual is the authority on maintenance.
| If you’re doing this | Do this instead | Why |
|---|---|---|
| Never flushing the tank | Flush it once a year | Removes sediment that hurts efficiency |
| Ignoring the breaker | Test the breaker monthly | Ensures power reaches the unit |
| Setting heat to maximum | Set to 120-130 degrees | Saves energy and prevents scalding |
| Ignoring small drips | Tighten valves or call help | Prevents water damage to your floors |
Most homeowners make the mistake of waiting for a total failure before inspecting the anode rod. This sacrificial metal part prevents your tank from rusting from the inside out. The frequency of inspection depends on your water quality and usage, and the owner’s manual is the authority.
Use this decision rule for your temperature setting: if you have young children or elderly residents, lock the thermostat at 120 degrees to prevent accidental burns. If you live alone and want to maximize energy savings, 130 degrees remains the industry standard for balancing efficiency with bacteria prevention. Always listen for a popping sound during heating cycles; that noise indicates you have sediment buildup that should be flushed during your next maintenance cycle.
Frequently asked questions
Can I fix a leaking electric water heater myself?
No, you can’t safely repair a leaking tank because the inner vessel has rusted through. Once the tank is compromised, no sealant can withstand the water pressure. You should turn off the water supply and contact a professional plumber to discuss a full replacement.
How long does it take for the water to heat up after a reset?
It typically takes between 60 and 120 minutes for a standard 40-gallon tank to reach its full temperature after a reset. This assumes the tank was already full and the power was restored to both the upper and lower elements. If you only have lukewarm water after two hours, the lower heating element may be faulty or covered in heavy mineral sediment, which prevents it from transferring heat into the water effectively.
Is it safe to change the heating element myself?
No, it isn’t safe for a homeowner to change the heating element due to the risk of lethal high-voltage exposure. Internal components can hold a charge even when the breaker is off. This work must be completed by a licensed professional with the proper tools.
Why is my water heater making a popping noise?
The popping or banging sound is caused by water trapped beneath a thick layer of sediment at the bottom of your tank. As the heating element warms the water, the trapped bubbles expand and burst, creating the noise you hear. This is a clear sign that you need to flush the tank to remove the mineral buildup, which can also help your heater run more quietly and improve its overall energy efficiency.
How do I know if my thermostat is broken?
You can suspect a broken thermostat if the water is consistently cold or scalding hot regardless of the dial setting. Testing a thermostat requires checking for continuity while the power is disconnected. You should have a professional diagnose this specific electrical component.
Conclusion
If you still can’t get the temperature right after checking these basics, it’s best to call a licensed plumber for help. They’ll have the right tools to safely inspect the internal heating elements for you. Don’t hesitate to reach out if you’re feeling unsure, as it’s always better to stay safe.
Related guides