You can restore your machine to full suction by clearing clogs from the hose and checking the filters, as regular eureka power speed vacuum troubleshooting often reveals that blockages are the primary cause of poor performance. If your vacuum loses suction or stops picking up debris, the first step is to inspect the base, the hose, and the brush roll for hair or large items. Keeping these paths clear ensures the motor doesn’t overheat while working to pull air through the system.
Why your Eureka vacuum loses power
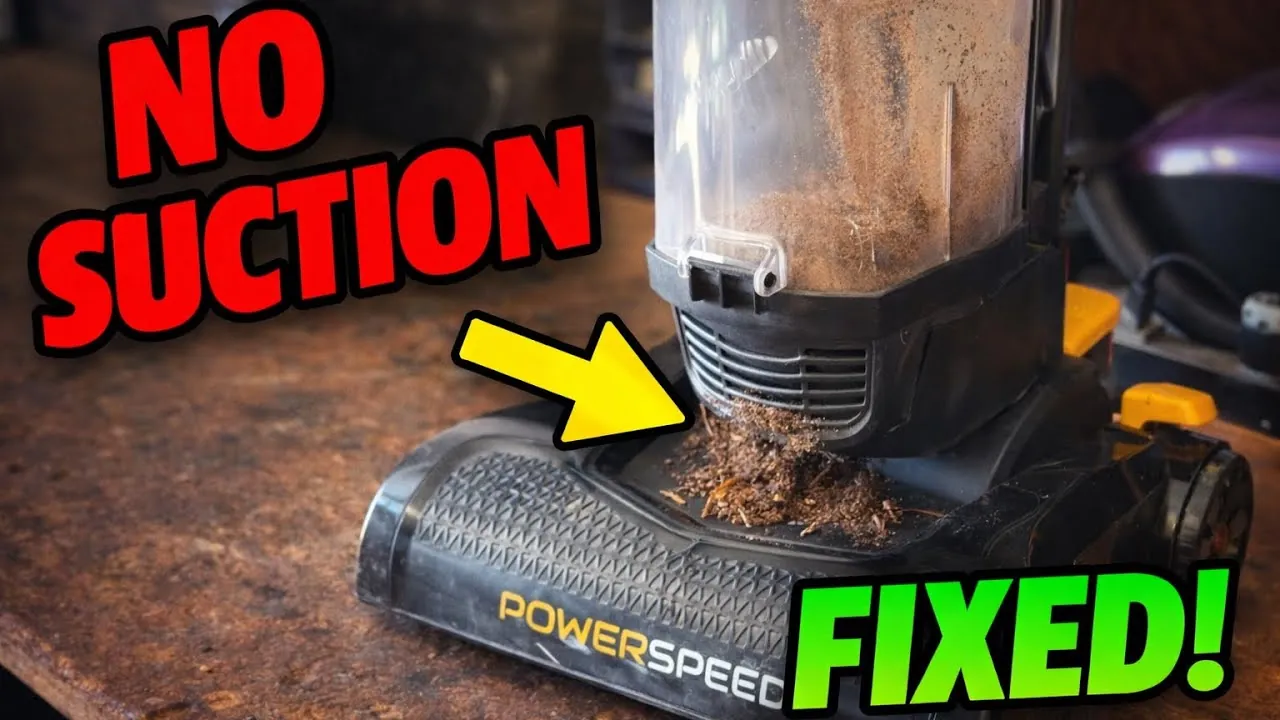
The most common reason for a drop in performance is a buildup of debris that prevents air from flowing freely. When air can’t move through the machine, the motor works harder and the suction force at the floor nozzle drops significantly. This often happens because the filters are clogged with fine dust, or because a large object is stuck in the intake path.
Another common factor is the condition of the brush roll. If hair and carpet fibers wrap tightly around the bristles, the brush can’t agitate the carpet effectively to lift dirt into the suction path. This creates a resistance that forces the motor to expend more energy to spin the roll. You can verify the state of your eureka vacuum filters by removing them and checking if they’re heavily coated in dust or debris, which restricts airflow.
Finally, the seal of your vacuum matters. If the hose has a small crack or the connection points aren’t snapped into place tightly, air leaks into the system. This reduces the vacuum pressure at the nozzle. If you notice the machine feels warm or sounds different than usual, it’s likely trying to compensate for an air blockage or a leak.
Clean the filters and intake
If your vacuum isn’t picking up dirt, start by removing the dust cup and accessing the filter assembly. Most models use a foam or pleated filter that collects microscopic particles. If this filter is grey or brown, it needs to be washed with warm water and allowed to air dry completely for at least 24 hours before you put it back.
Don’t skip the drying phase. Reinstalling a damp filter traps moisture inside the motor housing, which leads to mold growth and can cause the motor to short-circuit. If the filter feels stiff or retains a dark, matted texture even after washing, it has reached the end of its lifespan and must be replaced.
Next, check the intake port located behind the dust cup for any trapped debris. Use a long, blunt object like a broom handle to gently push any clogs through the opening. Never use sharp tools, as these can puncture the internal components or damage the plastic housing. If you find the machine still lacks suction, ensure the hose is securely clicked into the base and that the dust cup lid is locked firmly in place.
This fix is intended for users who find their vacuum is running but not cleaning. If you hear a grinding noise or smell burning plastic, stop using the machine immediately. These signs indicate a mechanical failure that requires professional repair or a warranty claim through the manufacturer. Trying to force suction in these cases often burns out the belt or ruins the motor permanently.
Clear the brush roll and hose
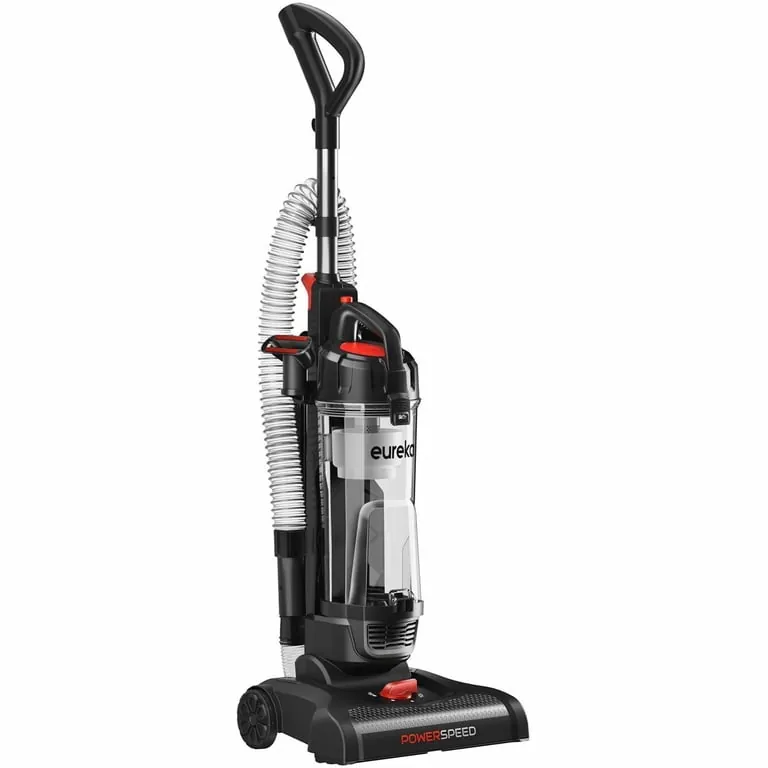
A clogged brush roll is a frequent culprit when the machine stops picking up debris from carpets. Flip the vacuum over to inspect the rotating bar for tangled hair, string, or threads. Use a pair of scissors to carefully cut through the debris, then pull it away from the bristles. Be careful not to damage the bristles or the rubber belt that drives the roll.
After cleaning the roll, detach the main hose from the back of the unit. Shine a flashlight through the tube to look for obstructions. If you see a blockage, use a flexible cleaning brush or a long, dull tool to push the debris out. Once the hose is clear, reattach it and listen for a “click” to confirm that the seal is airtight.
This process is ideal for anyone who uses their vacuum on high-pile carpets or has pets that shed. If the brush roll still doesn’t spin after you have cleared all debris, you may have a broken drive belt. A belt replacement is a job for a service technician, as it often requires removing the entire base housing and working with tensioned springs.
Inspect the floor settings and seals
The adjustment dial on the base of your machine dictates how close the nozzle sits to the floor. If you have the setting on “high” while trying to clean a bare floor or low-pile carpet, the vacuum won’t create the proper seal to lift dirt. Turn the dial to the lowest setting for hard floors and adjust upward only for deep-pile rugs.
Check the rubber gasket at the base of the dust cup. If this seal is torn or missing, the vacuum will lose suction before the air even reaches the filter. You can also inspect the hose connections at the top of the handle. Sometimes, the locking tab wears down, preventing the hose from staying in the correct position. If the hose feels loose, try wrapping a small piece of electrical tape around the connector to create a tighter fit.
This is worth the effort if your vacuum is only a few years old and the motor still sounds strong. However, if the plastic housing is cracked or the motor emits a high-pitched whine, the cost of parts and labor may exceed the value of the unit. In such cases, it’s often more practical to replace the vacuum rather than attempting a complex internal repair.
What not to do
Don’t use sharp knives or metal screwdrivers to clear clogs. These tools easily puncture the flexible hose or score the internal plastic walls, creating jagged edges that snag future debris. Use a blunt wooden dowel or a stiff plastic rod instead.
Don’t attempt to open the motor housing or internal electronics. These components aren’t user-serviceable, and breaking the factory seal voids your warranty immediately. If you hear a high-pitched whine or smell ozone, stop usage and contact a certified technician.
Don’t wash the motor or electrical plugs with water. Moisture causes internal short circuits that create permanent fire hazards. If water enters these areas, don’t attempt to use the vacuum; contact the manufacturer or a qualified service technician.
Don’t operate the vacuum without the filters installed. This allows fine dust to enter the motor housing, which causes irreversible pitting on the fan blades and eventual engine failure. Always verify the filter seal is tight after every cleaning.
How to stop it happening again
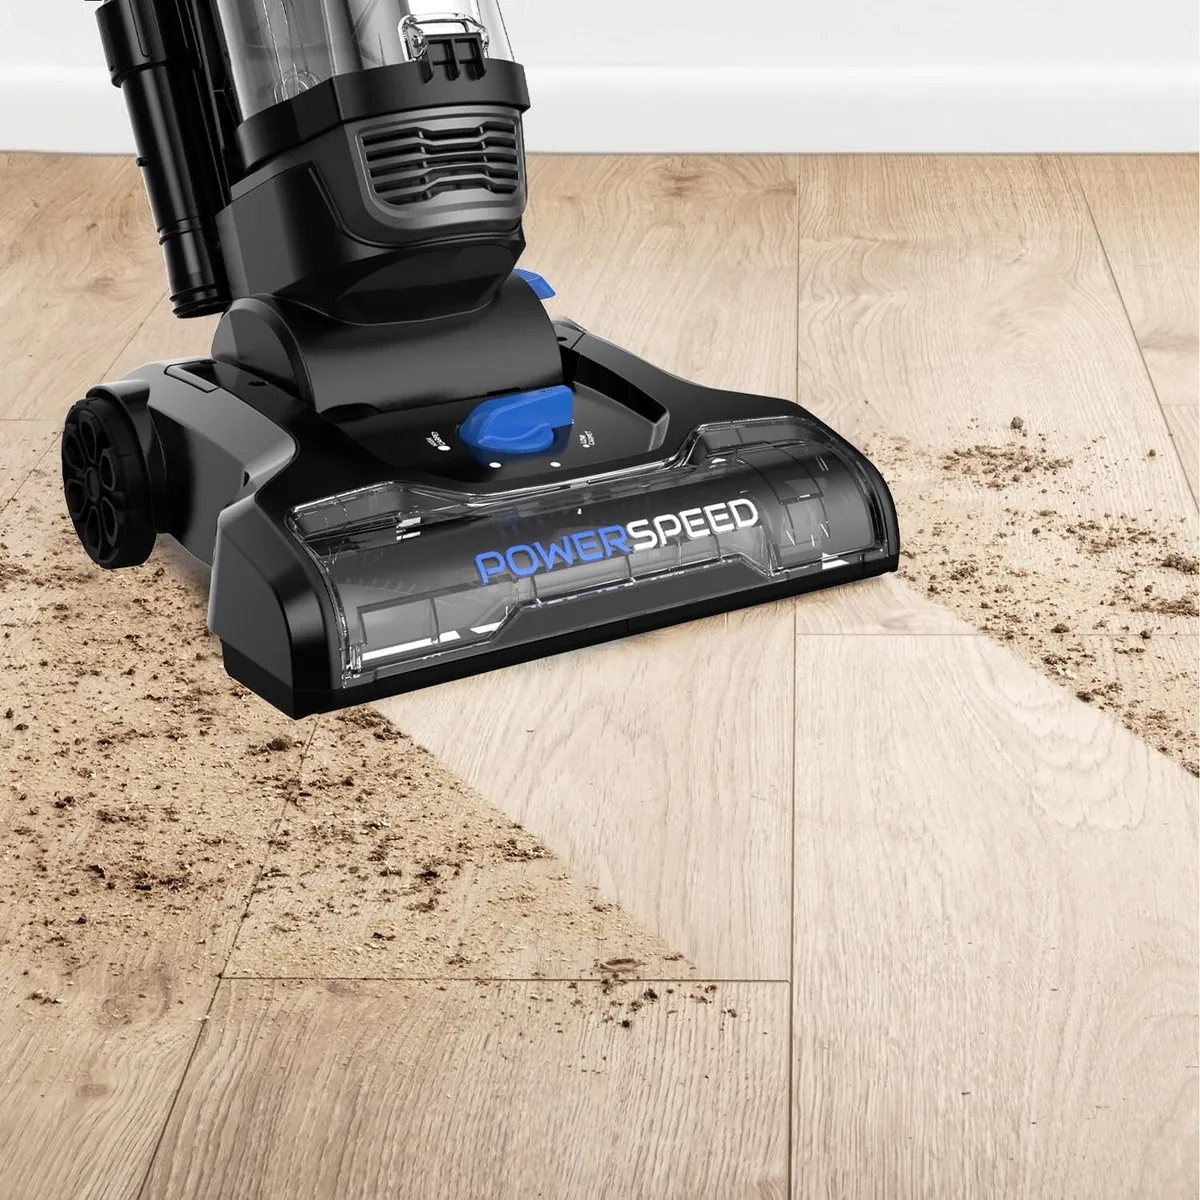
Consistent maintenance prevents the motor from straining and extends the life of your machine. By checking these points every time you empty the dust cup, you keep the airflow clear and the suction power consistent.
| If you’re doing this | Do this instead | Why |
|---|---|---|
| Waiting for the dust cup to be full | Empty it after every use | Reduces the load on the filters |
| Washing filters and using them wet | Let them air dry for 24 hours | Prevents mold and motor damage |
| Ignoring hair on the brush roll | Cut and remove hair weekly | Prevents belt wear and motor strain |
| Forcing the vacuum over rugs | Adjust the height dial properly | Maintains the necessary suction seal |
Most users mistake a loss of suction for a dying motor. If your machine sounds high-pitched, check the intake seals before replacing the unit. A simple blockage often mimics a mechanical failure.
If you notice the vacuum pushing harder than usual, stop immediately. You’re likely dragging the head across the carpet fibers, which causes the belt to overheat. If the belt smells like burning rubber, replace it before the heat warps the plastic housing.
Use this decision rule: if the vacuum leaves debris behind on a hard floor, check the filters first. If it struggles on carpet, adjust the height dial one notch higher. These small tweaks save you from expensive repairs.
Frequently asked questions
Can I use a vacuum if the filter is still damp?
No, never use the vacuum while the filter is damp. Moisture inside the motor chamber can cause electrical shorts and encourage mold growth. Always wait at least 24 hours for the filter to dry completely in a well-ventilated area before reinstalling it to prevent permanent clogging.
Why does my vacuum smell like burning rubber?
A burning rubber smell usually indicates that the brush roll is stuck or the drive belt is slipping. When the brush roll can’t turn, the motor creates friction and heat against the stationary belt. Immediately turn off and unplug the vacuum to inspect the roll for tangled debris.
How often should I replace my vacuum filters?
You should replace your vacuum filters every 6 to 12 months, depending on how often you clean and the amount of debris in your home. While washing extends their life, the material eventually loses its ability to trap fine dust particles. If you notice that the suction doesn’t return to normal even after a thorough cleaning, it’s time to install a new filter set to ensure the motor remains protected.
Is it safe to clear a clog with a wire hanger?
No, it isn’t safe to use a wire hanger because the sharp, pointed end can easily tear the flexible hose or scratch the internal plastic components. A puncture in the hose creates an air leak that permanently reduces your suction power. Instead, use a blunt object like a broom handle or a dedicated plastic snake tool designed for cleaning narrow tubes without damaging the vacuum’s internal structure.
What happens if I keep using a vacuum with a clog?
If you keep using a vacuum with a clog, the motor will eventually overheat and trigger a thermal cut-off switch. In more severe cases, the lack of airflow can cause the motor to burn out, which is usually not covered by the manufacturer’s warranty. The machine will lose its ability to pick up debris entirely, and you may notice a significant decline in the motor’s sound and performance before it stops working.
How long does a vacuum motor typically last?
A vacuum motor typically lasts for 5 to 8 years when maintained with clean filters and clear airways. The actual lifespan varies based on your frequency of use and the type of flooring you clean. Regularly emptying the dust cup and cleaning the brush roll helps maximize the motor’s longevity.
Conclusion
If you still notice weak performance after these checks, it’s a good idea to inspect the belt for wear or damage. You’ll find that replacing a worn belt is a simple way to keep your machine running like new. Don’t hesitate to reach out to customer support if you’re still having trouble.
Related guides