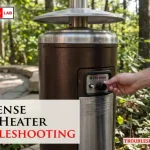
You can resolve most issues with your heater by checking the gas supply, the ignition battery, and the pilot assembly as part of basic fire sense patio heater troubleshooting. The most common cause for these units failing to light is a simple lack of fuel flow or a dead battery in the igniter button. Always perform these checks while the unit is cold and located in an open, well-ventilated outdoor area.
Troubleshooting Fire Sense patio heater failures
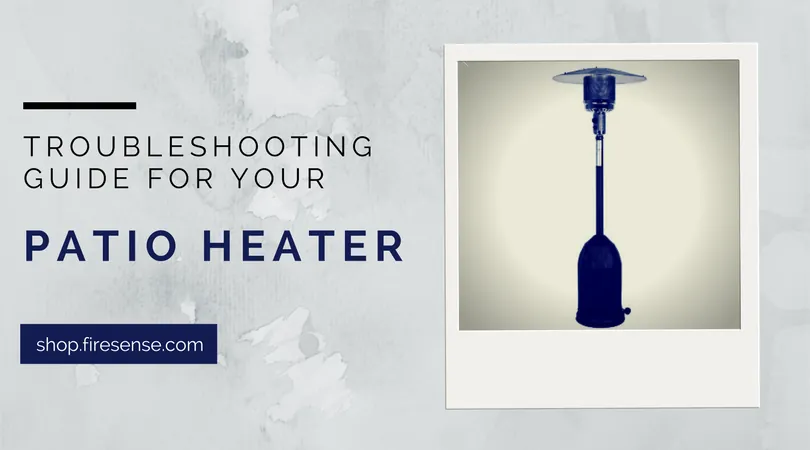
The primary reason a patio heater stops working is an interruption in the flow of propane from the tank to the burner head. Propane tanks contain a safety device known as an excess flow valve that can trip if you open the tank valve too quickly. When this happens, the regulator detects a sudden surge of gas and restricts the flow, leaving the heater without enough fuel to sustain a pilot flame or main burn.
Another common cause involves the igniter system itself. These heaters rely on a small battery-powered spark to light the pilot. If the battery is weak, or if the electrode tip is covered in soot or debris, the spark will be too faint to ignite the gas. Moisture from rain or high humidity can also cause the igniter to short out, preventing the spark from reaching the burner assembly.
Finally, you must consider the environmental conditions. These units are designed for outdoor use, but high winds can easily blow out the pilot flame before it has a chance to heat the thermocouple. If the thermocouple doesn’t get hot enough, it won’t send the signal needed to keep the gas valve open, causing the heater to shut down as soon as you release the control knob.
Check the gas supply and regulator
The first step is to ensure your propane tank has fuel and that the regulator is properly reset. If the tank was recently changed or the valve was opened too fast, the regulator may be stuck in a safety mode. To reset it, close the tank valve completely, disconnect the regulator hose from the tank, and wait for about 60 seconds. Reconnect the hose tightly, then open the tank valve very slowly to allow the pressure to equalize.
If the gas is flowing, check the hose for any kinks or sharp bends that might block the path. You should also ensure the connection between the regulator and the tank is tight enough to prevent leaks. As noted by the Consumer Product Safety Commission, you can test for gas leaks by applying a soapy water solution to the connections; if bubbles form, you have a leak that needs immediate attention.
This fix is for users who have verified their tank isn’t empty. If you don’t have the proper tools to tighten connections or if you smell gas that doesn’t go away after tightening, stop using the heater immediately. Contact a qualified gas technician to inspect the lines, as working with pressurized gas requires specific training to avoid dangerous leaks or fire hazards.
Clean the ignition and pilot assembly
If the heater has gas but still won’t light, the pilot assembly likely needs a cleaning to remove buildup or debris. Over time, carbon deposits can accumulate on the pilot orifice or the thermocouple, preventing the sensor from detecting heat. Use a soft, dry cloth to gently wipe the area around the pilot light. Don’t use metal brushes or harsh chemicals, as these can scratch the burner components or leave behind residue that may ignite unexpectedly.
Ensure the igniter electrode is positioned correctly so that the spark jumps clearly toward the pilot burner. If the electrode is bent or appears loose, it may not create a strong enough spark to light the gas stream. Check the battery compartment for any signs of corrosion, which is a common issue if the unit has been sitting outdoors during wet weather for an extended period.
This method is appropriate for anyone who can safely reach the burner head without using a ladder or specialized tools. If the igniter still fails to produce a consistent, audible “click” and a visible blue spark after a fresh battery is installed, the internal wiring may be faulty. Internal electronic repairs are for trained professionals only, as improper handling of the igniter circuitry can lead to permanent damage or electrical failure.
Inspect the burner and ventilation
Sometimes the burner itself becomes clogged with spider webs or dust, which changes the air-to-fuel ratio and prevents the heater from staying lit. If the flame appears yellow or orange instead of blue, it’s a sign that the burner isn’t getting enough oxygen to burn cleanly. Use a vacuum with a brush attachment to clear any debris from the burner screen and the air intake holes located near the base of the burner assembly.
This fix is for users who notice a weak or discolored flame during operation. If you see visible cracks in the burner mesh or if the unit makes a loud roaring sound, stop using it and consult the owner’s manual for replacement parts. Never attempt to modify the burner or bypass the safety sensors, as these components are critical for keeping the flame controlled and preventing overheating.
If the burner screen appears clean but the flame remains unstable, check the ventilation path for blockages. A common mistake is placing the unit too close to a wall, which restricts the exhaust flow and triggers the overheat sensor. Aim for at least 18 inches of clearance on all sides.
Common mistakes to avoid
Opening the propane tank valve too quickly triggers the internal excess flow safety device, which restricts gas to a mere trickle. To avoid this, turn the valve handle slowly until you hear a faint hiss, then pause for three seconds before opening it fully.
Using the heater in winds exceeding 10 mph blows out the pilot flame. If the thermocouple fails to reach the required temperature, the gas valve remains locked shut. Always position your unit behind a windbreak or on the leeward side of your workspace.
Storing the heater with the tank attached invites accidental leaks. Always disconnect the regulator first. If you smell rotten eggs, your seal is likely compromised.
Never use a manual lighter while the igniter is clicking. This creates a delayed ignition, causing a dangerous flare-up.
Finally, avoid over-tightening the regulator. Hand-tighten until snug; using a wrench shreds the rubber O-ring, creating a leak that soap tests often miss.
Maintaining your patio heater
To keep your unit running smoothly, you should compare your current setup against the recommended maintenance schedule. Regular care ensures the heater stays safe and lasts longer, though the specific frequency depends on how often you use the unit and the climate in your area.
| If you’re doing this | Do this instead | Why |
|---|---|---|
| Leaving the tank open | Close the valve after every use | Prevents slow leaks and pressure loss |
| Storing outside uncovered | Use a protective waterproof cover | Keeps moisture and spiders out of burners |
| Ignoring the pilot flame | Clean the thermocouple as needed | Ensures the gas valve stays open |
| Forcing the control knob | Check for debris in the valve | Prevents internal mechanical damage |
Most owners mistake a flickering pilot light for a simple gust of wind. In reality, this often signals a buildup of carbon or spider webs inside the burner orifice. If you ignore this, the valve will eventually fail to ignite, costing you a full replacement of the control assembly.
Use this decision rule for seasonal storage: if you live in a coastal area with high salt content, wipe the stainless steel components with a light coat of mineral oil before covering. If you live in a dry, inland climate, focus your efforts on vacuuming the emitter screen to remove dust that traps heat and causes uneven burning.
Frequently asked questions
How long does a standard propane tank last?
A standard 20-pound propane tank typically lasts between 8 and 10 hours of continuous use on the high setting, depending on the heater’s BTU rating. This assumes the heater is running at full capacity; if you use the low setting, you may get significantly more time from a single tank. The exact duration depends on the specific BTU rating of your fire sense model, which you can find printed on the manufacturer’s data plate attached to the unit.
Can I use the heater during a light rain?
No, it isn’t safe to operate the heater in the rain because moisture can damage the electronic ignition system and cause the burner to malfunction. Water on the hot glass or metal components can also lead to thermal stress or cracking. If the unit gets wet, turn it off and let it dry completely for at least 24 hours before attempting to light it again in dry, calm conditions.
Why does my heater shut off after a few minutes?
The heater shuts off because the thermocouple isn’t staying hot enough to keep the gas valve open, often due to high wind or a dirty sensor. When the thermocouple cools down, it signals the safety valve to cut off the gas supply immediately. Check that the pilot flame is hitting the thermocouple tip directly and that there’s no debris blocking the heat transfer.
Is it safe to leave my heater on overnight?
No, you should never leave a patio heater running unattended or while you’re sleeping. These units are designed for supervised outdoor use and require active monitoring to ensure the flame remains stable and the area stays clear of flammable objects. Always turn the gas supply off at the tank valve when you’re finished using the heater for the evening.
What should I do if I smell gas?
If you smell gas, immediately turn off the tank valve, extinguish any nearby flames, and move away from the unit to a safe distance. Don’t attempt to light the heater or touch any electrical switches until the smell has completely dissipated and you have verified there’s no leak. If the smell persists after the tank valve is closed, contact your local fire department or gas supplier for professional assistance.
How often should I clean the burner?
Inspect and clean the burner assembly every six months or whenever the flame turns yellow. Dust, spider webs, and debris collect in burner holes, which alters the flame pattern and reduces heat output. Regular cleaning ensures efficient gas combustion and prevents carbon buildup that interferes with the ignition system.
Conclusion
If your unit still won’t stay lit after these adjustments, there might be a deeper problem with the thermocouple or gas valve. Don’t hesitate to contact the manufacturer’s support team for replacement parts. They’ll help you get your backyard feeling cozy again so you can get back to enjoying those cool evenings outside.
Related guides