You can solve most issues with your filter by checking the intake valves and ensuring the canister is fully primed, as effective fluval fx6 troubleshooting relies on identifying airflow restrictions and debris in the impeller assembly. The most common cause of a noisy or low-flow unit is trapped air or a blockage in the intake strainer. If your unit still fails to cycle water after these basic checks, you should inspect the media baskets for clogs, as these are the primary points of failure for water circulation.
Troubleshooting common Fluval FX6 performance issues
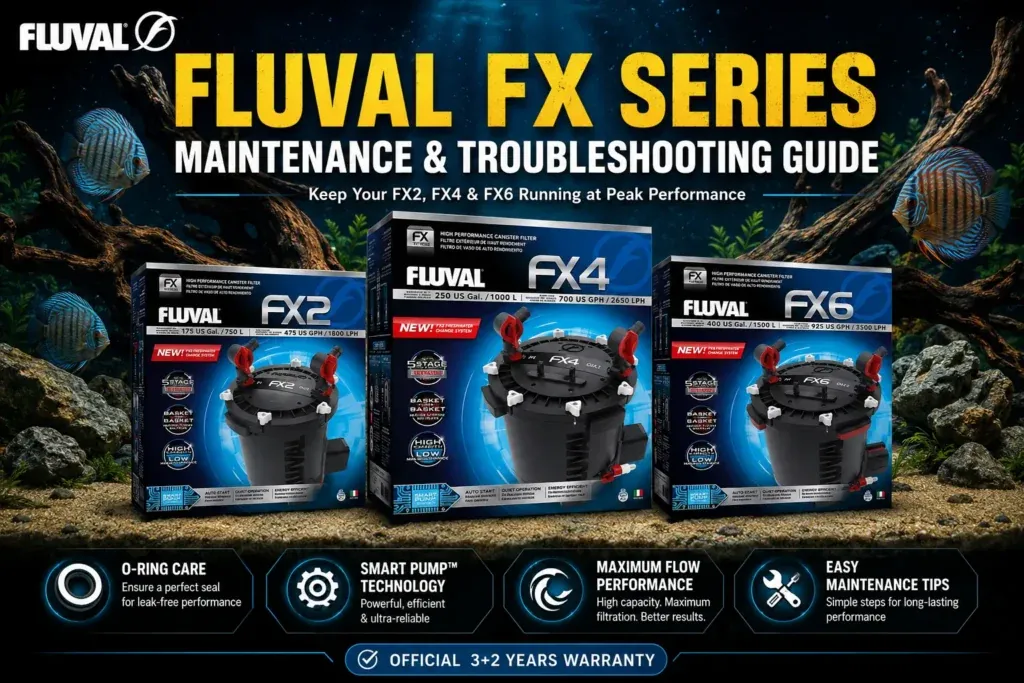
The main reason your filter stops moving water is usually related to air pockets or physical obstructions. When air enters the intake hose, it collects in the high point of the canister, which stops the pump from moving water effectively. This is common after maintenance, such as cleaning the media or moving the tank, because the system struggles to purge the air trapped in the lines.
Another frequent cause is debris buildup on the intake strainer or inside the impeller housing. If the intake is covered in dead plant matter or fish waste, the pump can’t draw enough water, leading to a drop in flow rate and a grinding noise. You can read more about how water flow and maintenance affect filtration efficiency on the official Fluval support page.
If you notice the flow has slowed down significantly, the internal filter media might be saturated. The FX6 uses a high-capacity system, but if the foam pads are clogged with organic waste, the water path becomes restricted. It’s essential to check these components before assuming the pump has failed, as mechanical motor failure is rare compared to simple blockages or air-locking issues.
Clear the intake and output valves
If the flow is weak, you must first verify that both the intake and output valves are fully open. These valves are located on the top of the canister and can sometimes be bumped into a partially closed position during routine cleaning. If the valves are open but the flow remains low, you should check the intake strainer inside the tank for any visible debris.
If you’re unsure if the valve is open, turn the lever until it’s parallel with the hose. If it’s perpendicular, the water flow is blocked. A common mistake is assuming the valve is open because the lever feels loose; always check the visual alignment against the hose path. If the intake strainer is clean but the water still doesn’t move, inspect the hoses for any sharp bends or kinks that might be pinching the line.
This fix is intended for users who have recently cleaned their tank or moved equipment. If you find the hoses are clear but the pump still makes a loud rattling sound, there may be debris inside the impeller well.
If the rattling persists after a flush, stop the unit immediately to prevent motor burnout. If you aren’t comfortable opening the motor housing or if the unit is still under warranty, contact the manufacturer directly to avoid voiding your coverage. The impeller cover is designed to be removed for routine maintenance, but opening the motor housing beyond the impeller well may void your warranty; verify your status before proceeding.
Reset the priming cycle
The FX6 uses an electronic self-priming feature that cycles the pump on and off to evacuate air. If the unit isn’t starting correctly, you must unplug the filter for at least 60 seconds to reset the internal processor. After plugging it back in, listen for the pump to begin its automatic cycle. If it fails to restart, you may need to manually assist the priming by rocking the canister slightly to release trapped air pockets.
This method works if the unit is powered but appears “stuck” or isn’t moving water after a power outage. If you hear a high-pitched hum but see no water movement, the impeller might be jammed. You should check the impeller chamber for small pebbles or sand, which can physically stop the magnet from spinning. A common mistake is assuming the pump is broken when it’s simply air-locked; wait for the full two-minute cycle to finish before you intervene.
If the motor housing feels excessively hot to the touch, unplug the unit immediately and don’t attempt to restart it. In this case, the internal thermal protection may have failed. You should reach out to a professional aquarium technician or the manufacturer for a replacement motor head.
If the unit restarts but makes a grinding noise, stop the cycle, remove the impeller cover, and inspect the ceramic shaft for hairline fractures. If the shaft is scored or broken, the impeller will wobble, preventing a reliable seal and causing the pump to cycle indefinitely without ever establishing a steady flow.
Clean the internal media baskets
When the flow is consistently low even with clean hoses, the blockage is likely inside the media baskets. You must carefully remove the lid, lift out the stack of baskets, and rinse the foam pads in a bucket of aquarium water. Never use tap water for this, as the chlorine will kill the beneficial bacteria that keep your tank healthy.
This approach is best for long-term maintenance rather than sudden failures. If you haven’t cleaned your filter in several months, this is almost certainly why your flow has dropped. If you find the pads are falling apart or have become slimy and dark, replace them with new, manufacturer-approved media.
A common mistake is rinsing the biological ceramic rings alongside the mechanical foam pads. Only rinse the foam; keep the ceramic rings submerged in a separate container of tank water to preserve your nitrogen cycle. If the water in your bucket turns black quickly, you have waited too long between cleanings. Aim for a schedule where the foam is only lightly discolored.
This task is easy for most owners, but be aware that the canister will be heavy once filled with water. Always place the filter in a sink or a large plastic tray before opening it to catch any spills. If you find that the plastic clips on the baskets are cracked or broken, don’t force them; contact the manufacturer to order replacement parts, as broken clips can lead to water bypassing the media.
Common mistakes to avoid
Using tap water to rinse media: Chlorine and chloramines in municipal supplies kill beneficial nitrifying bacteria instantly. Always rinse sponges and bio-rings in a bucket of old tank water during a water change. If you use tap water, you risk damaging the beneficial bacteria colony, which can lead to an ammonia spike as the biological filtration recovers.
Forcing the lid latches: If the lid resists, stop immediately. The rubber gasket is likely pinched or misaligned. Forcing the latches will warp the plastic housing, creating a permanent gap that leads to slow, persistent leaks.
Running the pump dry: Water acts as both a coolant and a lubricant for the impeller. Running the unit without water can cause the impeller to overheat and damage the ceramic shaft or impeller assembly.
Overstuffing the media baskets: Media should slide in without resistance. If you have to press down, you’re restricting flow. This backpressure causes the motor to overheat and shortens its lifespan by months.
Ignoring a leaking valve: A drip is a warning. If the O-ring is stiff or cracked, replace it for a few dollars now to avoid a catastrophic flood later.
Correcting your maintenance routine
The way you handle your filter affects its longevity and output. If you’re currently cleaning the entire system every time the flow slows down, you’re likely overworking the pump and damaging the biological balance. Instead, focus on small, regular checks to ensure the system stays within its operating range.
Most owners make the mistake of waiting for a total flow collapse before intervening. This forces the pump to strain against internal resistance, which prematurely wears out the impeller shaft. If your flow rate drops by more than 20 percent, perform a targeted cleaning rather than a full system overhaul.
| If you’re doing this | Do this instead | Why |
|---|---|---|
| Cleaning all media at once | Clean only half the media | Keeps bacteria alive |
| Using tap water to rinse | Use used tank water | Protects beneficial bacteria |
| Tightening valves with pliers | Tighten by hand only | Prevents plastic cracking |
| Ignoring small leaks | Replace O-rings immediately | Prevents major water damage |
If you detect a persistent dampness around the motor housing, don’t wait for a drip. Replace the O-ring immediately. A failed seal costs pennies, but a flooded floor costs hundreds.
Frequently asked questions
How long does the FX6 priming cycle take?
The priming cycle typically takes 2 to 5 minutes if the intake hose is submerged and airtight. The pump cycles automatically to purge trapped air from the canister. If the pump runs for over 10 minutes without pulling water, turn it off to check for blockages or air leaks.
Why is my filter making a grinding noise?
A grinding noise typically means the impeller is hitting debris or the ceramic shaft is worn. Unplug the unit, open the impeller cover, and check for any sand, grit, or broken pieces of the impeller blades. If the impeller looks smooth and clean but the noise persists, the magnet might be loose on the shaft, which requires a replacement impeller assembly to fix the vibration.
Is it safe to leave the filter running during a power outage?
Yes, the filter is safe to leave plugged in and will restart automatically when power returns. However, prolonged outages may cause beneficial bacteria to die due to oxygen deprivation. If the power is out for an extended period, rinse the filter media in tank water once power is restored.
What happens if I use the wrong filter media?
Using non-standard or overly dense media can cause the motor to overheat by creating too much resistance to water flow. The FX6 is designed for specific foam densities and media volumes; exceeding these limits forces the pump to work harder than its specifications allow. Always use media designed for your specific model to ensure the water flow remains within the safe range for the pump motor.
How often should I replace the O-rings?
You should inspect your O-rings for cracks or flattening whenever you notice a leak around the lid. If the rubber feels hard or brittle rather than soft and flexible, it will no longer create a watertight seal. The frequency of replacement depends on usage, so consult your owner’s manual for guidance.
Conclusion
If you still can’t get the flow back to normal, it’s a good idea to reach out to the manufacturer’s support team. They’ve got the technical expertise to help you identify if a specific part needs replacing. Don’t worry, you’ll have your tank running smoothly again in no time.