You can resolve most power issues through simple fronius inverter troubleshooting by checking the status display for specific state codes and ensuring the AC and DC disconnect switches are in the correct positions. If your system shows no lights or a blank screen, the most common cause is a tripped circuit breaker or a loose connection in your home’s main electrical panel. You should always verify these external power sources before assuming the hardware itself has failed.
Troubleshooting common Fronius inverter errors
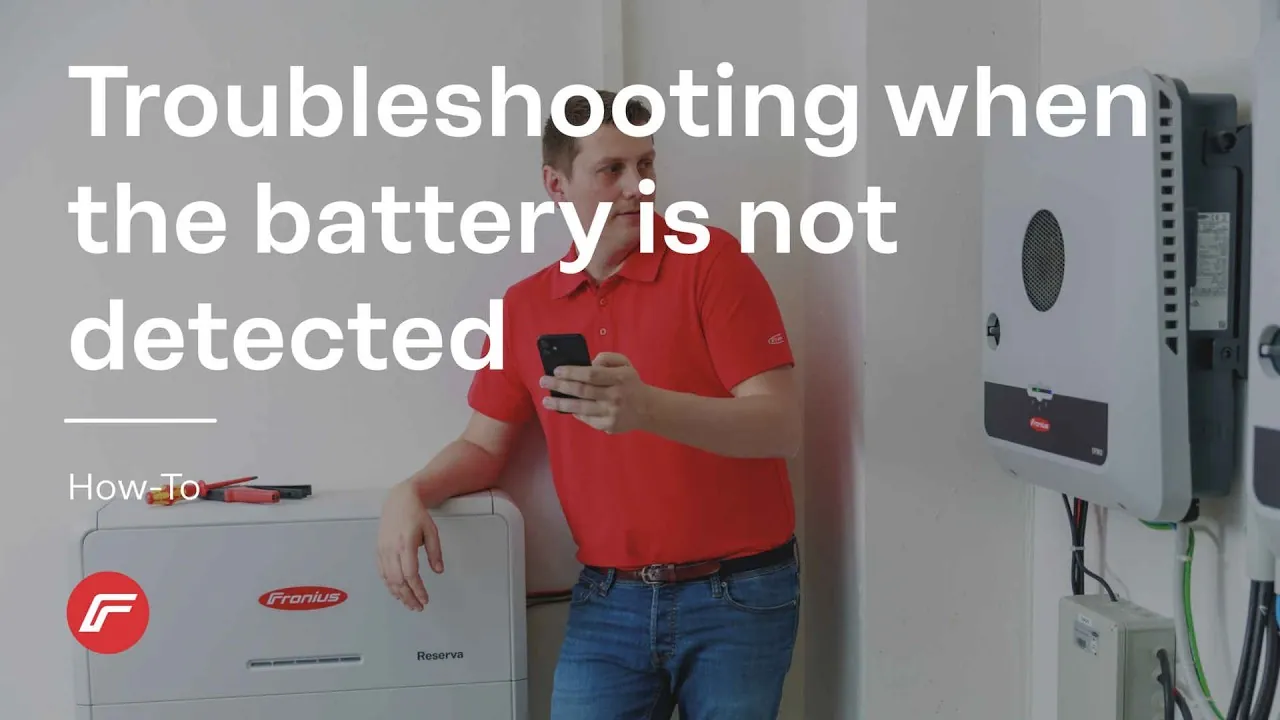
When your solar system stops producing, the inverter acts as the messenger by displaying a numeric state code. These codes pinpoint exactly what prevents the unit from feeding energy into your home. The most frequent issues relate to grid parameters, such as voltage fluctuations or a temporary loss of communication between the solar panels and the unit.
External environmental factors often trigger these codes. If your local grid experiences a surge, the inverter automatically disconnects to protect your home’s appliances. Most models are programmed to wait for a set period, usually between 300 and 600 seconds, before attempting to reconnect. If your system remains offline after this window, check your utility provider’s local outage map to see if the issue is regional rather than localized to your hardware.
A common mistake is assuming a red light always requires a technician. In reality, many “fault” codes are transient grid events that resolve themselves. If the error persists for more than 24 hours, perform a hard reset by turning off both the AC and DC isolators for five minutes. If the code returns immediately upon startup, you likely have a hardware failure rather than a grid synchronization issue.
A green light means the system is operating normally. An orange light often signals that the unit is in a startup phase or waiting for enough sunlight to begin production. If the display is completely dark, check your AC isolator switch first. If the switch is on but the screen remains blank, the unit isn’t receiving power from either the solar array or the utility grid, indicating a potential blown fuse or tripped circuit breaker.
Reset the system safely
A simple restart can clear many temporary software glitches that prevent your system from syncing with the grid. Before you begin, ensure you’re wearing dry shoes and that the area around the unit is free of water. If you see visible damage to the wires or if the unit smells like burning plastic, don’t touch it; contact a certified solar electrician immediately to inspect the hardware.
To perform a reset, locate the AC disconnect switch, which is typically a large lever near your electrical meter or next to the unit itself. Move the lever to the “Off” position and wait for the display screen to go completely dark. After waiting at least 60 seconds, turn the AC switch back to “On.” You should also verify that the DC disconnect switch, usually located on the bottom of the unit, remains in the “On” position.
Wait for the unit to cycle through its startup sequence, which usually takes about 5 minutes. During this time, it performs internal self-tests to ensure it’s safe to connect to the grid. If the screen displays a green light after this period, your system has successfully restarted. If the same error code returns, note the number and contact your installer, as this suggests a deeper issue with the grid connection or the internal components.
Check your grid connections
If the system still reports a grid fault, the issue might be with the utility supply rather than your solar equipment. Inverters are highly sensitive to the quality of the electricity coming from the street. If your neighbors are also having power flickers, the problem is likely a broader grid issue that your local utility provider needs to address.
Check your main switchboard to see if any circuit breakers labeled “Solar” or “PV” have tripped. If a breaker is in the middle position, flip it all the way to “Off” and then back to “On.” If it trips again immediately, this is a sign of a short circuit in the wiring. Don’t force the breaker to stay on, as this could cause a fire hazard. Call a licensed electrician to trace the fault in your home’s wiring.
A common mistake is assuming a tripped breaker is always a hardware failure. If you see a breaker trip during peak sunlight hours, it may actually be a sign of loose terminal connections heating up under high current. Tightening these lugs can resolve the fault.
This fix is for homeowners who have easy access to their main electrical panel. If you aren’t comfortable working with your home’s breakers, or if you live in a region where local laws require a permit for any electrical panel interaction, stop and hire a professional. Safety is the priority, and a technician can use specialized tools to check for stable voltage without putting you at risk.
Assessing hardware performance limits
Sometimes the equipment reaches a point where it can no longer function due to age or environmental stress. Solar inverters eventually reach the end of their operational life, depending on the heat and humidity of your local area. If your unit is aging and keeps showing “Internal Error” codes, it may be time to consider a professional replacement rather than another repair attempt.
Professional repair is necessary if you suspect the internal power board has failed. A technician can perform a diagnostic test to see if the internal components are still within manufacturer specifications. If the cost of the repair exceeds 50% of the price of a new unit, replacing the system is usually the better financial decision.
A common mistake is ignoring the degradation of electrolytic capacitors, which often leak or bulge after a decade of thermal cycling. If you notice a faint buzzing sound or a burning smell, disconnect the unit immediately to prevent fire hazards.
Modern units offer higher conversion efficiency, often recouping the price difference through increased energy yields within three years. Ensure that any new installation is handled by a certified installer to keep your warranty valid.
Avoiding common mistakes
While you should avoid high-pressure power washing, the unit is designed to be weather-resistant. Moisture ingress often causes an immediate electrical short, which can fry the control board and void your warranty.
Don’t ignore persistent error codes. A code that clears itself might return; if you see the same number three times in a week, call for professional help. Treating a recurring fault as a glitch often masks a failing capacitor that could lead to total system burnout.
Don’t bypass safety switches. Never tape a circuit breaker in the “On” position. This defeats the primary mechanism designed to prevent electrical fires during a surge. If the breaker trips repeatedly, the unit is drawing too much current, and forcing it to stay active creates a significant fire hazard.
Don’t open the casing. Internal capacitors hold a lethal charge even when disconnected. Touching these components can cause severe injury or cardiac arrest. Always leave internal maintenance to certified technicians.
Preventing future system faults
The best way to keep your solar system running is to monitor it through the manufacturer’s app or web portal. By checking your production daily, you catch small drops in energy output before they become total system failures.
Most owners make the mistake of waiting for a complete blackout before checking the inverter. This oversight often turns a simple, inexpensive sensor replacement into a costly emergency repair. If your production drops by more than 10% on a clear, cloudless day, compare your output to a neighbor’s system. If their numbers remain high while yours lag, you likely have a localized hardware fault rather than a grid issue.
| If you’re doing this | Do this instead | Why |
|---|---|---|
| Ignoring the display | Check the app weekly | Early detection saves money |
| Leaving dust on panels | Clean them once a year | Dirt blocks energy flow |
| Resetting every day | Call a professional | Frequent faults indicate wear |
| Forcing a tripped breaker | Inspect the wiring | Prevents potential fire hazards |
If your inverter displays an error code, record the specific alphanumeric sequence before power cycling. Technicians require this code to diagnose the exact component failure, saving you a premium diagnostic service fee.
Frequently asked questions
How long should the restart process take?
The startup process takes 5 minutes because the unit must verify grid voltage stability before exporting power. If the screen remains blank after 10 minutes, there may be a power supply issue from your main electrical panel. Check your circuit breakers first, and if they’re functional, contact a solar technician to investigate potential hardware failure.
Why is my inverter showing a red light?
A red light indicates a fault that prevents the system from operating, such as a grid voltage error or an internal hardware failure. You should note the specific state code displayed on the screen, as this tells you exactly what is wrong. If the code relates to the grid, check your main circuit breakers. If the code suggests an internal error, you’ll need to contact a professional to inspect the unit.
Is it safe to reset the unit myself?
Yes, it’s safe to perform a power cycle as long as you only interact with the external AC and DC disconnect switches. You must never attempt to open the inverter housing, as internal components can store high-voltage electricity even when the power is off. If you notice any signs of smoke, burning, or damaged wiring, don’t touch the equipment and call a qualified electrician immediately to assess the situation.
What happens if I ignore an error code?
Ignoring an error code means you’re losing out on solar energy production, and you risk further damage to the unit if the fault is electrical. While some grid errors are temporary and resolve on their own, a persistent code often signals a mechanical problem that won’t fix itself. Regular monitoring ensures you get the most value from your system and prevents small issues from turning into expensive, long-term failures.
Can I fix a “Grid Voltage” error?
No, a grid voltage error usually means the electricity supplied by your local utility is outside the allowed range for your inverter. While you can check your own home’s breakers to ensure everything is secure, you can’t change the voltage coming from the street. If the error continues, you should contact your utility provider to report a potential issue with the grid quality in your local area.
Conclusion
If the display remains dark or error messages persist after these quick checks, don’t hesitate to contact a certified solar technician. They’ll have the right tools to safely inspect your internal wiring. It’s better to be cautious, as you’ll want your system running at full capacity again as soon as possible.
Related guides