A Pioneer mini split system can transform your home’s comfort. These ductless heating and cooling units are popular for their energy efficiency, quiet operation, and easy installation. But like any appliance, they sometimes run into problems. Maybe your unit won’t turn on, there’s a strange noise, or the air isn’t as cold as it should be. The good news: many issues are simple to fix if you know where to start.
This article is your complete guide to Pioneer mini split troubleshooting. You’ll learn how the system works, what common problems mean, and practical steps you can take to fix them. We’ll cover error codes, cleaning tips, and when to call a professional. You’ll also see helpful tables comparing different error codes and symptoms. By the end, you’ll be ready to solve most problems confidently, avoid common mistakes, and keep your mini split running smoothly.
How Pioneer Mini Splits Work
Before you start troubleshooting, it’s important to understand the basic parts of a mini split system. Pioneer mini splits have two main components:
- Indoor unit: Mounts on a wall inside your room. Blows hot or cold air into the space.
- Outdoor unit: Sits outside your home. Handles most of the heating or cooling work.
These two parts connect with refrigerant lines and electrical wiring. The indoor unit senses the room temperature and sends signals to the outdoor unit, which adjusts power as needed. This setup makes mini splits much more efficient than traditional systems.
Non-obvious insight: Many users don’t realize that even a small problem—like a dirty filter—can affect both indoor and outdoor units. Keeping both parts clean and clear is key to smooth operation.
Common Pioneer Mini Split Problems
Let’s look at the most frequent issues owners face. For each problem, you’ll see symptoms, possible causes, and first steps to try.
1. Mini Split Won’t Turn On
Few things are more frustrating than a unit that does nothing at all. Here’s what could be wrong:
- Power failure: Check the main breaker and outdoor unit disconnect switch.
- Remote issues: Batteries might be dead or buttons stuck.
- Loose wiring: Connections in the indoor or outdoor unit can become loose over time.
- Defective control board: Rare, but possible.
First steps:
- Make sure the circuit breaker is ON.
- Try the power button on the indoor unit, not just the remote.
- Inspect wiring for visible damage (turn off power first).
- If the unit still won’t start, a technician may need to check internal boards.
2. Mini Split Blows No Air Or Weak Air
If you hear the unit running but feel little or no air, consider these:
- Clogged air filter: The most common cause.
- Fan motor issue: Fan may not spin due to a motor failure.
- Blocked vents: Furniture or curtains may block airflow.
- Icy evaporator coil: Caused by low refrigerant or poor airflow.
First steps:
- Remove and clean the air filter.
- Check for ice or frost on the indoor coil.
- Move objects away from the unit’s air intake and output.
- If the fan does not spin even after cleaning, the motor might need repair.
3. Mini Split Not Cooling Or Heating Properly
If the air comes out but the temperature isn’t right:
- Low refrigerant: Often from a leak; system will not heat or cool efficiently.
- Wrong mode selected: Make sure remote is set to “Cool” or “Heat” as needed.
- Dirty coils: Dust on the indoor or outdoor coils reduces performance.
- Sensor issues: Thermistor (temperature sensor) might be faulty.
First steps:
- Confirm the mode on the display.
- Clean both indoor and outdoor coils.
- If the problem remains, call a licensed technician to check refrigerant levels.
4. Water Leaks From Indoor Unit
Mini splits remove moisture from the air, so a little water is normal. But dripping inside is not.
- Clogged drain line: Dirt or algae blocks water flow.
- Improper installation: If the unit isn’t level, water can leak.
- Frozen coil: Ice melts and overflows the drain pan.
First steps:
- Check if water is dripping from the back or bottom of the unit.
- Clean the drain line with a wet/dry vacuum.
- Make sure the wall unit is mounted level.
- If ice is present, let it thaw and fix the root cause.
5. Mini Split Makes Strange Noises
These systems are usually quiet. Loud or odd noises should be checked.
- Clicking: Normal when unit starts or stops.
- Buzzing: Loose parts, electrical issues, or a failing compressor.
- Gurgling: Refrigerant moving through pipes—normal unless very loud.
- Rattling: Something loose in the unit or fan.
First steps:
- Listen for where the sound comes from.
- Tighten any loose screws or covers.
- Remove debris from around the outdoor unit.
- If electrical buzzing or compressor noise continues, call a pro.
Non-obvious insight: Some noise can be caused by expansion and contraction of plastic parts as they heat and cool. This is usually harmless.
Pioneer Mini Split Error Codes
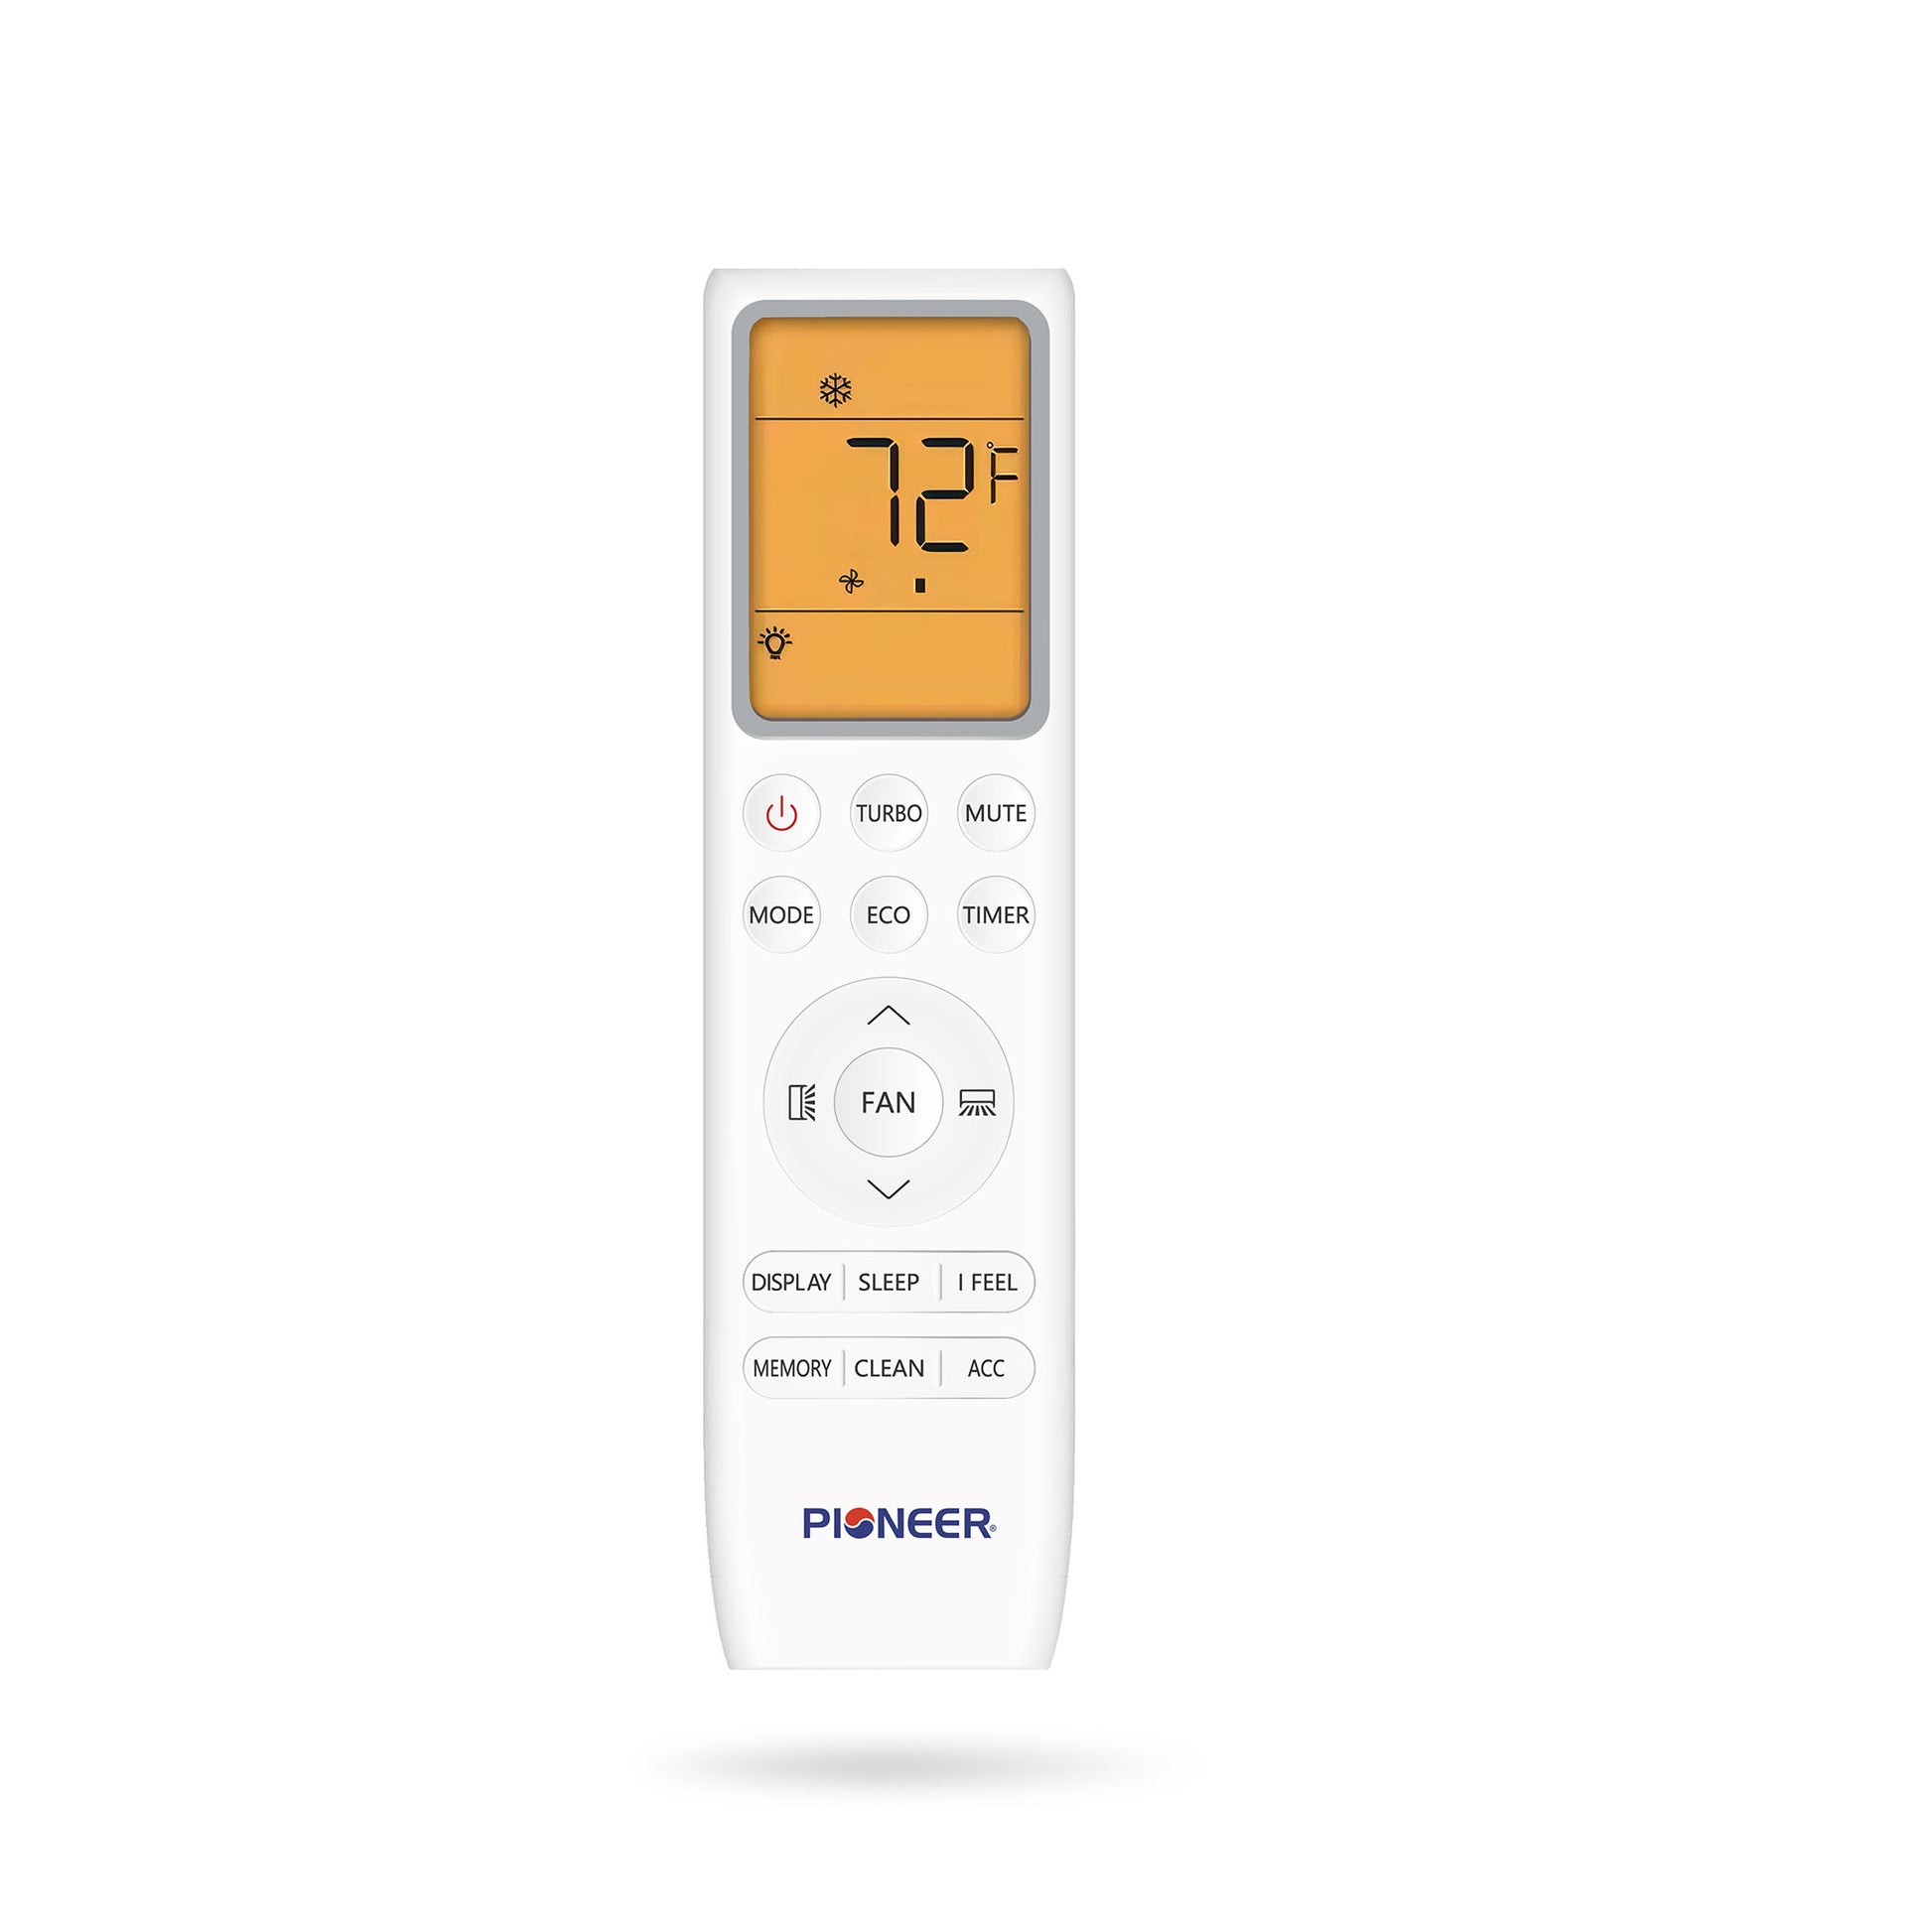
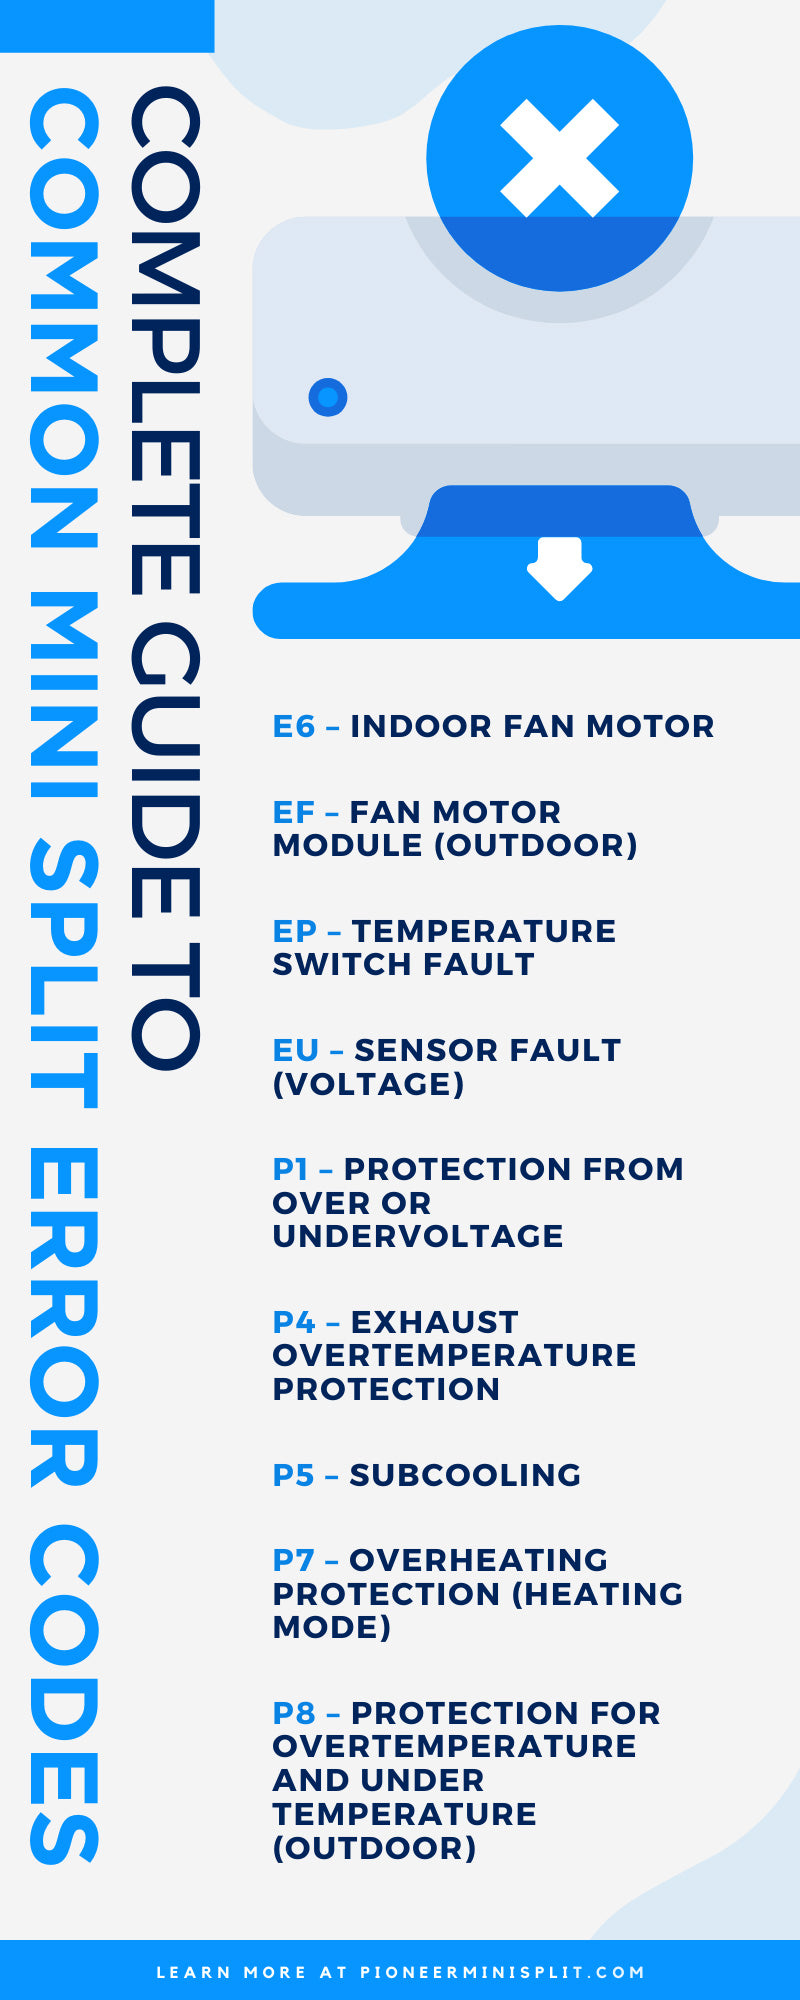
Your Pioneer mini split may display error codes on the indoor unit or remote. These codes help pinpoint the problem quickly. Below is a comparison of some common codes and what they mean.
| Error Code | Meaning | What to Check |
|---|---|---|
| E1 | Indoor/Outdoor communication failure | Check wiring, power, and connectors |
| E2 | Indoor coil sensor fault | Inspect or replace sensor |
| E3 | Indoor fan speed error | Fan motor, loose wires, or control board |
| E6 | Refrigerant leakage or low pressure | Call a technician for leak check |
| E5 | Outdoor unit temperature sensor fault | Replace sensor, check wiring |
Tip: Always turn off the unit and unplug it before checking wires or sensors. Error codes don’t always mean a part is broken—sometimes a loose plug or blocked filter can cause them.
Advanced Troubleshooting: Step-by-step
Some problems need more than a basic check. Here’s how to go deeper, safely.
Checking The Power Supply
A common source of trouble is the power. Mini splits need stable voltage and secure connections.
- Test the outlet: Plug another device into the same outlet.
- Inspect the disconnect box: Make sure the outdoor unit’s electrical box is ON and wiring is tight.
- Reset the system: Turn off all power for 5 minutes. Then turn it back on—this can fix some electronic glitches.
Cleaning The Air Filter And Coils
Dirty filters and coils cause many issues—from weak airflow to ice buildup.
- Turn off the unit and open the indoor cover.
- Remove the filter: Most slide out easily.
- Wash with water: Let it dry fully before replacing.
- Clean coils: Use a soft brush or special coil cleaner (never harsh chemicals).
Pro tip: Clean filters every 2-4 weeks if you use the unit daily, or monthly for lighter use.
Resetting The System
Sometimes, a simple reset solves odd behavior. Here’s how:
- Turn off the mini split with the remote.
- Cut power at the breaker for 5 minutes.
- Restore power and wait for the unit to reboot.
If the problem returns, check for error codes or call for service.
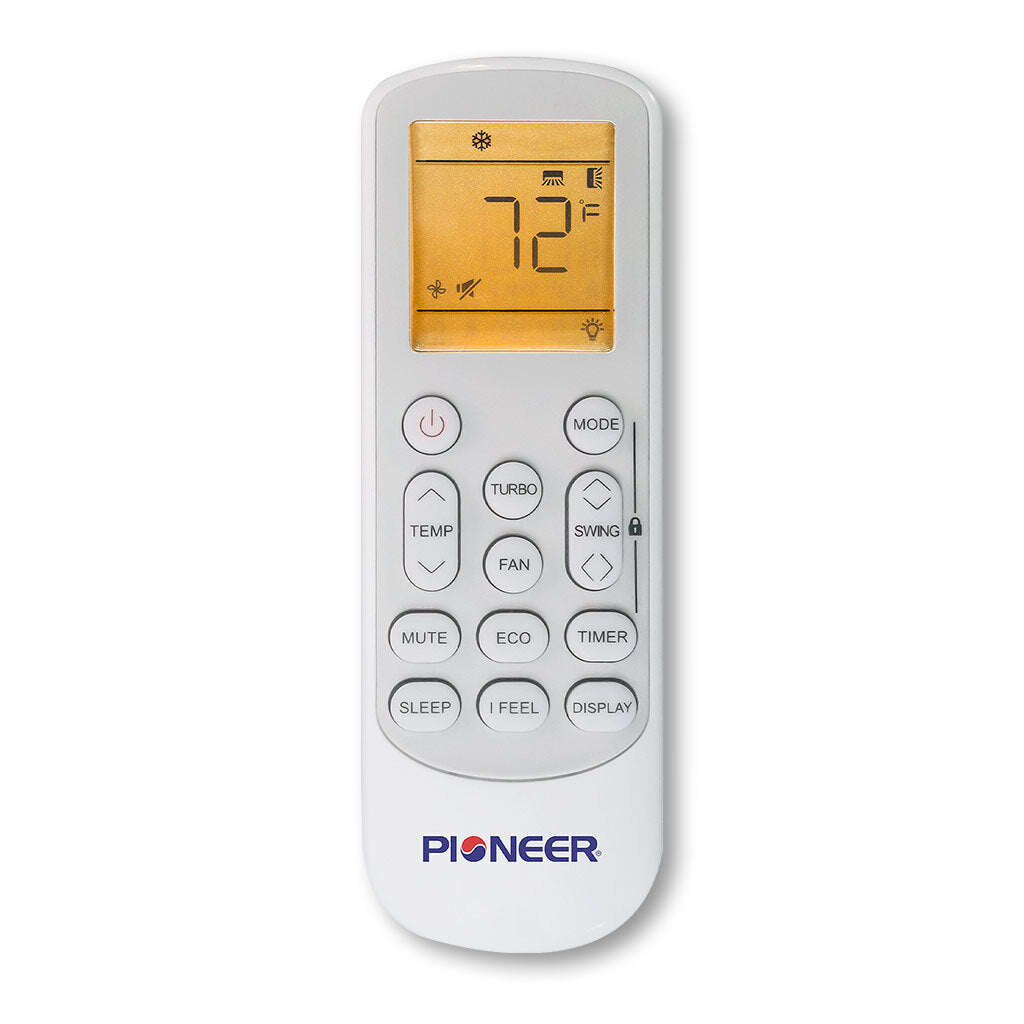
Inspecting Remote Controls
Remotes can confuse owners. If buttons don’t work or the display is odd:
- Replace batteries with fresh ones.
- Make sure nothing blocks the signal.
- Try a hard reset: Remove batteries, press all buttons, then reinstall batteries.
If only the remote doesn’t work, a new remote is often cheaper than a repair.
Dealing With Refrigerant Issues
Low refrigerant is not a DIY fix. Signs include poor cooling, ice on pipes, or an “E6” error code.
- Only EPA-certified technicians can handle refrigerant.
- If you suspect a leak, turn off the unit to avoid compressor damage.
- Regular leaks are rare if the system was installed correctly.
Key point: Never try to add refrigerant yourself. It’s dangerous and illegal without proper certification.
Comparing Pioneer Error Codes To Other Brands
Pioneer error codes are similar to other mini split brands, but not always the same. Here’s a quick look:
| Pioneer Code | Mitsubishi Code | LG Code | Typical Issue |
|---|---|---|---|
| E1 | U1 | CH01 | Communication error |
| E6 | P6 | CH38 | Refrigerant or pressure problem |
| E3 | P8 | CH09 | Fan or airflow error |
Tip: Always check your user manual for your model’s codes, as they can change between series.
Preventive Maintenance For Pioneer Mini Splits
Regular care is the best way to avoid breakdowns. Here’s what you should do:
- Clean air filters: Every 2-4 weeks.
- Wipe indoor unit exterior: Prevents dust and mold.
- Clean outdoor unit coils: At least twice a year; more if you have lots of leaves or pollen.
- Check for obstructions: Make sure nothing blocks airflow in or out.
- Inspect wiring and pipes: Look for signs of wear, corrosion, or leaks.
Non-obvious insight: Many people forget the outdoor unit. Even a small pile of leaves can reduce efficiency by 20-30%.
Maintenance Schedule Example
| Task | Frequency | Notes |
|---|---|---|
| Clean air filter | Monthly | More often with pets or heavy use |
| Check outdoor unit | Seasonally | Clear debris before summer/winter |
| Professional check | Yearly | Includes refrigerant and electrical tests |
When To Call A Professional
While you can fix many mini split problems, some need a trained technician:
- Refrigerant leaks: Only a pro can repair and recharge the system.
- Electrical faults: If breakers keep tripping or you smell burning, call immediately.
- Persistent error codes: If errors return after basic resets and cleaning.
- Compressor or fan motor failure: These require special tools and parts.
- Installation mistakes: If the unit was never cold/hot enough from the start.
Warning: Trying to fix complex electrical or refrigerant issues yourself can void your warranty and may be dangerous.
Common Mistakes And How To Avoid Them
Many Pioneer mini split owners make small mistakes that cause big problems. Here’s what to watch for:
- Ignoring the outdoor unit: Out of sight, out of mind—but airflow and debris matter.
- Setting extreme temperatures: Setting the unit to 60°F in summer or 90°F in winter won’t cool/heat faster. It only wastes energy.
- Running with dirty filters: This strains the system, raises bills, and can cause freezing.
- Not cleaning the drain line: Blocked drains cause leaks and mold.
- Trying to refill refrigerant without a license: Illegal and unsafe.
Practical tip: Write a reminder on your calendar to check and clean filters every month.
Upgrading Or Replacing Your Pioneer Mini Split
Sometimes, troubleshooting reveals a bigger problem: the unit is old or not sized correctly for your space. If your Pioneer mini split is more than 10-15 years old, or if repairs cost half as much as a new unit, replacement may be smarter.
When to consider upgrading:
- Frequent breakdowns or high repair bills
- System uses R22 refrigerant (being phased out)
- Your home was remodeled or added onto, changing heating/cooling needs
- Energy bills keep rising
Newer models offer better efficiency, quieter operation, and smart controls. If you replace your mini split, have a licensed installer size the unit correctly—oversized or undersized systems waste energy.
For more details on mini split technology and history, you can check the Variable Refrigerant Flow page on Wikipedia.
Troubleshooting Tips For Specific Scenarios
Power Surges Or Outages
After a big storm or power outage, your mini split may not restart automatically.
- Wait 5-10 minutes before turning back on.
- If the system still won’t start, check the circuit breaker and outdoor disconnect.
- Some models have a “reset” button inside the indoor unit cover.
Winter Operation Problems
Mini splits can heat even in cold weather, but ice on the outdoor unit is common in winter.
- Units have a “defrost” cycle that should melt ice automatically.
- If ice builds up, clear snow away from the unit and check for blocked drains.
- If the fan won’t spin in cold weather, it may be stuck in defrost mode.
Wireless Or Smart Control Issues
Some Pioneer mini splits have Wi-Fi modules or smart controls.
- Check if your home Wi-Fi is working.
- Reset the module by unplugging it for 10 seconds.
- Update the control app to the latest version.
If remote access fails, use the manual buttons on the unit until you can reconnect.
Practical Examples: Real-world Troubleshooting
Let’s look at two common scenarios and how to solve them.
Example 1: Weak Cooling In Summer
- Symptom: Room never gets below 75°F, even when set to 68°F.
- Check: Filter is dirty, outdoor unit is blocked by leaves, and the indoor coil has a thin layer of dust.
- Solution: Clean filter, clear debris from outdoor unit, and gently clean indoor coil.
- Result: After 30 minutes, cooling improves and air is much colder.
Example 2: Water Leak Inside
- Symptom: Water drips from the bottom of the wall unit after running for an hour.
- Check: Drain line is clogged with algae, and the unit is slightly tilted forward.
- Solution: Vacuum the drain line from outside, adjust the mounting bracket to level the unit.
- Result: No more leaks, and humidity drops in the room.
Key takeaway: Most issues can be fixed with basic cleaning and inspection—if you know where to look.
Frequently Asked Questions
What Do Pioneer Mini Split Error Codes Mean?
Error codes are short messages displayed on your indoor unit or remote. They help you find the exact problem, like a sensor fault or communication failure. Each code is explained in your user manual. If you see a code like “E1” or “E6,” check the tables above for what it means and what to try first.
How Often Should I Clean My Mini Split Filter?
Clean your air filter every 2-4 weeks if you use the system daily. For occasional use, once a month is enough. Dirty filters are the #1 cause of weak airflow and reduced efficiency. Wash with water, dry fully, and reinstall—never run the unit without a filter.
Can I Recharge The Refrigerant Myself?
No. Only licensed professionals can add refrigerant to a mini split system. Handling refrigerant without proper tools and training is illegal and dangerous. If you suspect a leak (see ice, “E6” code, or poor cooling), turn off the unit and call a certified technician.
Why Does My Mini Split Keep Turning On And Off?
This is called “short cycling. ” It can be caused by a dirty filter, wrong thermostat placement, or oversized unit. Clean your filter and check for blocked vents. If the problem continues, the system may need to be resized or repaired.
Is A Pioneer Mini Split Worth Repairing Or Should I Replace It?
If your unit is less than 10 years old and repairs are simple (like cleaning or replacing a sensor), fixing it makes sense. If it’s over 12-15 years old or needs a new compressor, replacement is usually smarter. A new system will be more efficient and quieter.
conclusion
A well-maintained Pioneer mini split can give you years of reliable comfort. With the right troubleshooting steps, you can solve most problems on your own—saving money and avoiding stress. Remember to clean filters and coils regularly, check error codes, and call a professional for complex repairs.
With a little care, your mini split will keep your home cool in summer and warm in winter, just as it should.