You can resolve most issues by checking the error code on the display and comparing it against the manual, as eaton inverter troubleshooting often starts with identifying the specific fault signal. Most problems come from loose connections or external power fluctuations rather than internal hardware failure. If you see a warning light or a blank screen, the first step is to verify the power supply and ensure all external cables are tight and secure. You should never open the outer cover of the unit, as this risks electric shock and will void your factory warranty.
Troubleshooting common Eaton inverter faults
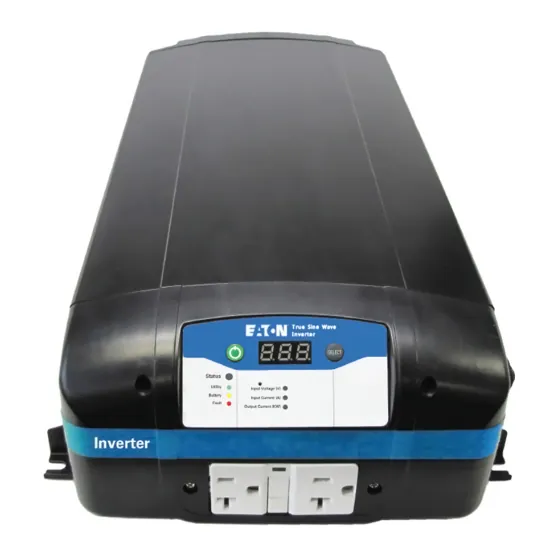
The most frequent cause of an inverter malfunction is an unstable input voltage or a tripped protection circuit. If the grid power or the battery bank connected to the system fluctuates outside the expected range, the device will shut down to protect its internal components. You can verify the operational limits for your specific model by checking the Eaton technical documentation for your device.
Environmental stress, specifically high heat or dust buildup, is also common. These devices rely on internal fans for cooling. If these fans are blocked by debris, the unit will trigger a thermal shutdown.
Overload conditions occur if you connect more equipment than the unit is rated to handle. If the total power draw exceeds the capacity, the system will lock up or cycle power. A common mistake is ignoring the difference between surge wattage and continuous wattage. If your equipment has motors or compressors, they may draw three times their running wattage at startup. If the inverter trips only when a specific device turns on, that device is the culprit.
Resetting the system safely
You can often clear a temporary fault by performing a controlled power cycle. First, turn off all the equipment connected to the inverter to remove the load. Once the devices are off, toggle the main power switch on the unit to the “off” position. Wait at least 60 seconds to allow the internal capacitors to discharge fully before turning the power back on.
If the unit returns to a normal state after this reset, you can slowly reconnect your equipment one by one. Watch the display for spikes as you add each item. If it immediately triggers an error again, one of your connected devices might be faulty or drawing excessive current.
If the system remains in a fault state even with no devices attached, the internal logic board may have experienced a failure. Don’t attempt to bypass any safety features or bridge connections. This mistake often leads to permanent hardware damage or fire hazards.
The decision rule is simple: if the error code clears, the fault was likely a transient surge. If the error persists without a load, the inverter requires professional service. If the unit refuses to start after a full power cycle, it’s time to contact a certified electrician or the manufacturer’s support line for a professional inspection. Always disconnect the main battery leads before opening the casing to ensure you aren’t working with live current.
Checking external power connections
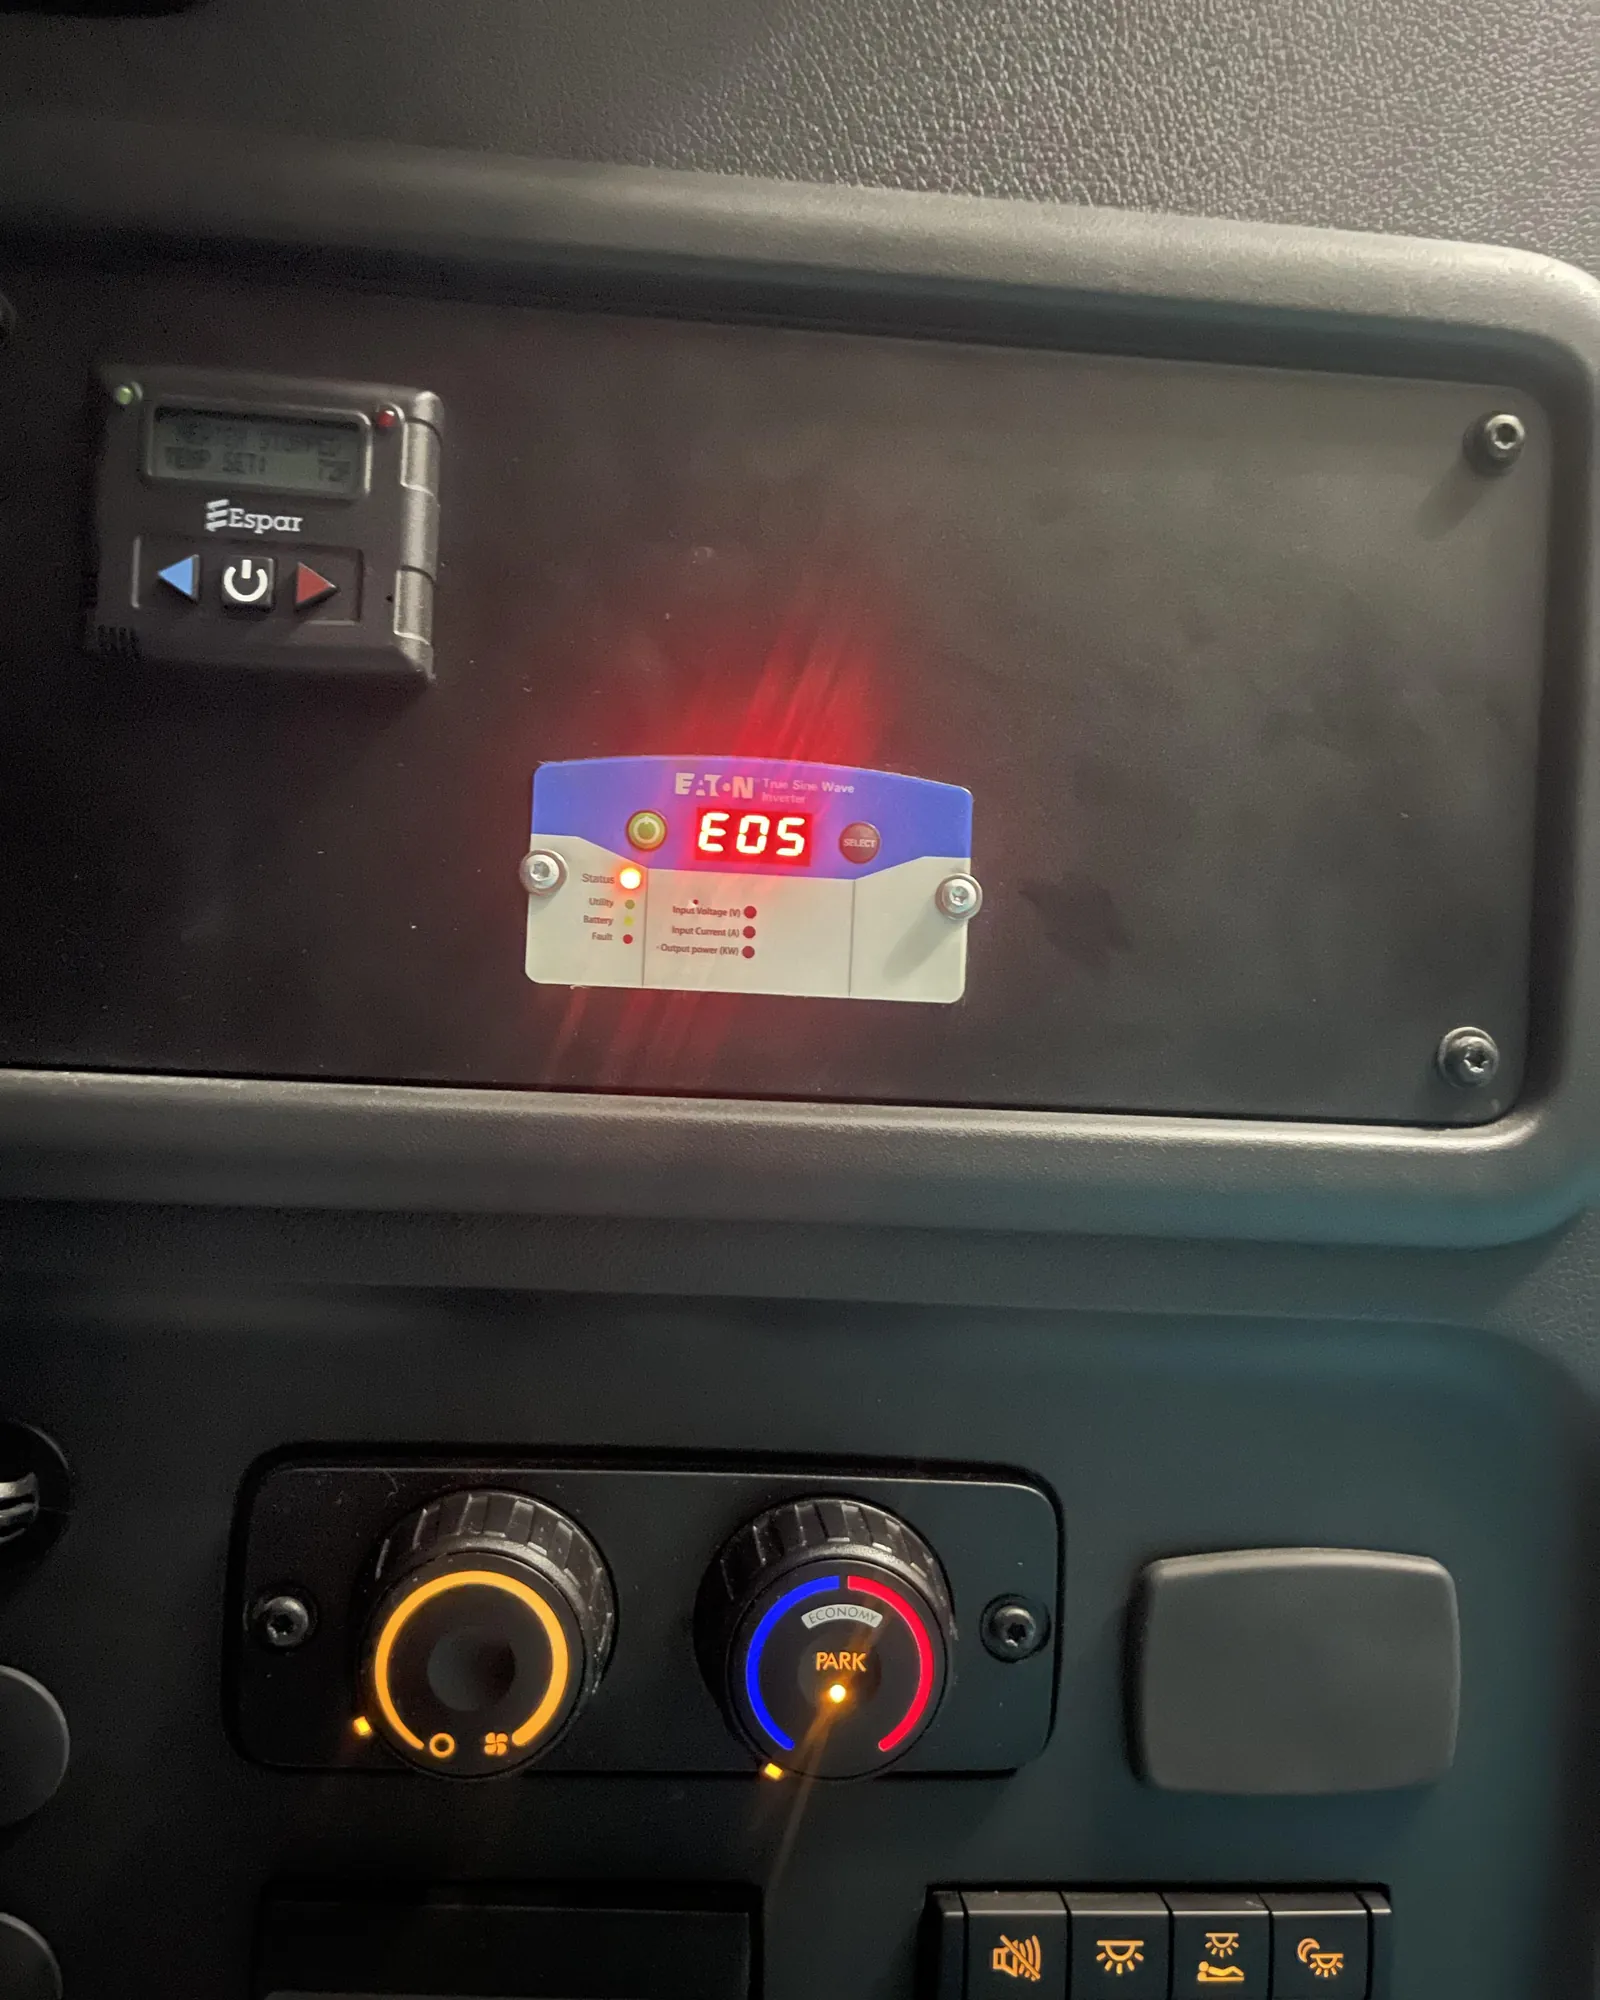
If your system isn’t powering on at all, the issue is likely in the wiring between the power source and the unit. Check the battery terminals or the main AC input plug to ensure they’re clean, tight, and free of corrosion. A loose connection creates high resistance, which causes the inverter to detect a “low voltage” error even if the power source itself is healthy.
Inspect the cables for any signs of fraying or heat damage, such as melting or discoloration near the connectors. If you find damaged cables, replace them with new ones of the same gauge and rating. Never use undersized wire, as this restricts current flow and can lead to dangerous overheating. If the connections are clean and tight but the unit still shows a low power error, a technician confirms whether the part has failed.
Resolving persistent thermal alarms
When your device displays a temperature warning, it’s trying to tell you that the internal cooling system is struggling. First, ensure the unit is installed in a space with at least six inches of clear air space on all sides to allow for proper ventilation. If the unit is in a cabinet, ensure the cabinet has functioning exhaust fans or vents.
A common mistake is placing the device against a wall or near a heat source like a radiator, which traps ambient heat. If the intake air is already warm, the internal fans can’t cool the processor effectively. You can verify this by checking the intake temperature; if it feels hot to the touch, move the unit to a cooler location before assuming a hardware failure.
Clean the air intakes using a dry, soft brush or a vacuum on the lowest setting to remove dust from the outside of the vents. Never spray liquid cleaners or use compressed air directly into the vents, as this can push debris into sensitive electronic components.
Common mistakes to avoid
Attempting to open the metal casing: This exposes you to high-voltage capacitors that hold a lethal charge long after the unit is unplugged. Never touch the internal heat sinks, as these often carry residual current even when the device is disconnected.
Bypassing the input fuse: This removes the only protection your home wiring has against a short circuit. If you use a higher-rated fuse than specified, you risk melting the internal traces before the fuse blows, which frequently results in electrical fires.
Cleaning with wet cloths: Moisture inside the unit will cause immediate short circuits and permanent damage to the delicate control board. Always use a dry microfiber cloth or compressed air.
Ignoring the load rating: Running an inverter at its maximum capacity for long periods leads to premature component aging and sudden failure. As a rule of thumb, keep your continuous load below 80% of the rated output. If your device runs hot to the touch, you’re likely exceeding this threshold.
Preventing future system failures
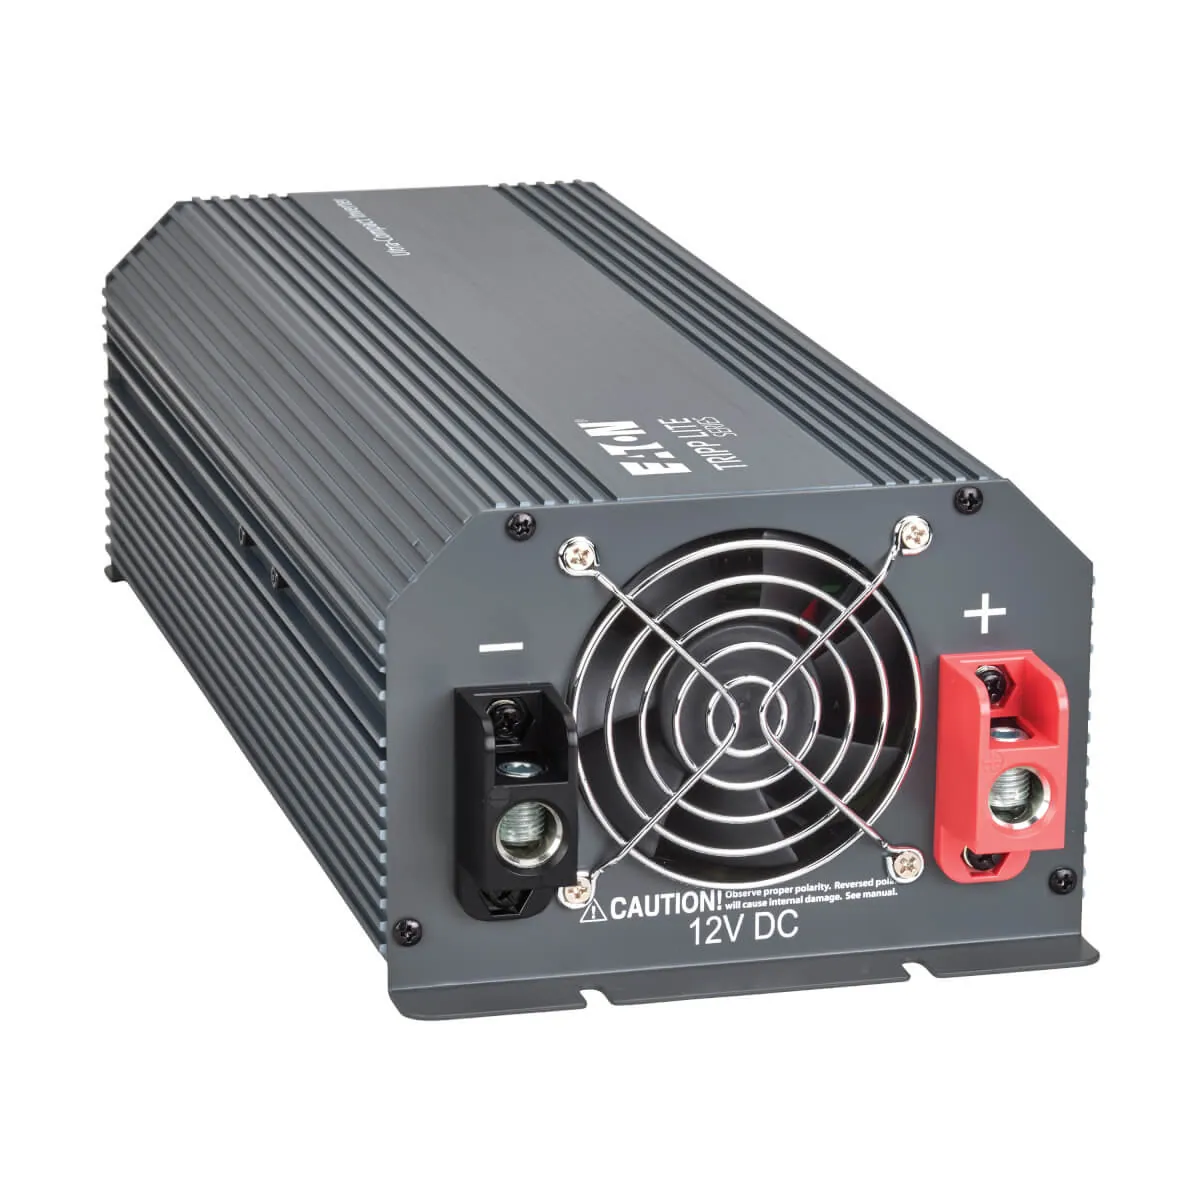
You can keep your power system running smoothly by performing regular checks and maintaining a stable environment. The following table outlines how to shift your routine to protect your equipment.
| If you’re doing this | Do this instead | Why |
|---|---|---|
| Leaving units in closets | Install in open, cool areas | Prevents thermal shutdown |
| Connecting items randomly | Calculate total wattage load | Stops overload errors |
| Ignoring warning lights | Check codes immediately | Prevents hard failures |
| Using old, worn cables | Replace with rated wiring | Ensures stable voltage |
Most failures occur because users underestimate the cumulative draw of peripheral devices. If your total wattage exceeds 80% of the unit’s rated capacity, you must split the load across two separate circuits. Ignoring this threshold creates heat buildup that degrades internal capacitors over time.
You can identify a failing component by its acoustic signature. A high-pitched whine often indicates a capacitor nearing its end-of-life, while an intermittent clicking suggests a relay struggling to maintain contact.
The most common mistake is assuming that surge protectors provide indefinite protection. These devices lose their effectiveness after a single major surge or several minor fluctuations.
Frequently asked questions
How long should I wait after a power cycle?
You should wait at least 60 seconds after turning the power off before switching it back on. This allows the internal energy storage components to fully discharge, which is necessary for the system to reset its error state. If you switch it back on too quickly, the system might hold onto the old error code and fail to restart correctly.
Is it safe to operate the unit with an error light?
No, it isn’t safe to operate the unit while an error light is active. The warning system is designed to prevent fire and internal component destruction during a fault. Continuing to force the operation of a faulted device can cause permanent damage to your connected equipment and potentially create a fire hazard in your home.
Why does the unit beep continuously?
A continuous beep usually indicates a critical fault, such as an output short circuit or a severe overload. You must immediately turn off all connected equipment and power down the unit to investigate the cause. If the beeping persists after disconnecting all loads, the fault is likely internal and requires professional attention.
What happens if I ignore an overload alarm?
If you ignore an overload alarm, the unit will eventually trigger an emergency shutdown to prevent the internal electronics from melting. In some cases, repeated overloads can weaken the internal components, leading to a complete failure even when the load is eventually reduced. Always keep your total load below the manufacturer’s rated capacity to ensure long-term reliability.
How often should I check the connections?
You should visually inspect your external wiring and connections every six months to ensure they remain tight and clean. Environmental factors like vibration or temperature changes can cause screw terminals to loosen over time. Keeping these connections secure is the single most effective way to prevent the most common power-related error codes.
Can I fix a blank screen myself?
No, a blank screen usually points to a total failure of the control board or a blown internal fuse. Because these parts are located inside the sealed housing, you can’t safely reach them without risking electric shock. You should contact the manufacturer or a certified repair technician to assess whether the unit is salvageable.
Conclusion
If these basic checks don’t get your system running again, it’s time to contact a certified technician. Don’t try to force a fix that isn’t clear, as you shouldn’t risk damaging the unit further. Reach out to the support team with your serial number ready; they’ll help you get back online quickly.
Related guides