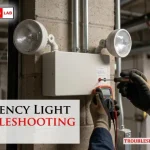
When your facility’s safety systems fail to illuminate during a power loss, finding an emergency light troubleshooting guide becomes a priority to ensure compliance and occupant safety. These units are critical life-safety devices that must remain functional at all times to provide egress illumination. Whether you’re dealing with flickering lamps, units that fail to activate, or the dreaded “replace battery” indicator, systematic inspection is the only way to restore reliability and maintain your building’s fire code standards.
Key Takeaways
- Perform a 30-second monthly push-button test to ensure the battery and bulbs function correctly.
- Check for loose wiring or tripped circuit breakers before assuming the internal battery is dead.
- Replace lead-acid or nickel-cadmium batteries every three to five years regardless of current performance.
- Clean lens covers and lamp heads regularly to prevent dust accumulation from dimming the light output.
- Document every inspection and repair in a formal logbook to satisfy local fire marshal requirements.
Safety: Inside a mains-powered machine, the parts behind the outer cover can hold a dangerous electrical charge even after it has been unplugged — that’s why they sit behind a cover. Opening the housing, or testing or replacing anything behind it, is a job for a qualified technician, never a home repair.
Emergency light troubleshooting guide for power issues
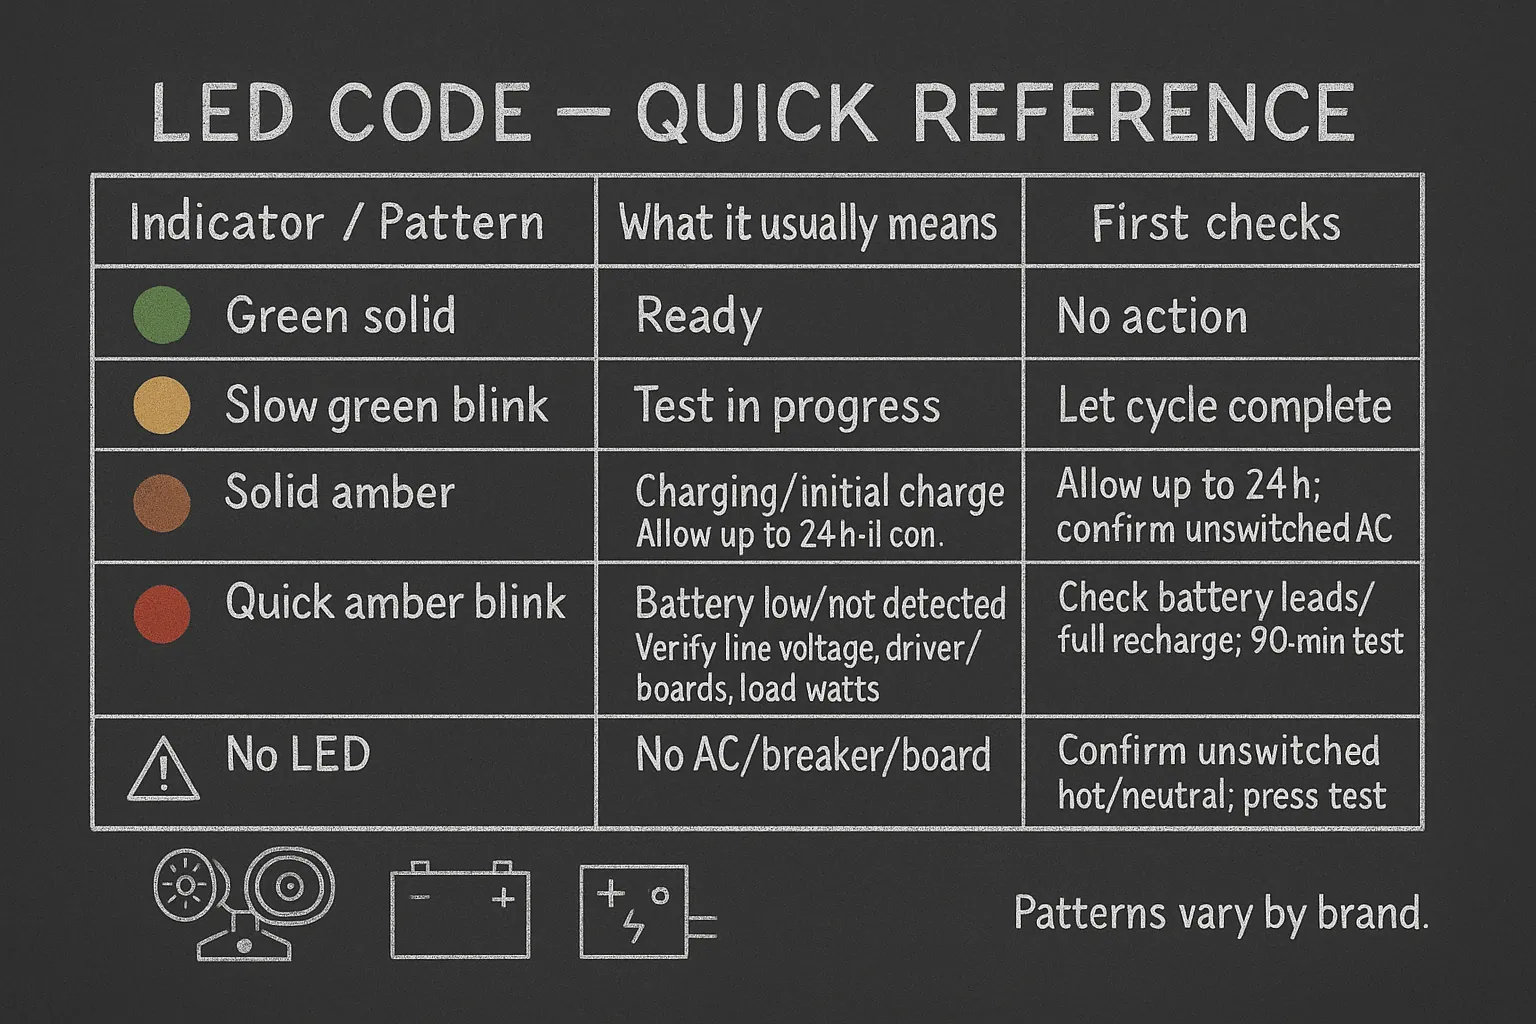
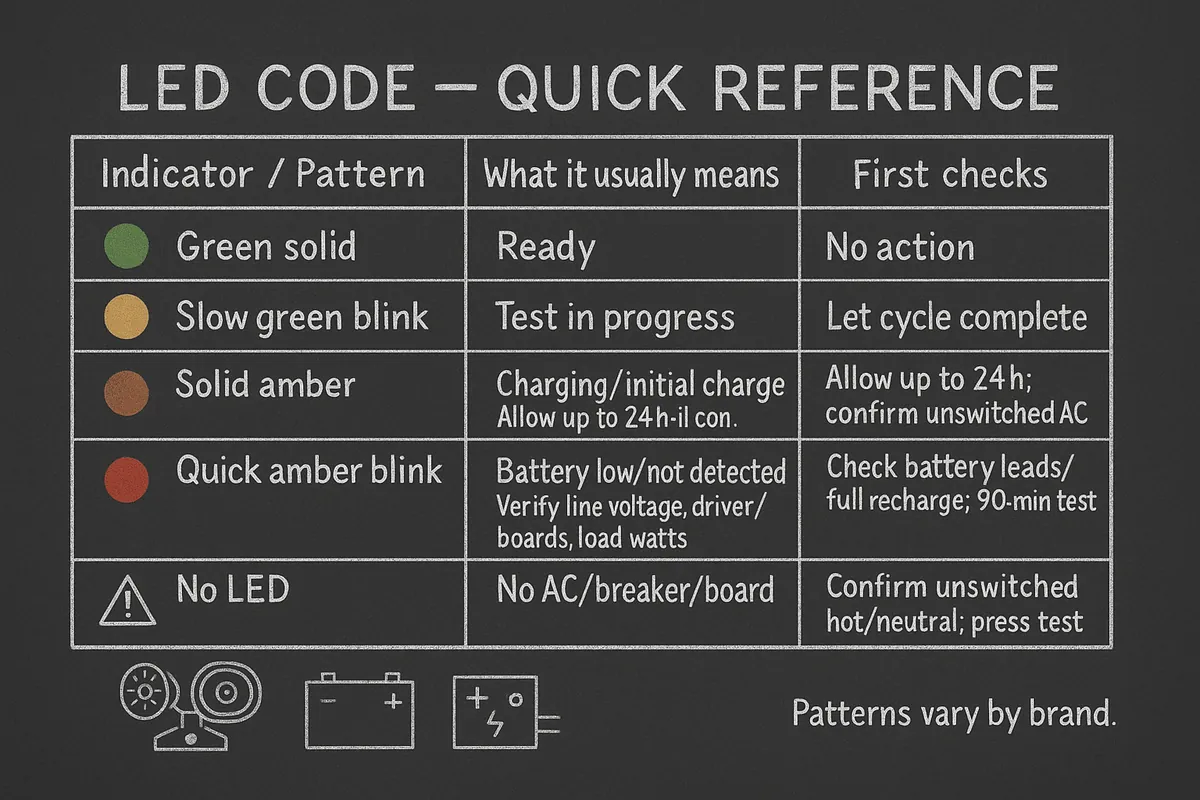
Most emergency lighting failures stem from simple power delivery problems rather than complex electronic failure. Before opening the casing, verify that the unit is receiving electricity from the building’s power grid. If the LED indicator light on the fixture is off, the unit is likely not charging.
Start by checking the dedicated circuit breaker in your electrical panel. If the breaker is tripped, reset it and observe the fixture for at least 24 hours to see if the battery begins to hold a charge.
Warning: Always turn off the branch circuit breaker before touching internal wiring to prevent accidental electrical shock or damage to the unit’s transformer.
Are the lamps burnt out?
Emergency lights typically use halogen, incandescent, or LED lamps. Incandescent and halogen bulbs are prone to filament breakage due to vibration or age. If the unit passes its battery test but no light is produced, the issue is almost certainly a burnt-out bulb.
| Lamp Type | Common Symptom | Typical Lifespan |
|---|---|---|
| Halogen | Darkened glass or broken filament | 500–2,000 hours |
| Incandescent | Discolored bulb or loose base | 1,000–2,500 hours |
| LED | Dimming or flickering | 25,000–50,000 hours |
To replace a bulb, ensure the power is off, gently remove the lamp head cover, and pull the lamp straight out. Avoid touching new halogen bulbs with your bare fingers, as oils from your skin can cause the glass to overheat and shatter during operation. Use a clean cloth or the packaging provided with the bulb for installation.
Troubleshooting battery failure symptoms
Batteries are the most common point of failure in emergency lighting systems. Even if a battery appears to be in good condition, it loses its ability to hold a deep charge over time. If your unit stays lit for only a few seconds during a test and then fades, the battery has lost its capacity.
- Sulfation: A white, crusty buildup on lead-acid battery terminals that prevents proper current flow.
- Swelling: A physical deformation of the battery casing that indicates the unit has been overcharged or exposed to excessive heat.
- Voltage Drop: A rapid decrease in output voltage when the load is applied during a test.
If you encounter these signs, don’t attempt to “jump start” or recondition the battery. These units are designed for specific chemical cycles, and once they fail, they must be replaced with the exact voltage and amperage rating specified by the manufacturer.
How to perform a manual test
The most effective way to identify a hidden fault is to perform a manual discharge test. Most commercial units feature a “push-to-test” button on the side or bottom of the housing. When pressed, this button interrupts the AC power to the unit, forcing it to switch to battery mode.
Hold the button down for the duration specified by the National Fire Protection Association code 101, which mandates that emergency lighting systems must be tested for 30 seconds every month and for 90 minutes annually. If the unit fails to stay illuminated for the full 90-minute duration during your annual inspection, the battery is failing and requires immediate replacement.
Cleaning and maintenance best practices
Dust and debris are the silent killers of emergency lighting. When dust accumulates on the lenses or reflectors, the light output is significantly reduced, potentially failing to meet the mandated foot-candle requirements for egress paths. Use a soft, dry microfiber cloth to wipe down the exterior of the lens covers. Never use chemical cleaners, as these can cloud the plastic or damage the internal electronics.
Pro Tip: Inspect the mounting hardware annually to ensure the fixture is securely attached to the wall or ceiling, as loose units can vibrate and cause intermittent connection issues.
Is your wiring properly connected?
Sometimes the issue isn’t the battery or the bulb, but the wiring harness itself. Over time, heat generated by the transformer can cause wire insulation to become brittle or cause terminal connectors to loosen. Inspect the wires leading from the battery to the circuit board.
Ensure that the red (positive) and black (negative) leads are firmly attached to their respective terminals. If you notice any signs of scorching or melted plastic, the entire unit may be unsafe and should be replaced rather than repaired.
Evaluating replacement versus repair costs
When deciding whether to fix an existing unit or purchase a new one, consider the age of the fixture and the cost of parts. For older units, parts may be discontinued or difficult to source, making replacement the more logical path.
| Component | Estimated Repair Cost | Replacement Unit Cost |
|---|---|---|
| Battery Pack | $15–$45 | $40–$120 |
| Replacement Bulbs | $5–$20 | $40–$120 |
| Transformer | $25–$60 | $40–$120 |
For units older than ten years, the internal electronics are likely near the end of their operational life. Replacing just the battery might solve the immediate problem, but you may find yourself performing another repair six months later when the transformer or circuit board fails.
Common emergency light brands
When purchasing replacement parts, always match the manufacturer’s specifications. Using generic parts that don’t meet the exact voltage or capacity requirements can lead to fire hazards or premature failure of the charging circuit. Reliable brands typically include:
- Lithonia Lighting: Known for high-durability commercial grade fixtures.
- Dual-Lite: Offers a wide range of modular components for older systems.
- Sure-Lites: A brand under the Cooper Lighting umbrella with robust replacement parts.
- Exitronix: Frequently used in modern LED-integrated building designs.
- Hubbell Lighting: Provides industrial-strength units for high-heat or damp environments.
Identifying circuit board failures
The circuit board, or “charger board,” is the brain of the emergency light. It monitors the AC power and switches the load to the battery when necessary. If you have replaced the battery and verified the bulbs are good, but the unit still doesn’t function, the circuit board is the likely culprit. Look for signs of “fried” components, such as a burnt smell, darkened areas on the board, or bulging capacitors.
If the board appears damaged, don’t attempt to solder individual components unless you have specialized training. In most cases, the circuit board is a modular part that can be unplugged and replaced. Always ensure the replacement board is the exact model number compatible with your specific housing.
Solving intermittent flickering issues
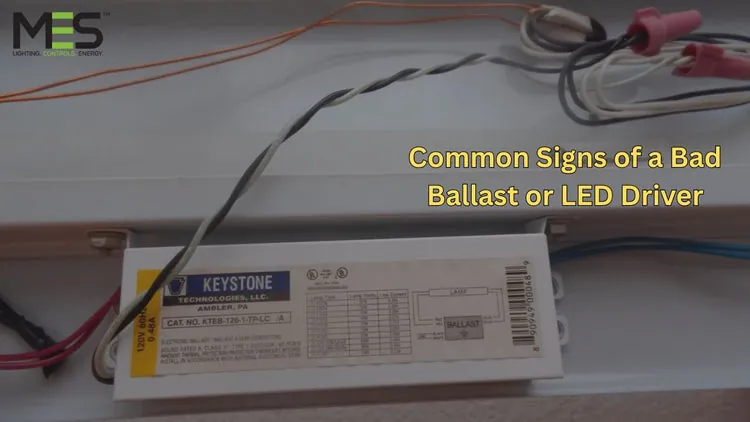
Flickering is often caused by a loose connection or a failing lamp driver. If the light flickers only when the unit is on AC power, check the incoming power lines. If the flickering occurs only during a battery test, the battery is likely struggling to provide a steady stream of power. Check for loose battery terminals or a corroded wire harness. If the flickering continues after tightening all connections, the lamp driver or the bulb itself is likely faulty.
Related guides
- Ge Washer Flashing Lights Troubleshooting: Quick Fixes Explained
- Frigidaire Dishwasher Troubleshooting Lights Flashing: Quick Fixes
Frequently Asked Questions
Why does my emergency light beep?
Many modern LED emergency lights include an audible alarm that sounds when the unit detects a fault. This could be a battery that’s no longer holding a charge, a failed lamp, or an internal circuit board error. Check the status indicator LED on the unit; if it’s flashing red or amber, consult your owner’s manual to decode the specific error message provided by the manufacturer.
How often should I replace batteries?
Standard lead-acid or nickel-cadmium batteries used in emergency lighting generally require replacement every three to five years. Even if the unit passes a 30-second test, the battery’s chemical capacity degrades over time, making it unable to provide the full 90 minutes of illumination required by fire safety codes during a genuine power outage. Always replace batteries before they reach their expiration date.
Can I upgrade to LED lights?
Yes, you can often upgrade older incandescent emergency lights to LED heads, provided the new heads are compatible with the existing battery and transformer voltage. LED upgrades are highly recommended because they consume significantly less power, put less strain on the battery, and offer a much longer lifespan. Ensure the new LED lamp heads are UL-listed and compatible with your specific fixture model.
What causes the status light to turn red?
A red status indicator light typically signals a system failure. This usually means the battery is disconnected, the battery has failed a self-test, or the charging circuit isn’t providing power to the battery. First, ensure the battery is plugged in correctly. If the light remains red after a 24-hour charging period, the battery or the charger board is likely defective and requires replacement.
Is it safe to repair these units myself?
Yes, provided you’re comfortable working with electrical components and follow all safety protocols. Always disconnect the AC power at the breaker before opening the fixture. If you’re unsure about the wiring or if you encounter signs of significant heat damage, it’s safer to consult a licensed electrician. Incorrect repairs can pose a fire risk or lead to failure during an emergency.
Conclusion
If your emergency light remains non-functional after completing these troubleshooting steps, check for a local electrical supply house to source a replacement unit. Maintaining your building’s safety equipment isn’t just a regulatory requirement; it’s a vital step in protecting occupants. Schedule a recurring calendar reminder for your next monthly inspection to ensure your system remains in peak operational condition year-round.