Managing blood glucose levels requires precision, and when your equipment fails to provide a reading, it can be a source of significant frustration. If you’re currently performing freestyle lite troubleshooting, you’re likely looking for immediate solutions to common error messages, sensor connection issues, or power failures that prevent you from completing your necessary health checks. This guide provides a systematic approach to identifying why your meter isn’t behaving as expected, how to resolve common technical glitches, and when it’s time to seek professional assistance or replacement hardware.
Key Takeaways
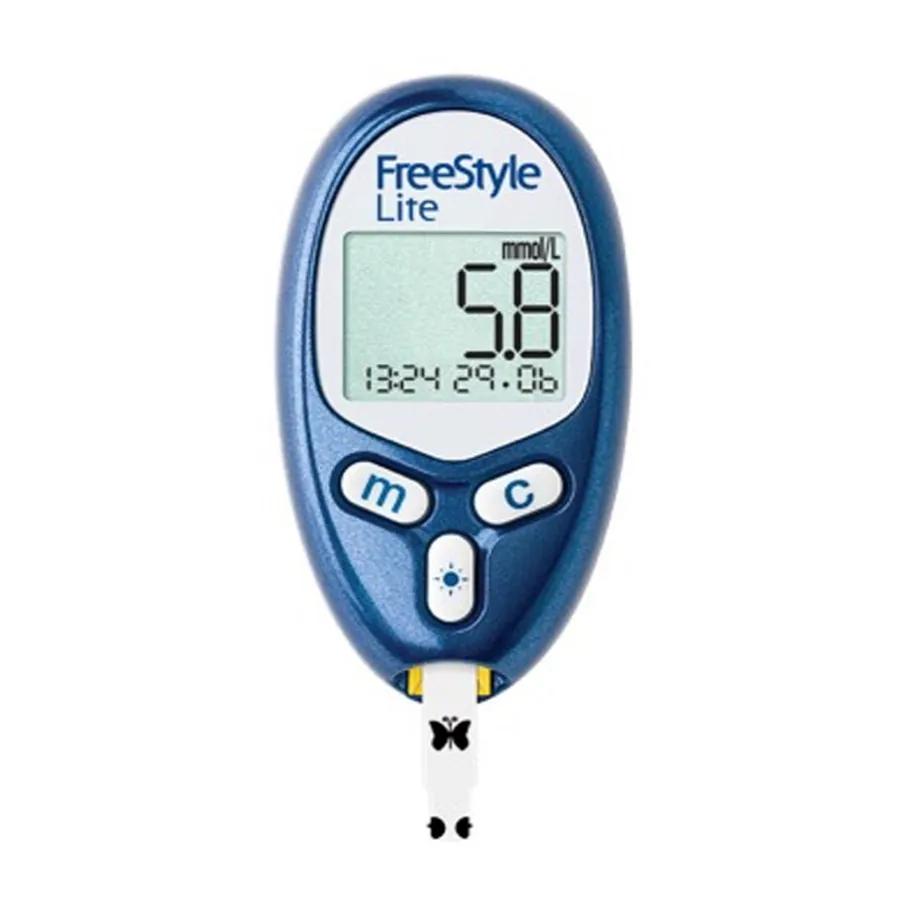
- Always verify your test strips are within their expiration date to ensure accurate results.
- Ensure your hands are clean and dry before testing to avoid contamination of the sample.
- Check the battery compartment for corrosion or a loose fit if the device fails to power on.
- Consult the official FreeStyle Libre and FreeStyle blood glucose monitoring user manual for specific error code definitions.
- Keep your meter away from extreme temperatures or high humidity to preserve internal sensor integrity.
Why Is My Meter Displaying Errors?
The FreeStyle Lite meter is designed to alert you when a test environment or sample collection method is compromised. Most error messages aren’t signs of a broken device but rather indicators that the conditions for an accurate reading haven’t been met.
When an error code appears, the first step is to turn the meter off and then back on. If the error persists, check the test strip port for debris. Dust, lint, or dried blood residue inside the port can interfere with the electrical contact between the strip and the meter, leading to false readings or system errors.
Freestyle Lite Troubleshooting and Error Codes
Understanding the specific codes displayed on the liquid crystal display is vital for quick resolution. These codes usually correspond to either a sampling error or an internal system malfunction.
| Error Code | Meaning | Immediate Action Required |
|---|---|---|
| E-1 | Temperature too cold | Move to a warmer environment |
| E-2 | Temperature too hot | Move to a cooler environment |
| E-3 | Test strip already used | Insert a new, unused strip |
| E-4 | Sample too small | Re-test with a larger blood drop |
| E-5 | Meter hardware error | Remove battery, wait, re-insert |
Troubleshooting Power and Battery Issues
If your device is completely unresponsive, the issue is almost certainly related to the power source. The FreeStyle Lite uses a standard coin-cell battery. Over time, these batteries can lose their charge or the contacts can become oxidized.
- Battery Replacement: Use only the specific battery type recommended by the manufacturer.
- Contact Cleaning: Gently wipe the battery contacts with a dry, lint-free cloth to remove any buildup.
- Secure Seating: Ensure the battery door clicks firmly into place to maintain a consistent circuit.
Pro Tip: If the meter screen appears dim or the numbers are flickering, replace the battery immediately, as low voltage often causes erratic behavior before the device shuts down entirely.
What Causes Inaccurate Blood Glucose Readings?
Inaccuracy is often a result of external variables rather than the meter itself. If your results seem consistently high or low compared to your expectations or laboratory tests, consider the following factors:
- Contamination: Residue from lotions, soaps, or food on your fingertips can significantly skew results.
- Strip Degradation: Exposure to humidity or direct sunlight causes the chemical reagents on the test strips to break down.
- Sample Volume: Insufficient blood applied to the test strip may cause the meter to calculate an incomplete reading.
- Code Calibration: Ensure you’re using the correct lot number if your specific model requires manual entry or chip calibration.
Proper Test Strip Handling Procedures
Your test strips are highly sensitive instruments that require careful storage. Never store strips in a bathroom or kitchen where moisture levels fluctuate wildly. Always keep them in their original vial and snap the cap shut immediately after removing a strip. Touching the test strip contact area with your fingers can transfer oils that interfere with the meter’s ability to read the sample.
Best Practices for Strip Longevity
- Check the expiration date on the side of the vial before every use.
- Keep the vial tightly closed at all times to prevent air exposure.
- Store at room temperature in a dry location, avoiding direct sunlight.
- Discard any strips that appear bent, torn, or show signs of moisture.
Is My Meter Damaged or Broken?
If you have replaced the battery, cleaned the strip port, and verified that your test strips are fresh, yet the device still fails to function, you may be dealing with a hardware failure. Physical damage, such as dropping the meter on a hard surface, can dislodge internal components or crack the screen. If the screen is blank even with a new, tested battery, the internal circuitry may have reached the end of its functional life.
How to Perform a Control Solution Test
A control solution test is the gold standard for verifying that both your meter and your test strips are working in harmony. This liquid contains a known amount of glucose. When you apply it to a test strip, the meter should provide a result that falls within the target range printed on your test strip vial. If the control solution result is outside this range, don’t use the meter for clinical decisions.
- Shake the control solution bottle well before use.
- Discard the first drop to ensure the tip is clean.
- Apply a small drop to the test strip just as you would with blood.
- Compare the result to the target range on the strip packaging.
Cleaning and Maintenance Tips
Maintaining your device ensures a longer lifespan and more reliable data. Use only a soft, slightly damp cloth to clean the exterior of the meter. Never submerge the device in water or use harsh chemicals like bleach or ammonia, as these can seep into the housing and corrode the electronics.
- Port Hygiene: Use a dry cotton swab to gently remove lint from the strip port once a month.
- Case Storage: Keep the meter in its carrying case when not in use to prevent dust accumulation.
- Avoid Extreme Heat: Never leave your meter in a hot car, as high temperatures can damage the liquid crystal display and the internal processor.
When to Contact Customer Support
Sometimes, you reach a point where troubleshooting at home is no longer effective. If you have performed a control solution test and it failed, or if the meter displays a persistent system error that doesn’t resolve with a battery swap, contact the manufacturer’s support line. They can walk you through advanced diagnostics or determine if your device is eligible for a warranty replacement.
Warning: Never attempt to open the outer casing of the meter yourself to repair internal components, as this will immediately void any existing manufacturer warranty and may compromise the safety of the device.
Comparing Troubleshooting Methods
Different issues require different levels of intervention. Use this table to determine the intensity of the troubleshooting step required for your specific problem.
| Issue Type | Difficulty Level | Intervention Required |
|---|---|---|
| Power failure | Easy | Replace battery / clean contacts |
| Error code | Moderate | Reset / check strip / re-test |
| Inaccurate results | Moderate | Control solution test / new strips |
| Physical damage | High | Professional support / replacement |
Related guides
Frequently Asked Questions
Why does my meter show an E-4 error?
The E-4 error code indicates that the blood or control solution sample applied to the test strip was insufficient for the meter to perform an accurate reading. Ensure you’re applying the sample to the target area of the strip correctly and that your finger is pressed firmly against the edge. If this happens repeatedly, try using a slightly larger drop of blood.
Can I use expired test strips?
No, you should never use expired test strips. The chemical reagents on the strips degrade over time, which can lead to dangerously inaccurate glucose readings. Using expired strips can result in a miscalculation of your insulin dosage, which poses a significant health risk. Always check the expiration date on the vial before every single test to ensure your safety and accuracy.
How often should I perform a control test?
It’s recommended to perform a control solution test whenever you open a new vial of test strips, if you drop the meter, or if you suspect that your test results don’t reflect how you’re feeling physically. Regular control testing provides peace of mind that your equipment is functioning correctly and that your glucose readings are reliable for your daily health management.
What if my meter is still not working?
If you have replaced the battery, performed a control solution test, and checked for debris in the strip port but the meter remains unresponsive or displays persistent error codes, it’s likely that the device has suffered an internal hardware failure. At this stage, you should contact the manufacturer’s customer service department to discuss potential warranty claims or the necessity of purchasing a new device.
Is there a way to reset the meter?
Most FreeStyle Lite meters don’t have a dedicated “reset” button. To perform a soft reset, simply remove the battery from the compartment, wait approximately sixty seconds, and then re-insert the battery. This process clears the temporary memory buffers and forces the device to reboot its internal software, which often resolves minor glitches, freezes, or persistent error messages that occur during normal operation.
Conclusion
Resolving technical issues with your monitoring equipment is an essential part of maintaining your health routine. By systematically checking your batteries, verifying your test strips, and performing control solution tests, you can restore confidence in your daily readings. If these steps don’t rectify the problem, reach out to your healthcare provider or the manufacturer to secure a reliable replacement device immediately.