You can fix most performance issues by checking your batteries and memory card when performing gardepro e6 trail camera troubleshooting. The most frequent cause of failure is using low-quality or partially drained alkaline batteries, which can’t provide the high power needed for night-time infrared recording. If your camera isn’t turning on or is missing images, it’s almost always a power or storage media error.
Troubleshooting Common GardePro Trail Camera Failures
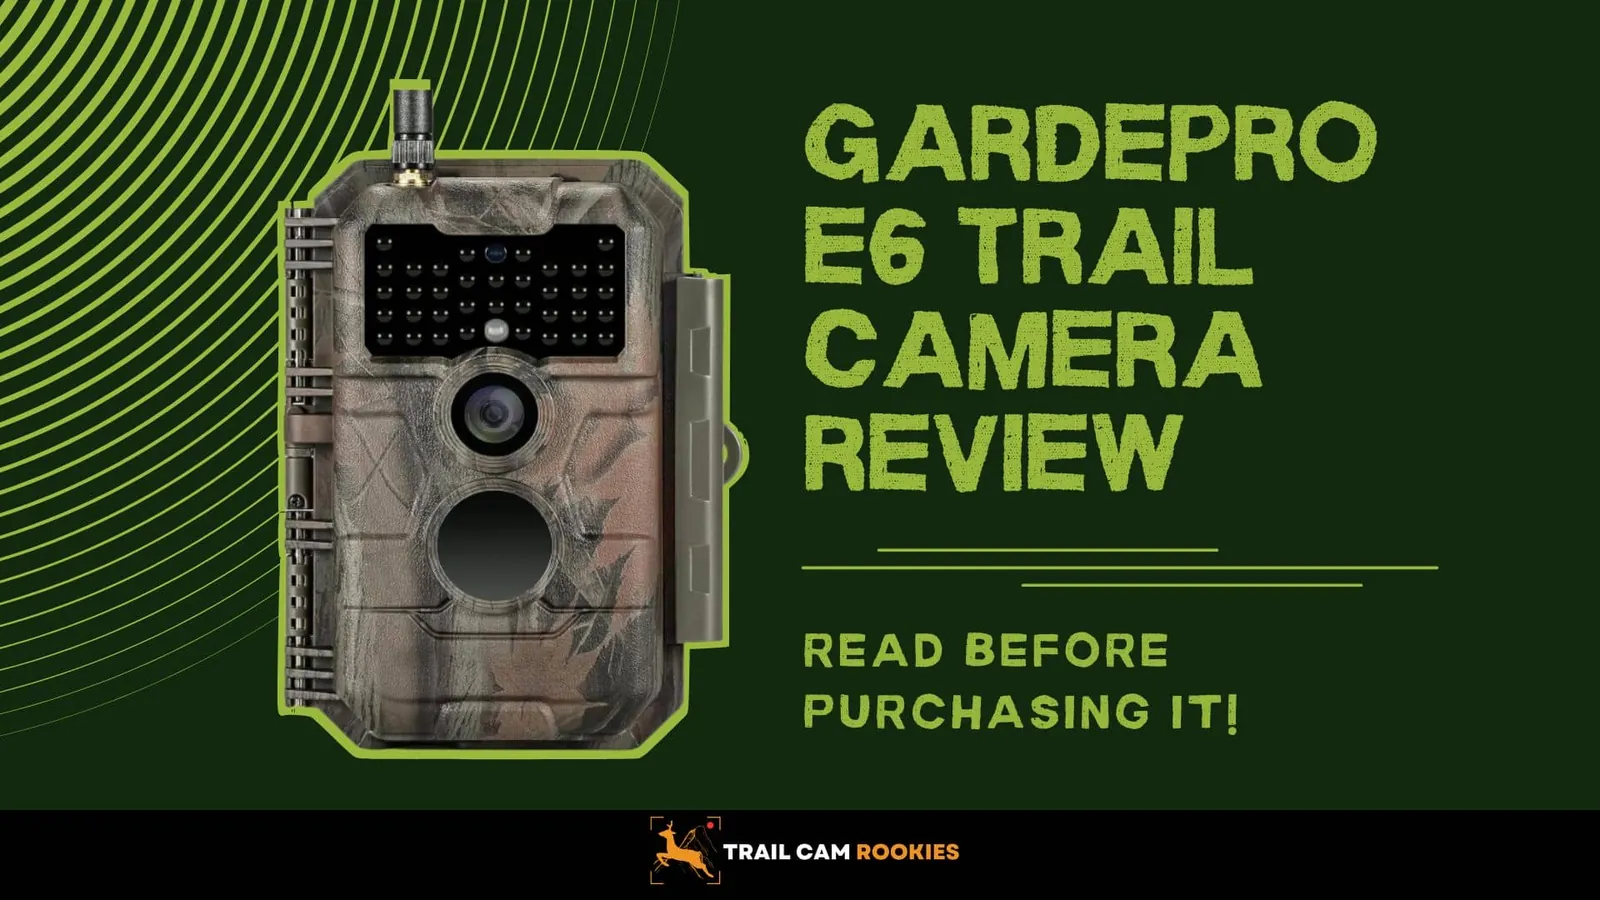
Most problems with these units stem from environmental factors or user error regarding setup. The camera relies on precise power to trigger the infrared flash and save files to the SD card. If the power supply drops below the required threshold, the device may stay on but fail to capture images or trigger the motion sensor. Always have a technician test the batteries; a low charge is often insufficient for night-time infrared operation, even if the camera screen remains active.
Another common issue involves the formatting of the SD card. If the card was previously used in a computer or a different camera, the file system might not be compatible with the camera’s internal software. This often leads to “Card Error” messages or the device stopping recording unexpectedly.
You must use a card that meets the speed requirements for high-definition video to avoid data corruption. If you see a “Write Error,” reformat the card directly within the camera’s own menu rather than on a PC.
Finally, environmental obstruction often causes false triggers. If the sensor is pointed at moving branches or tall grass in direct sunlight, the heat-in-motion sensor will fire repeatedly, draining your batteries. You should always ensure the sensor zone is clear of vegetation to maintain a long battery life and consistent detection performance. If your camera captures empty frames, trim all vegetation within a six-foot radius of the lens to prevent wind-blown movement from triggering the PIR sensor.
Check Your Power Supply
Reliable operation starts with using the correct battery chemistry. You should use high-quality lithium batteries or rechargeable NiMH batteries, as standard alkaline batteries often fail under the cold temperatures or high-drain conditions found in outdoor settings. If you use alkaline cells, the voltage drops too quickly to support the infrared flash, which results in dark or empty night photos.
To test your power, insert a fresh set of recommended batteries and observe the status light during the power-on sequence. If the light doesn’t flash or the screen remains blank, the battery compartment contacts might be dirty. Use a dry, soft cloth to gently wipe the metal contacts to ensure they’re free of debris or oxidation.
If you’re using an external power source, verify that the cable is firmly seated in the port and that the voltage output matches the manufacturer’s specifications. You can verify the technical power requirements and compatibility by reviewing the official GardePro support documentation for your specific model. Avoid using a power adapter that was designed for other electronics, as the wrong polarity or voltage can permanently damage the camera’s internal circuits.
Format and Test Memory Cards
The memory card is the primary point of failure for image storage. You should always format the SD card inside the camera menu rather than on a computer. Formatting within the device ensures that the folder structure is created exactly as the camera expects, which prevents file system errors during the writing process.
If the camera still fails to save images, try using a different SD card to rule out a hardware failure. The device requires a Class 10 or higher UHS-I card to handle the data transfer speeds of 1080p or 4K video. If the card is too slow, the camera will pause while writing, which can lead to missed captures or corrupted files.
Many users mistakenly assume that reformatting a card on a computer is identical to doing it in-camera. This is a costly error; computers often apply a generic file system that lacks the specific directory architecture your camera needs to write data efficiently. If your camera records video, prioritize cards with the “V30” or “V60” speed class rating. These ratings guarantee the sustained write speeds necessary to avoid dropped frames.
If you’re unsure if your card is compatible, look for the “SDHC” or “SDXC” label and a speed class symbol on the front of the card. A card that has been used for years may also develop bad sectors. If you notice images are missing or the card shows a “Full” error when it should be empty, replace the card entirely to ensure your data is secure.
Update Firmware and Reset Settings
When the camera exhibits strange behavior, such as freezing or failing to save settings, a firmware update can often resolve the issue. Check the manufacturer’s website to see if a newer version of the software is available for your specific model. A firmware update replaces the internal operating instructions and can fix bugs that cause the device to hang during operation.
To perform a reset, navigate to the system menu and select the “Default Settings” option. This will clear any custom configurations that might be conflicting with the camera’s sensors. If the camera is completely unresponsive, locate the reset button, which is usually a small pinhole near the battery tray. Use a paperclip to press it for three seconds while the power is switched on.
This process is for the average user. If the device remains unresponsive after a factory reset and a change of batteries, the issue is likely a hardware failure of the mainboard. In this case, you should stop attempting repairs and contact the manufacturer’s warranty department, as opening the sealed housing will void your coverage and could expose you to electrical hazards.
Avoid Common Setup Mistakes
Using mismatched batteries: Mixing old and new batteries causes the voltage to drop unevenly, which leads to sudden shutdowns. Always use a full set of identical batteries from the same brand and production batch. If you mix chemistries or charge levels, the weaker cell can be forced into reverse polarity by the stronger cells, which leads to overheating and potential internal leakage.
Mounting in direct sunlight: Placing the camera facing the sun causes false triggers and washes out the image sensors. Aim the lens toward the north or south to avoid the arc of the sun. If you must face east or west, tilt the camera downward at a 15-degree angle to keep the horizon out of the frame.
Leaving the SD card lock on: If the physical lock switch on the side of the SD card is in the ‘lock’ position, the camera can’t write images. Before inserting, verify the switch is pushed toward the gold contacts. If your device displays a “Card Locked” error despite the switch position, the internal sensor in the camera slot is likely broken.
Ignoring firmware updates: Failing to update the software leaves the camera vulnerable to bugs that were already solved in newer versions. A simple firmware flash often corrects power management issues that cause premature battery death.
Using damaged SD cards: Using a card with a cracked casing or bent pins can damage the internal card reader slot. If a card requires force to insert, stop immediately. Inspect the pins for debris; forcing a damaged card can permanently ruin the camera’s motherboard connection.
Improve Camera Detection Accuracy
| If you’re doing this | Do this instead | Why |
|---|---|---|
| Pointing at brush | Clear a 3-foot path | Prevents false wind triggers |
| Using alkaline cells | Use lithium batteries | They maintain voltage in cold |
| Formatting on PC | Format in camera menu | Sets the correct file structure |
| High sensitivity | Set to medium | Reduces background noise |
| Leaving it for months | Check every 30 days | Allows for early battery replacement |
Most users fail because they ignore the camera’s detection cone. A sensor triggers based on heat signatures crossing the frame, not just movement. If you point your lens directly at a trail, the subject spends too little time in the detection zone to trigger the shutter. Angle the camera at a 45-degree offset to the path. This forces the subject to move across the sensor’s field of view for a longer duration.
If your camera captures empty frames, check the ambient temperature. In heat exceeding 90 degrees, the sensor struggles to distinguish a warm animal from the sun-heated ground. In these cases, move the device into deep shade. If you’re in a high-traffic area, use the “Time Lapse” mode rather than motion sensing. This captures data at set intervals, ensuring you never miss a subject due to a slow sensor wake-up time.
Frequently asked questions
How long should batteries last in my camera?
Batteries typically last between 3 to 6 months depending on the number of triggers and the use of night-time infrared flash. This assumes you’re using high-quality lithium batteries and the camera isn’t being triggered more than 50 times per day. If you use alkaline batteries in cold weather, the lifespan can drop to less than a month because the cold reduces the chemical output of the cells.
Why are my night photos black?
Black photos at night usually mean the infrared flash isn’t firing or the subject is too far from the lens. Ensure your batteries are fully charged, as the infrared LEDs require a high current burst to illuminate the scene. If the batteries are weak, the camera will capture the photo but lack the power to illuminate the subject.
Is it safe to open the camera housing?
No, you should never open the camera housing to attempt internal repairs. The device contains sensitive electronic components that can be damaged by static electricity or improper handling if the housing is opened. Opening the casing will void your manufacturer’s warranty and may lead to water damage if the rubber seals aren’t perfectly aligned during reassembly.
How do I know if the SD card is full?
The camera display will usually show an “SD Full” or “Memory Full” icon when the card reaches its storage limit. If the camera stops recording but the card isn’t full, the file system is likely corrupted. You should format the card through the settings menu to clear the error and restore normal function.
Can I use a 256GB memory card?
Most models have a specific limit on the maximum SD card capacity, which is often 32GB or 64GB depending on the version. You must check the manual for your specific model to see the supported card size. Using a card that exceeds the manufacturer’s maximum capacity will often result in the camera failing to recognize the storage at all.
Why is the date and time wrong on my photos?
The date and time are incorrect because the internal clock reset when the batteries were removed or died. You must enter the setup menu and manually update the date and time settings every time you change the batteries. Some models may retain settings for a short duration, but most require a manual update if the power is disconnected for more than a few minutes.
Conclusion
If your device still isn’t working properly after these checks, don’t hesitate to reach out to the manufacturer’s support team. They’ll help you determine if there’s a deeper hardware fault. Keeping your firmware updated is also a smart move, as it’ll ensure your camera runs smoothly throughout the coming seasons.
Related guides