To fix a door that won’t open or close, you should check the light sensors for misalignment or debris as the first step in genie 2028 garage door opener troubleshooting. The most common cause is a simple obstruction or a misaligned beam between the safety sensors. If the sensors don’t see each other, the motor won’t move the door to prevent accidents. You can usually clear this by wiping the lenses with a soft cloth and checking that the status lights on both sensors are solid.
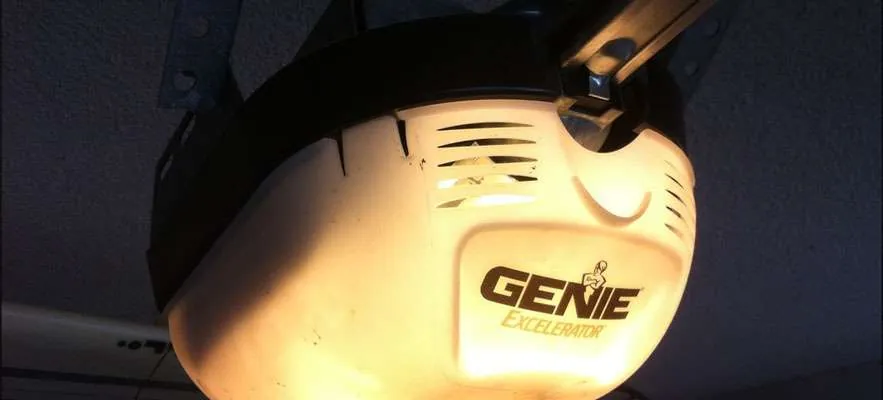
Genie garage door opener stops moving
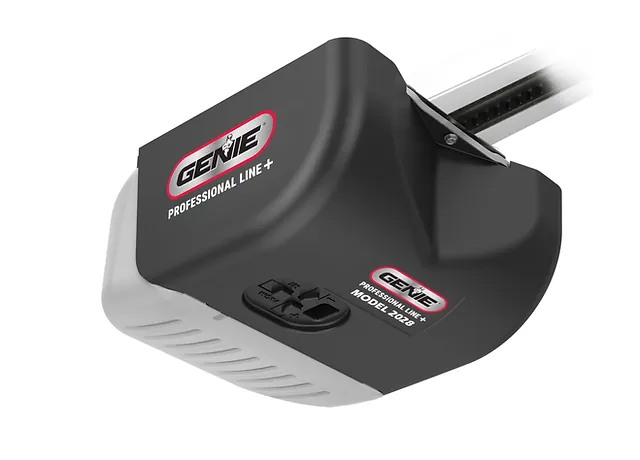
The door system uses electronic safety eyes to detect people or objects in the path of the closing door. If these sensors are dirty, bumped, or blocked by a stray box, the system stays in a “blocked” state. You’ll often see the light on the opener flashing to signal that the safety circuit is open. This is a built-in safety feature meant to protect your family and property.
If the door reverses immediately upon touching the floor, the “down travel” limit is set too low. The motor senses pressure against the ground and assumes it has struck an obstruction. You can fix this by turning the limit screw counter-clockwise in small, quarter-turn increments until the door seals flush without triggering a reversal.
Another common cause is a change in the force settings. Over time, the door hardware can become stiff or the springs may lose tension, which makes the motor think the door hit an object. If the door reverses before hitting the floor, it’s likely because the “down force” limit needs a minor adjustment.
Always check the door movement manually by pulling the emergency release cord to ensure it slides smoothly without the motor. If it feels heavy or sticks, it’s a mechanical issue with the tracks or springs, not the opener itself. Ignoring this resistance will eventually strip the plastic gears inside your motor housing, turning a simple lubrication task into a total unit replacement.
Safety: Inside a mains-powered machine, the parts behind the outer cover can hold a dangerous electrical charge even after it has been unplugged — that’s why they sit behind a cover. Opening the housing, or testing or replacing anything behind it, is a job for a qualified technician, never a home repair.
Align the safety sensors
If the door refuses to close and the wall button flashes, the sensors are likely misaligned. You need to look at both the sending and receiving sensors located near the floor on each side of the door. If one light is off or flickering, gently move the bracket until both sensors show a steady, solid light. This confirms they have a clear line of sight across the opening.
A common mistake is tightening the bracket screws before the lights are steady. This often shifts the sensor out of position again. Instead, hold the bracket firmly with one hand while adjusting the angle with the other until the light locks in. Only then should you tighten the mounting hardware.
This fix is for anyone whose door stops abruptly and reverses during closing. If you can’t get the lights to turn solid, check the wire connections at the back of the motor unit to ensure no wires are loose or broken. If you see a frayed wire, the system will fail intermittently.
Don’t try to splice or replace internal wiring if you aren’t comfortable with electrical work. If the sensors are damaged by water or impact, they must be replaced with the exact model specified by the manufacturer. You can find the specific Genie support documentation to identify the correct replacement parts for your unit. If you feel unsure about electrical safety, contact a professional garage door technician to handle the repair.
Adjust the travel limits
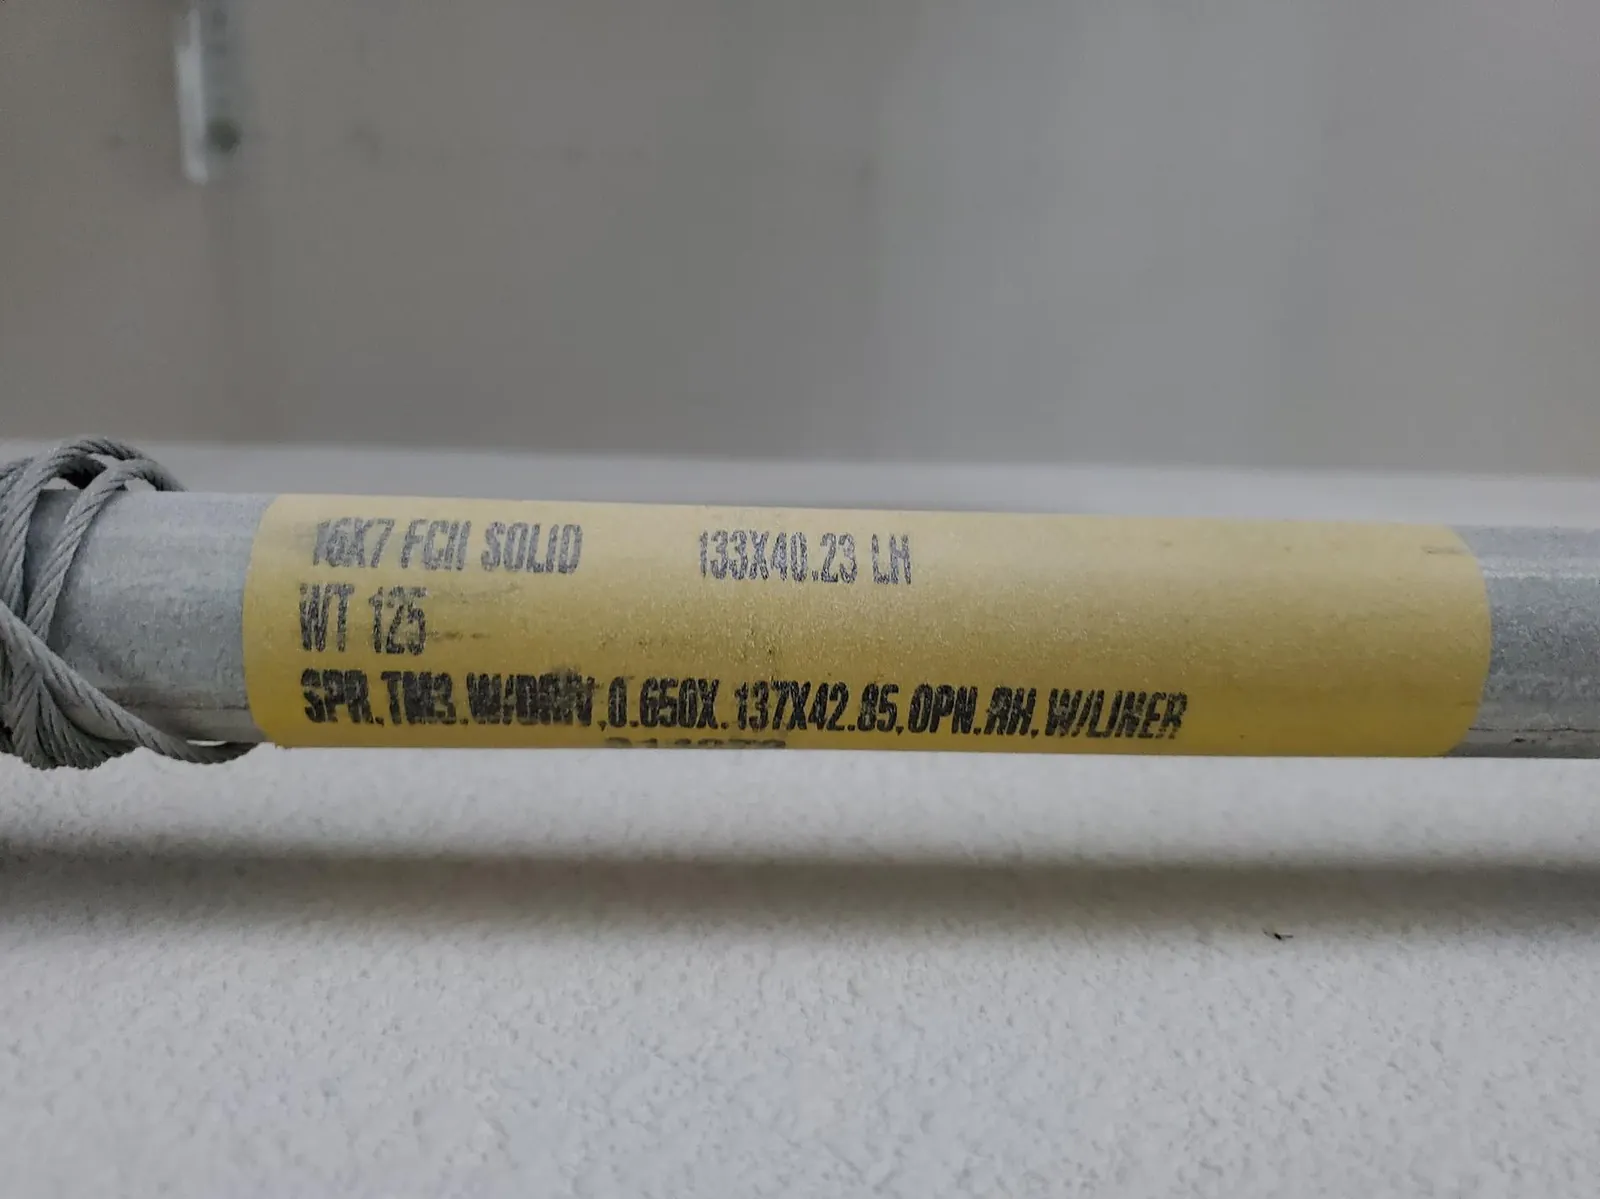
When the door stops short of the floor or opens only a few inches, the travel limits are likely set incorrectly. Locate the limit adjustment buttons on the side or back of the motor unit. These controls tell the motor exactly where the “up” and “down” positions are. You’ll need to press the “down” limit button and move the door to the closed position, then save the setting according to the manual.
This process is for when the motor is working but the door stops at the wrong height. It’s a trade-off: setting the limit too low can cause the door to bind, while setting it too high leaves a gap at the bottom. If the door starts to close and then immediately reverses, your force sensitivity might be set too low for the current door weight.
Increase the force setting in small increments until the door closes fully without reversing. If you notice the door is physically damaged or the springs appear broken, stop immediately. Never attempt to adjust or touch the high-tension springs yourself, as these carry a high risk of injury; always call a qualified service professional for spring or cable issues.
Reset the remote control
Sometimes the logic board loses the signal from your remote, making it seem like the opener is broken. To reset, locate the “learn” button on the motor unit and press it until the indicator light blinks. Within 30 seconds, press the button on your remote control to pair it again. This is worth the effort if your wall button works but your handheld remotes do not.
This isn’t for cases where the motor doesn’t turn on at all. If the motor makes no sound and shows no lights, check your home circuit breaker or GFCI outlet first to ensure the unit has power. This fix is simple, but if the unit still fails to respond after a fresh battery in the remote and a successful re-pairing, the internal receiver board may be faulty.
If you have to climb a ladder to reach the “learn” button, ensure the ladder is on flat, level ground to prevent falls. If you’re unable to safely reach the motor unit, don’t attempt the reset. A professional technician can perform this safely and also check if the receiver board is failing.
Common mistakes to avoid
Applying grease to the tracks: Never put oil or grease on the vertical or horizontal tracks. This attracts grit and creates a thick, abrasive gunk that forces the motor to work harder, eventually burning out the capacitor. If your door sticks, clean the tracks with a dry rag or a non-residue solvent instead.
Forcing the door manually: Don’t pull the emergency release cord while the door is open unless you’re holding it securely. A broken spring removes all counterbalance, meaning the door’s full weight will drop instantly. If the door feels heavy or jerky when lifted by hand, stop immediately; you likely have a snapped spring that requires a professional technician.
Tightening the chain too much: Never overtighten the chain or belt. Aim for about half an inch of sag at the midpoint. Excess tension puts extreme stress on the motor gears, causing the drive unit to fail prematurely.
Ignoring a loud grinding noise: Don’t continue to operate a noisy opener. This sound usually indicates a stripped plastic gear or a mechanical bind. Continuing to use it will turn a simple gear replacement into a full motor replacement.
Stop it from happening again
You can prevent most issues by keeping the door hardware clean and performing a simple monthly test. The following table shows how to move from reactive fixes to a routine that keeps your system running smoothly.
| If you’re doing this | Do this instead | Why |
|---|---|---|
| Leaving the sensors dirty | Wipe lenses with a cloth | Prevents false “obstruction” signals |
| Ignoring squeaks and groans | Spray silicone on rollers | Reduces strain on the motor unit |
| Forcing the door to close | Check for track debris | Stops unnecessary motor wear |
| Leaving the opener alone | Test the balance monthly | Catches spring issues before they break |
Most owners mistake a heavy door for a weak motor. If the door drifts downward when you release it halfway, your springs have lost tension. Don’t adjust the motor force settings to compensate for this. That mistake masks a failing spring, which eventually snaps under the added stress.
Use this decision rule: if the door stays put, your balance is fine. If it falls or pulls upward, call a professional immediately. Springs under tension are dangerous to handle alone. A monthly visual inspection of the cables for fraying is also vital. Look for jagged wires near the bottom brackets. If you see even one broken strand, call a professional technician to replace the cable immediately.
Frequently asked questions
How long should this garage door opener last?
Most openers last 10 to 15 years if the door is balanced and the track is clean. A heavy door or old springs force the motor to work harder, causing premature failure. Ensure the door is balanced to extend the motor’s lifespan.
Is it safe to fix the sensors myself?
You can safely clean or align sensors by adjusting brackets or wiping lenses. This process doesn’t require opening the motor housing or touching electrical wiring. If sensors or wires are damaged, replace them with OEM parts rather than attempting repairs.
Why does my door reverse before hitting the floor?
The door reverses because the safety system detects an obstruction or a low down-force limit. If the path is clear, check for stiff rollers or a bent track causing resistance. You may need to increase the down-force setting if the hardware is smooth.
Can I use a universal remote for this opener?
You can use a universal remote if it’s compatible with your unit’s frequency. Most remotes include a list of codes or a learning process to match your specific motor. Verify your model number on the motor unit before purchasing to ensure compatibility.
What happens if I pull the red release cord?
Pulling the red cord disconnects the motor, allowing you to operate the door manually during power outages. Always ensure the door is fully closed before pulling the cord to prevent it from dropping. Be cautious, as an unbalanced door may be heavy.
Conclusion
If these adjustments don’t get your door moving again, don’t worry. Sometimes the internal gears or circuit boards simply wear out after years of heavy use. It’s a good idea to consult your owner’s manual or reach out to a local technician if you’re still stuck. They’ll help you get things running smoothly.